


Windows Server supports communication applications such as Zoom, Microsoft Teams, and other conferencing tools. To ensure these programs work correctly through the Remote Desktop Protocol (RDP), you must configure audio and video input forwarding and enable audio playback from the server on your local device.
This guide walks you through the full setup process.
1. Configure RDP Client Settings
Open Remote Desktop Connection
-
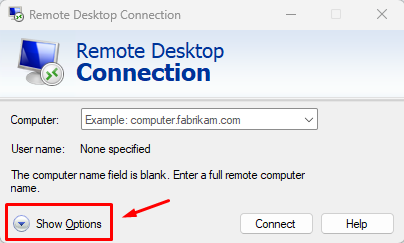
Launch the Remote Desktop Connection client.
-
Click “Show Options.”
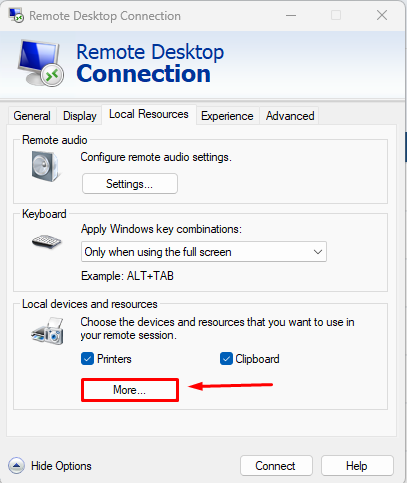
Local Resources
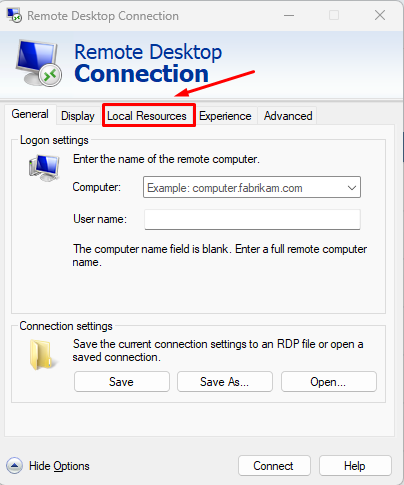
Navigate to the “Local Resources” tab.
Remote Audio Settings
-
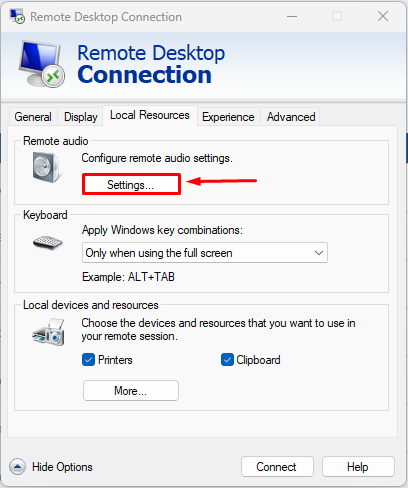
Click “Settings” under Remote audio.
-
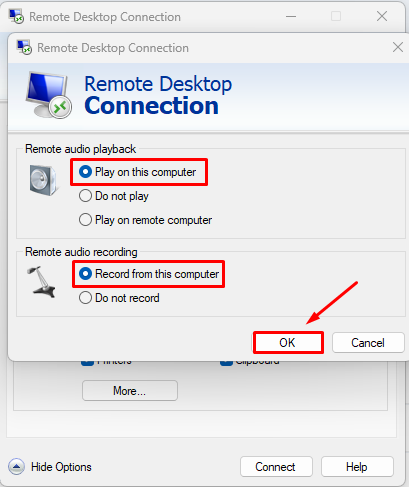
Enable:
-
Play remote audio on this computer
-
Record audio from this computer
-
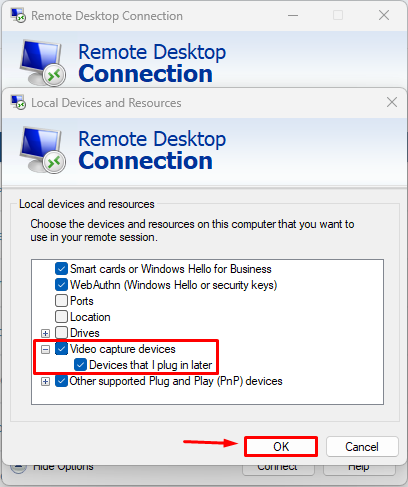
Forwarding Your Webcam
-
In the Local devices and resources section, click “More…”
-
Under Video capture devices, select your webcam.
-
Enable permission for devices that may be connected later.
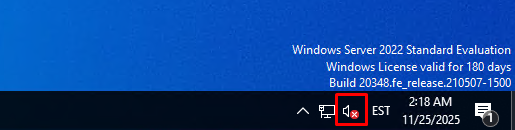
2. Fix Sound Issues on Windows Server
After connecting to your Windows Server, you may notice that audio is not working.
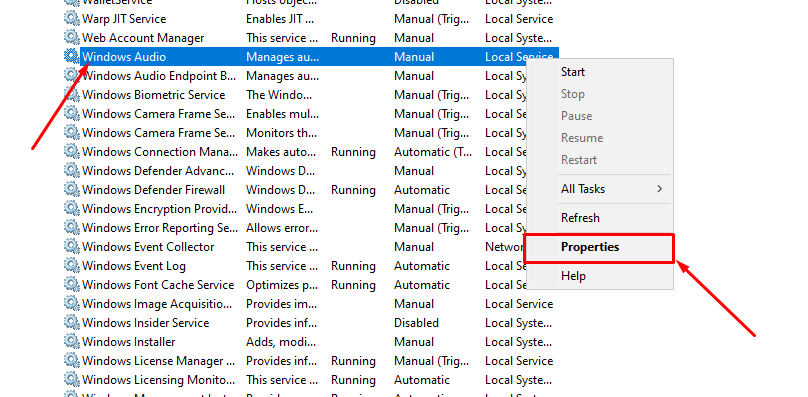
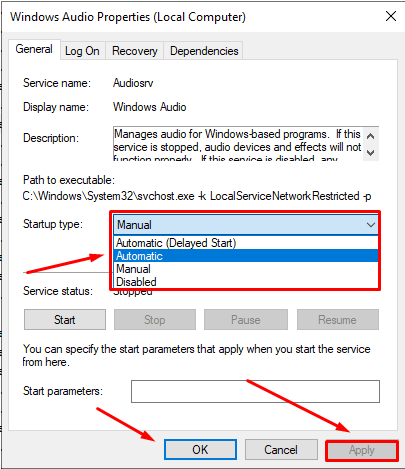
Start the Windows Audio Service
-
Press Win + R, type services.msc, and press Enter.

-
Find Windows Audio in the list.
-
Right-click → Properties.
-
Set Startup type to Automatic.
-
Click Apply, then Start the service (if it hasn’t started).
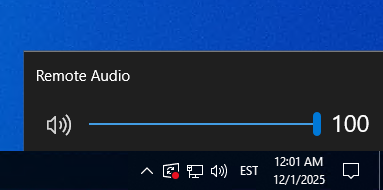
Remote audio playback should now function correctly.
3. Install Required Components for Microphone Support
Microphone redirection requires additional Remote Desktop components.
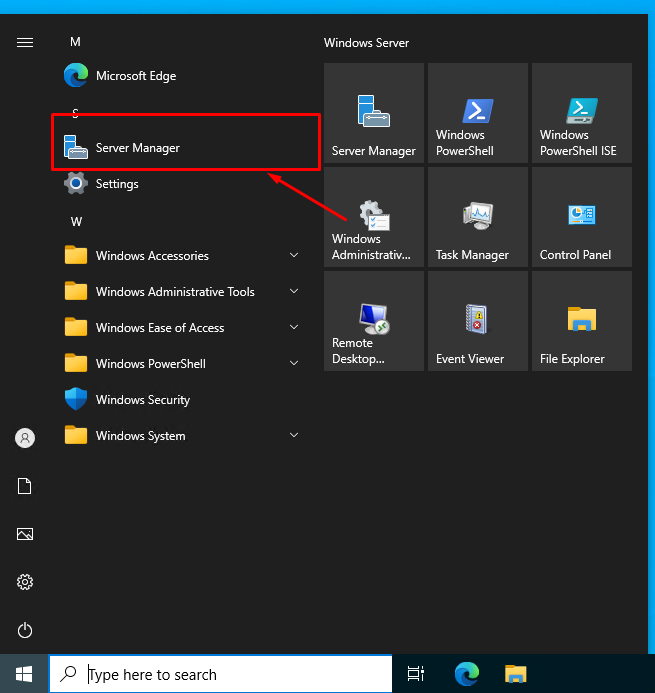
Open Server Manager
-
Open the Start Menu → Server Manager.
-
Click “Add roles and features.”
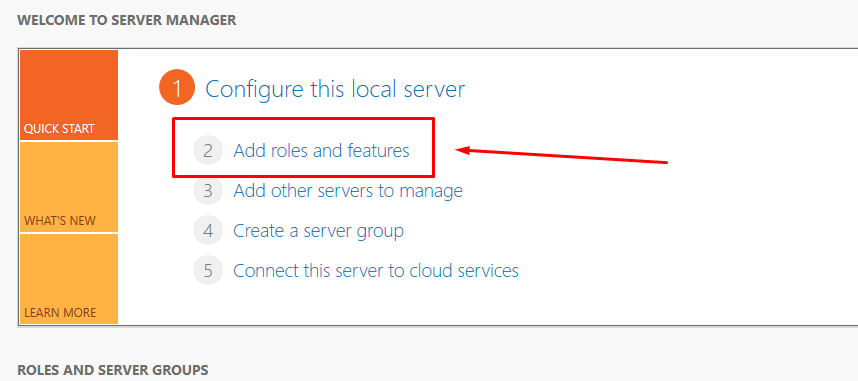
Installation Steps
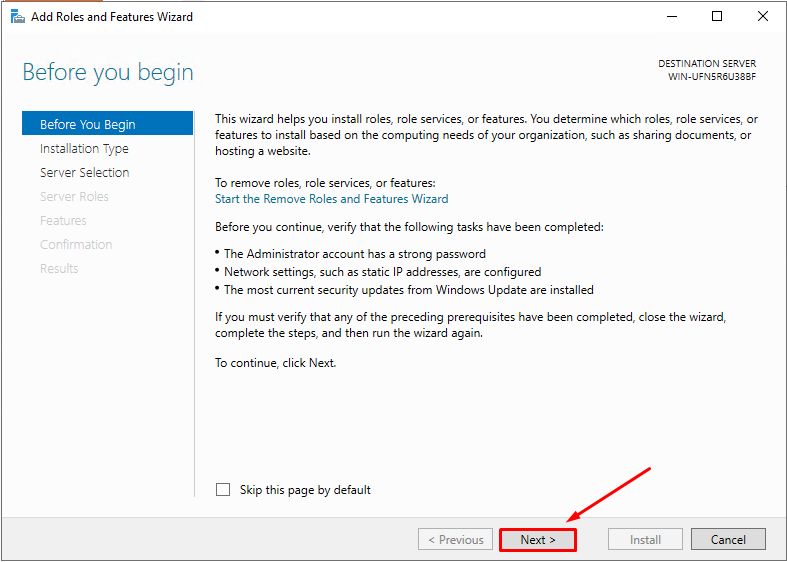
Continue through the wizard:
-
Click Next
-
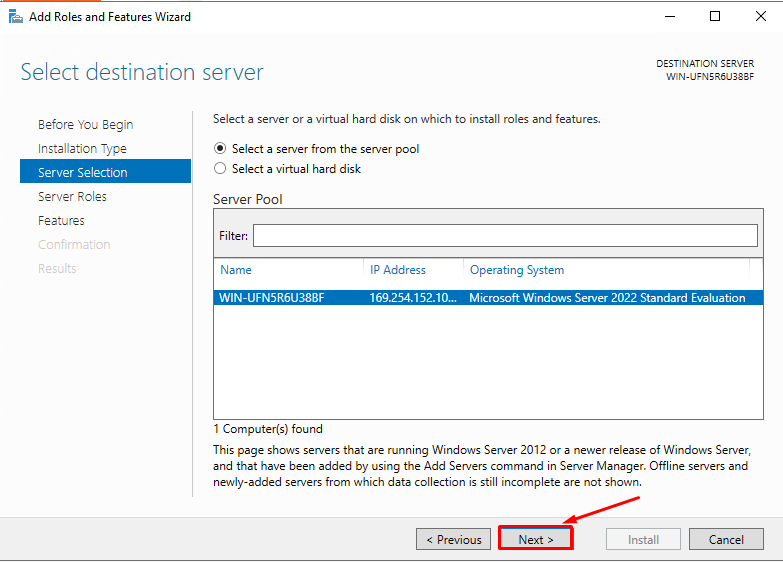
Click Next again

-
Select your server → Next
-
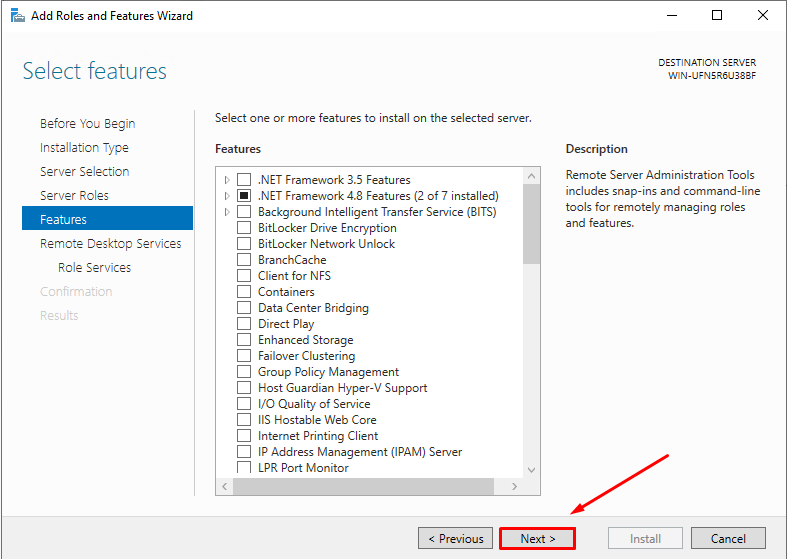
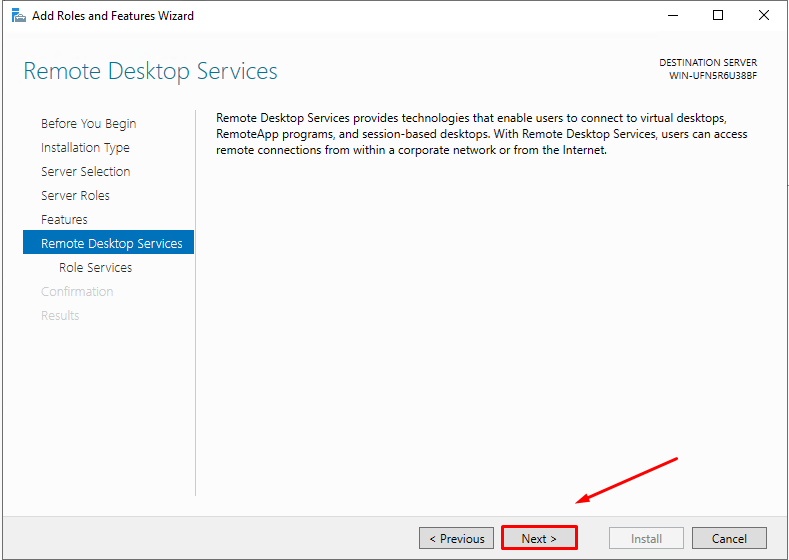
Choose Remote Desktop Services → Next

-
Next
-
Next
Select Required Role
-
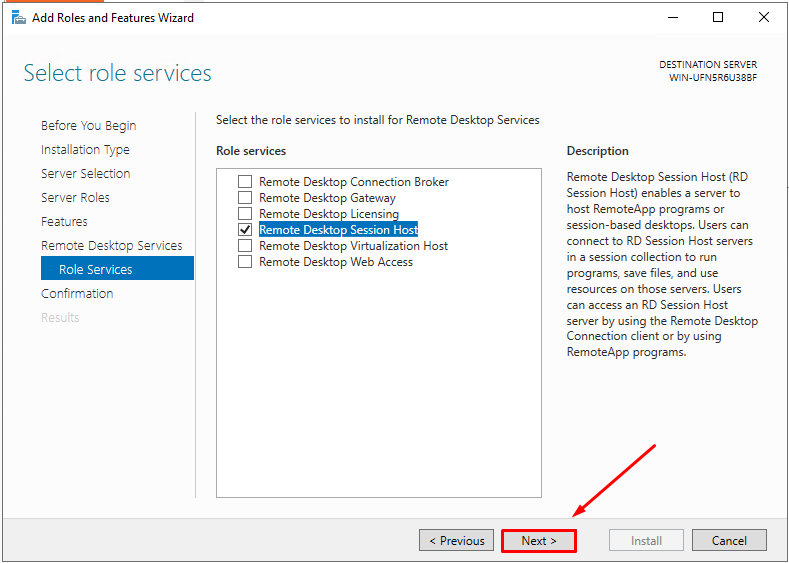
Choose Remote Desktop Session Host.
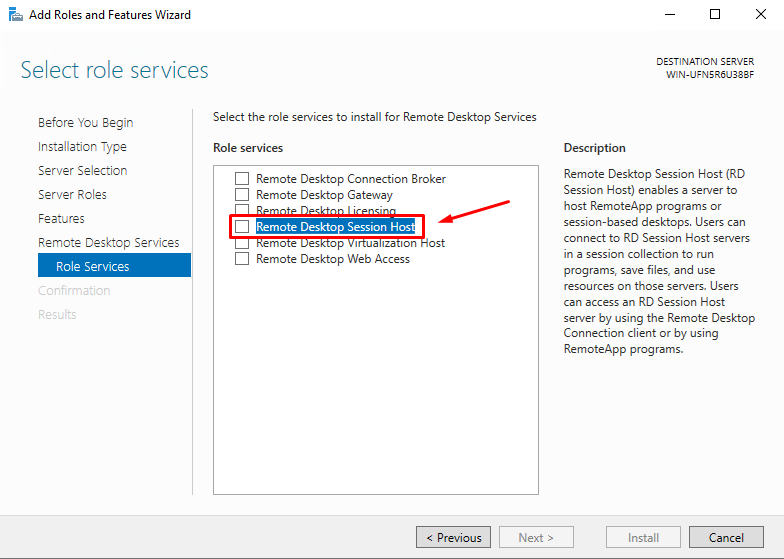
-
Confirm adding required features.
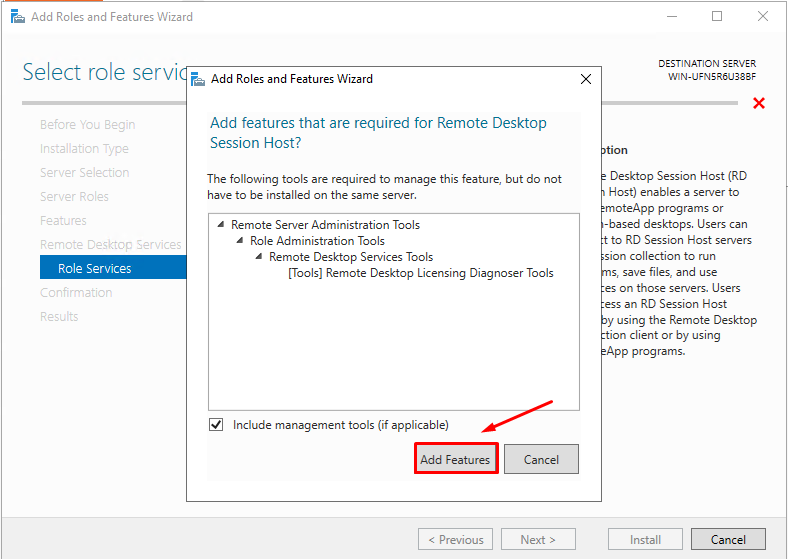
-
Click Next.
-
Allow automatic restart.
-
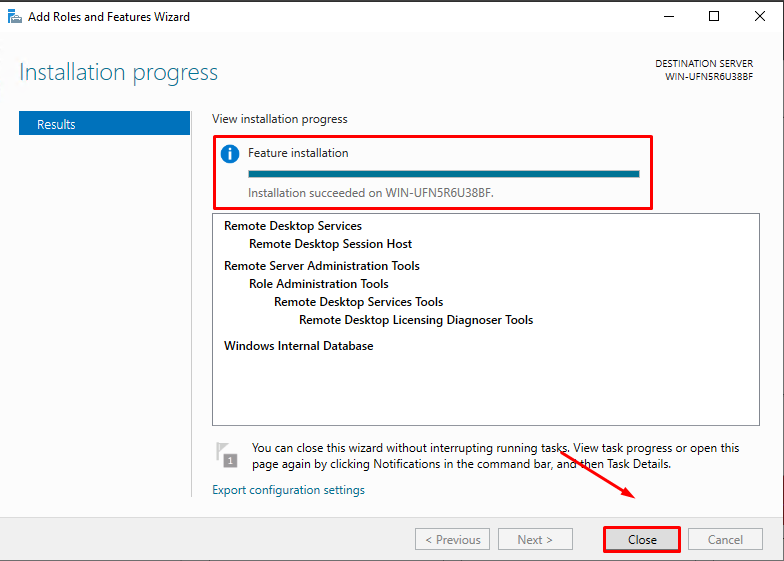
Click Install.

The server will reboot and continue installation.
Reconnect once it restarts and wait for installation to finish.
4. Configure Audio Input on Windows Server
Open Audio Settings
-
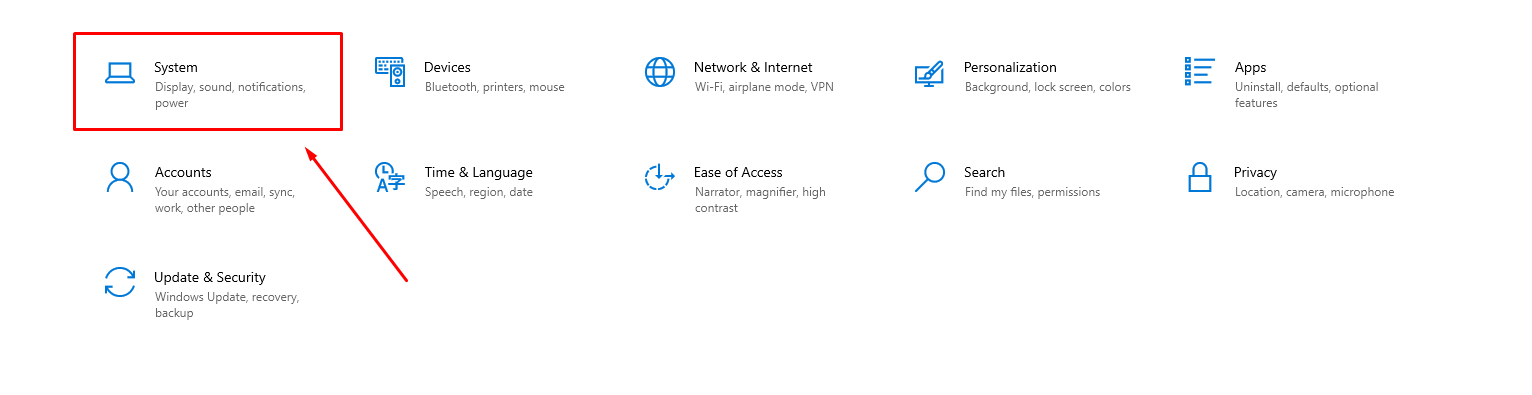
Open the Start Menu → Settings → System → Sound.


-
You should see Remote Audio listed as a microphone device.
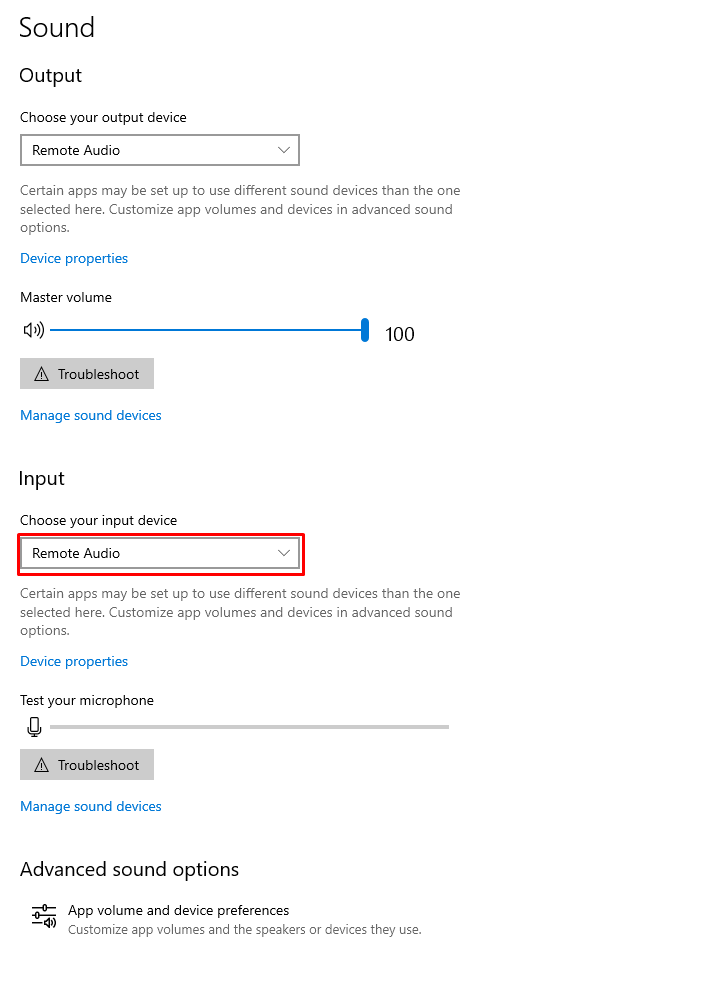
Speak into your microphone to verify that the input bar reacts.
5. Allow Applications to Access the Microphone and Camera
Microphone Privacy Settings
-
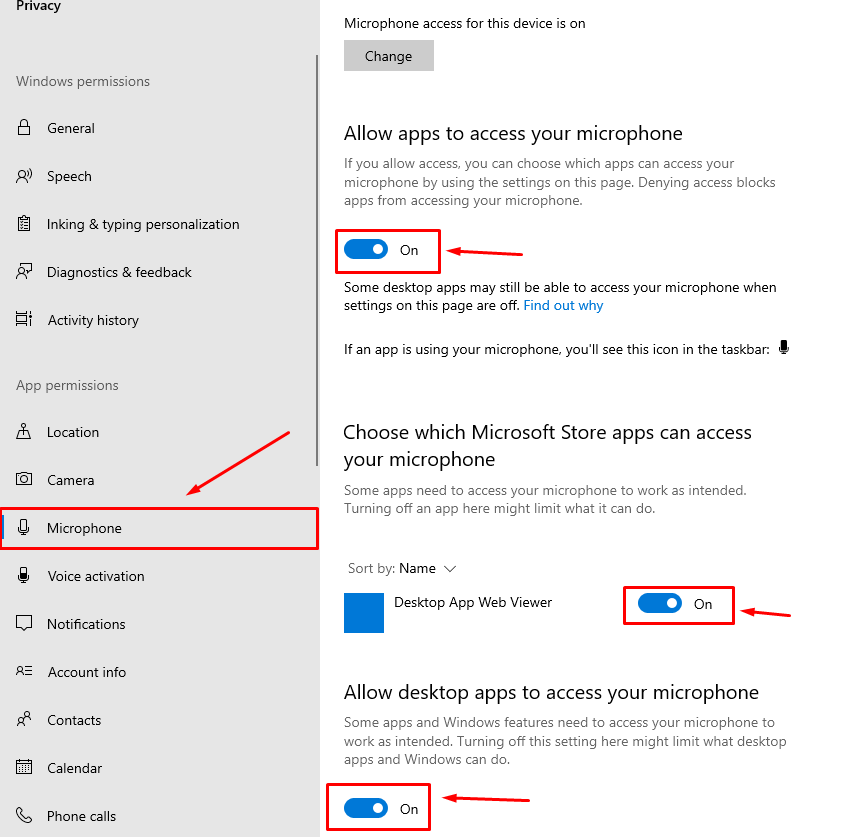
Open Settings → Privacy → Microphone.

-
Allow apps to access your microphone.
Camera Privacy Settings
Repeat the steps under Privacy → Camera.
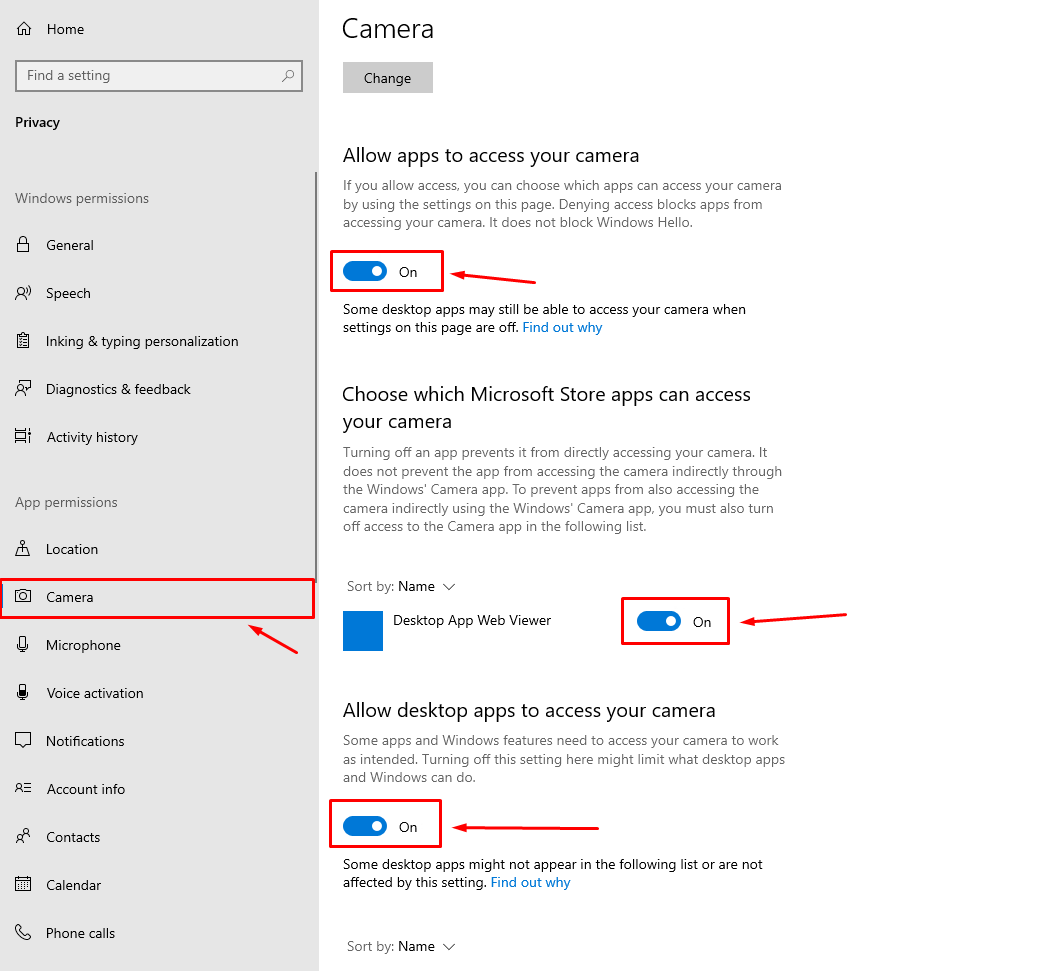
These permissions are required for Zoom, Teams, and similar applications.
6. Final Check
Your Windows Server is now fully configured for audio and video communication over RDP.
You can test functionality using any conferencing application.
If issues arise with the microphone or webcam, double-check:
-
RDP client settings
-
Privacy permissions
-
Windows Audio service status

