


You have a dedicated server with IPMI and data access, but what now? This article is about how to connect to server and manage system at a remote location via IPMIView20 program.
Table of Contents
-
Overview
-
Installing IPMIView ulitily into a Windows System
-
System Management
-
System Launching
-
Bottom ToolBar
-
Login
-
Event Log
-
Sensors
-
IPMI Devices
-
BMC Settings
-
Users
-
Text Console Redirection (SOL- Serial-Over-LAN)
-
KVM Console
Chapter 1
Overview
IPMIView is a management software program based on the IPMI specification Reversion 1.5 – 2.0. IPMIView sends IPMI messages to and from the BMC (Base Management Card) on a host system at a remote location. IPMIView – remote managed system programm. He provide access to keyboard/mouse/monitor via IP and give control Bios level.KVM helps you to detect server problems, particularly when cant use SSH. Also KVM support virtual media function via can install own OS, ISO-image upload. The screen of a remote managed system will be redirected to IPMIView. You will see the screen of the remote system just as if you were sitting in front of the system.
Chapter 2
Installing IPMIView ulitily into a Windows System
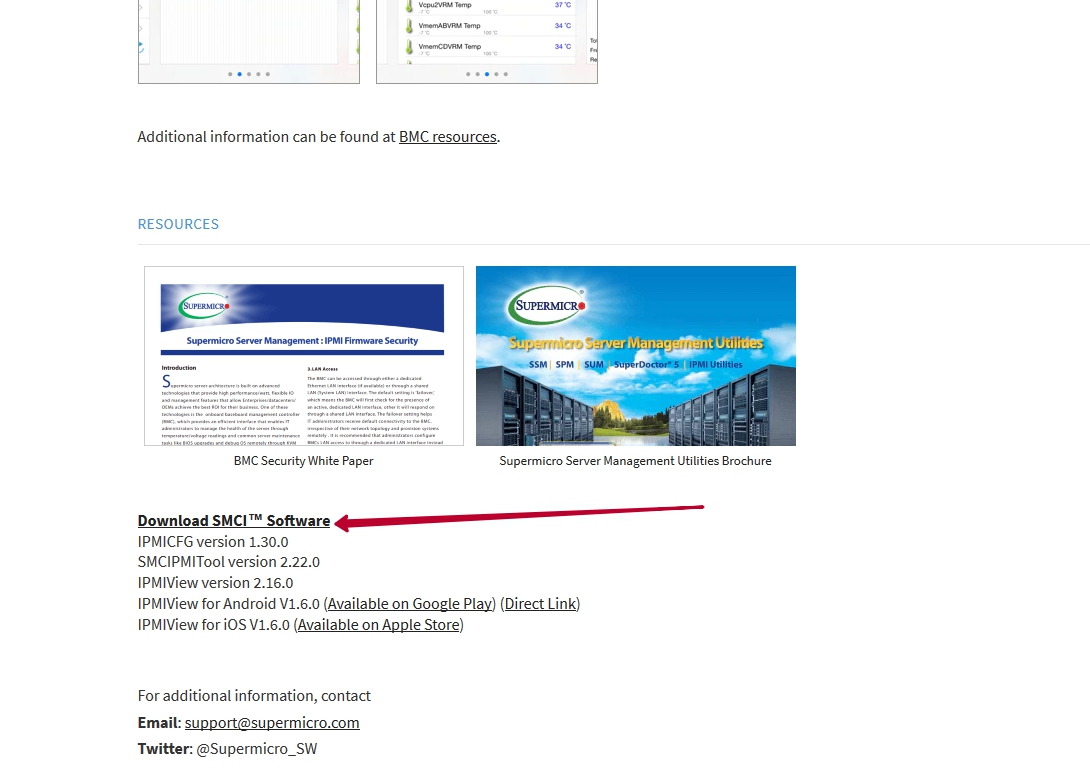
This programm can download from Supermicro official website - https://www.supermicro.com/en/solutions/management-software/ipmi-utilities#SMCIPMITool
Click on the link «Download SMCI™ Software»
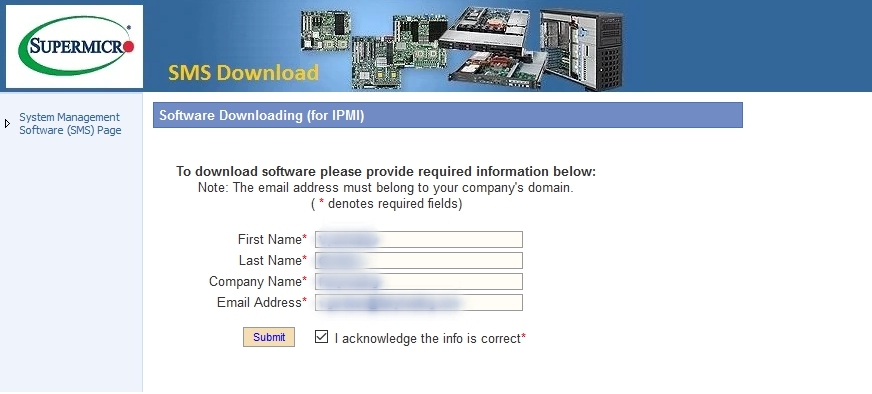
To download software please provide required information below: – First and Last name, Company name, Email Address.
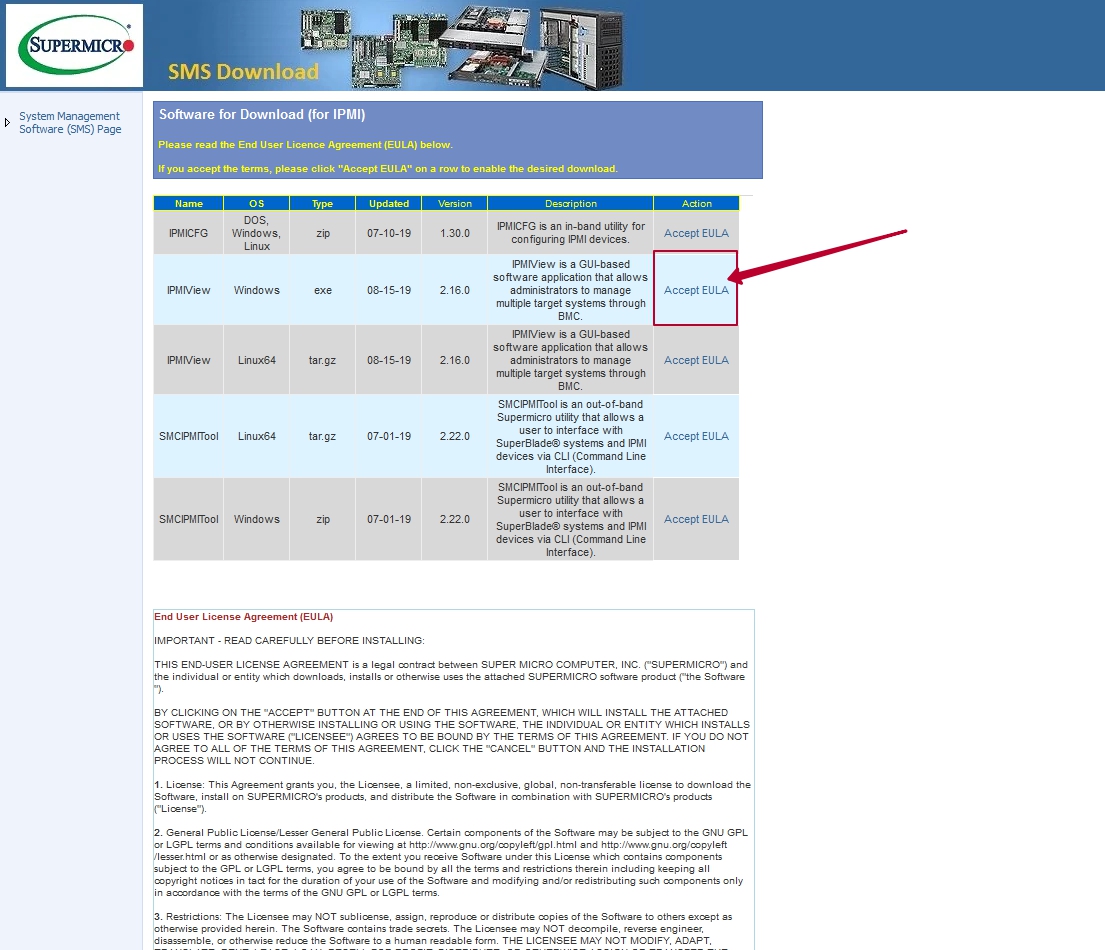
Please click «Accepr EULA» on a row to enable the desired download.
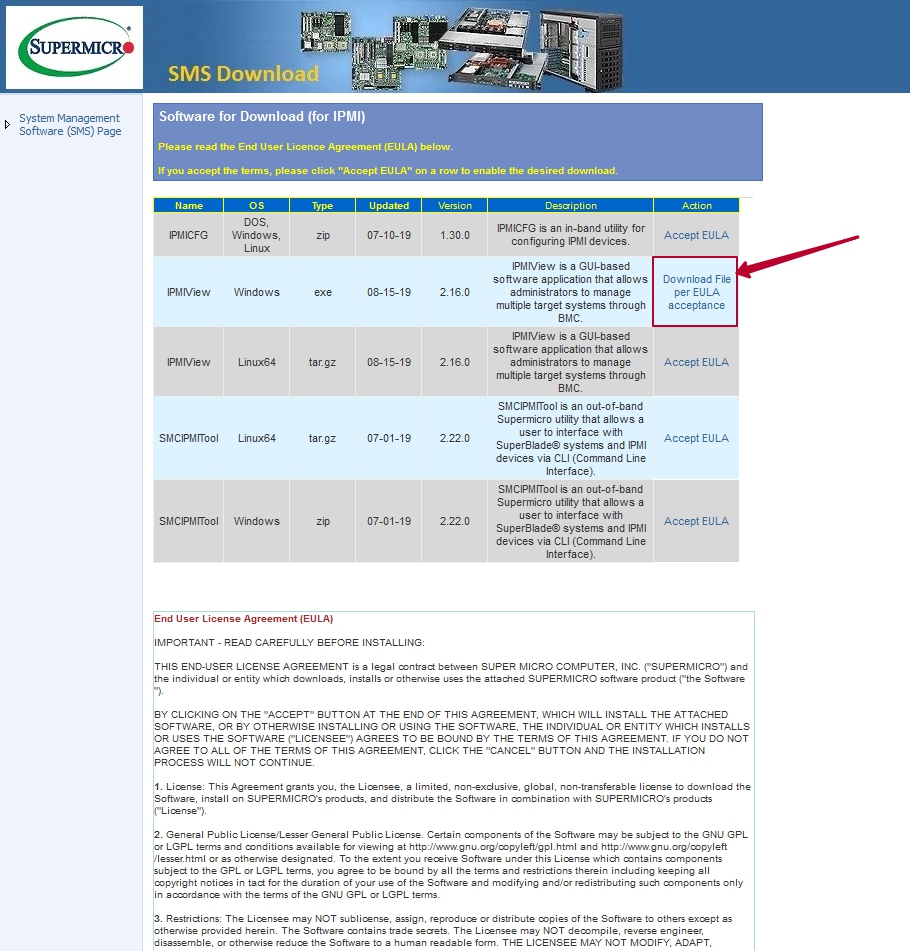
Now you can click to download a programm.
Now you need to install program on the computer. Double click the saved file. Install is beginning.
6 steps of installing.
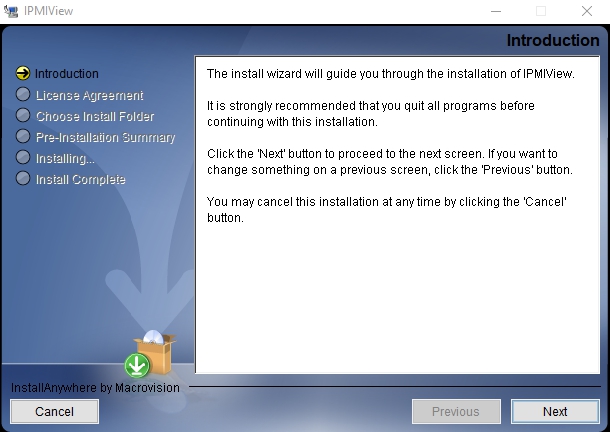
First - Introduction. There describe functions installation of IPMIView. Click the “Next” button to proceed to the next screen. If you want to change something on a previous screen, click the “Previous” button. You may cancel installation at any time by clicking the “Cancel” button.
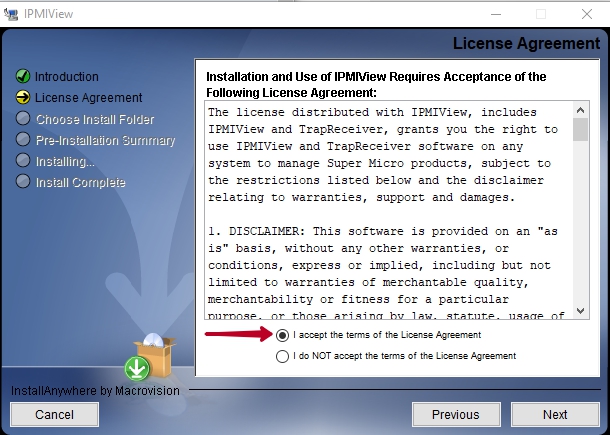
Second - License Agreement. You need to accept the terms of the License Agreement. Clickthe "Next" button.
Third - Choose Install Forder. Here you can choose a destination folder for this installation. Click the “Choose...” button and click on folder, where you want install program. Clickthe "Next" button.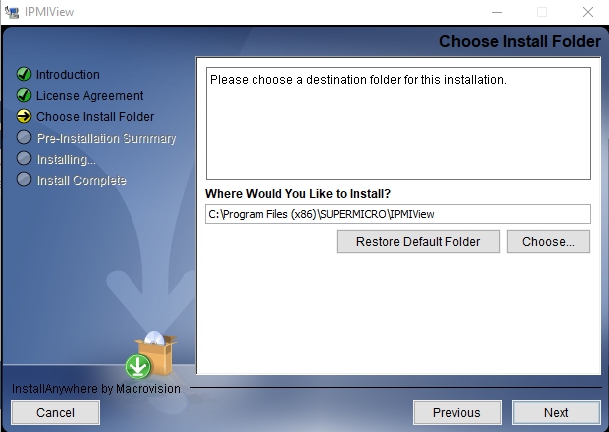
Fourth - Pre-Installation Summary. Here show install folder, disk space information. Review the following and click “Install” button.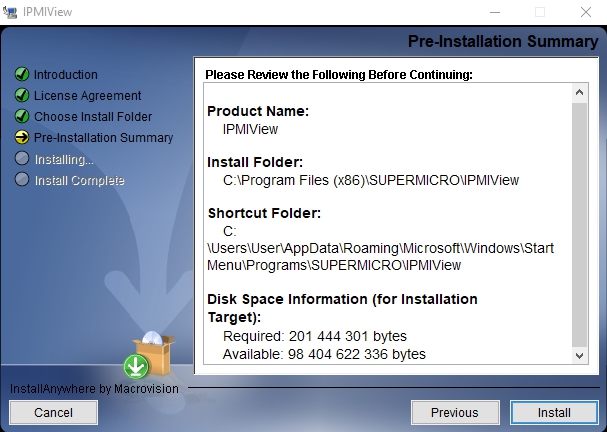
Fifth — Installing IPMIView.
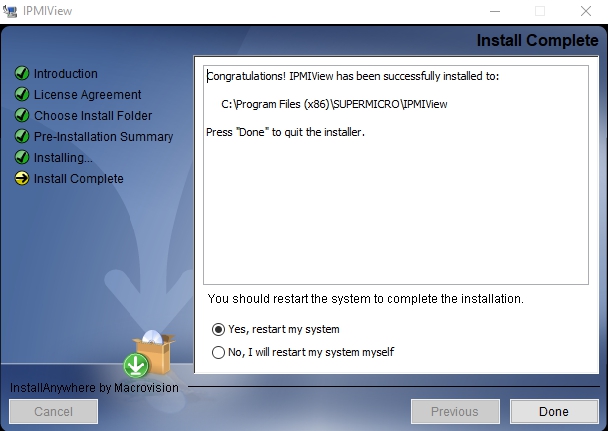
Sixth - Install Complete. Congratulations! IPMIView has been successfully installed on your computer. Click “Done” button to restart the system.
Chapter 3
System Management
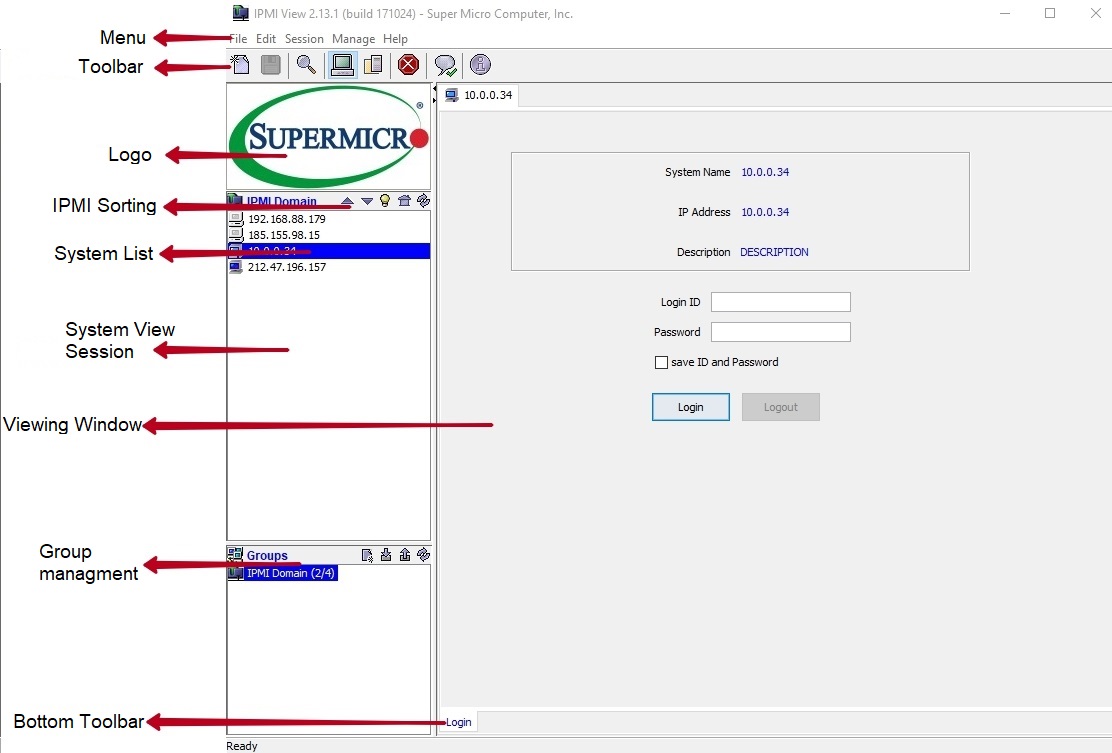
IPMIView20 program have several components.
1.) Menu Bar - contains functions that allow you to add/delete systems or groups and save configurations.
2.) Toolbar - contains functions that allow you to execute commands quickly. Click the iconson the toolbar to add a new system, save the current configuration settings, to discover IPMI devices, to access group management, to discontinue the IPMIView section and to access the help menus. See Figure 3-2 for details
 - Add new system.
 - Save configuration.
 - Search IPMI Device.
 - Server managment.
 - Group managment.
 - Clouse current session.
 - Show trap info.
 - About programm.
3.) Logo - Click the Logo icon to visit Supermicro’s website.
4.) IPMI Sorting — This allows you to sort devices in an ascending/descending order via the online format, or in the original sequence.
5.) System List— This lists the computers managed by the BMC Controller.
6.) System View Sessions: - IPMIView can manage up to 20 systems at any given time. The systems that are currently managed by the BMC are indicated in the System View window.
7.) Viewing Window — This shows detailed information including Login, IPMI Device, Event Log, Sensors, BMC Settings, and the status of the IPMIView firmware.
8.) Group List— It lists computer groups managed by the BMC for better management.
9.) Bottom Toolbar — This toolbar contains function tabs that allow you to execute commands quickly. The tabs allow you to access the following submenus: Login, Event Log, Sensors, IPMI Device, BMC Setting, Users, Text Console, KVM Console.
Chapter 4
System Launching
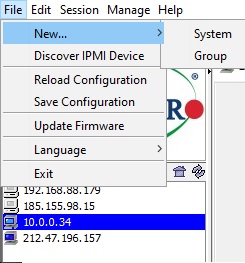
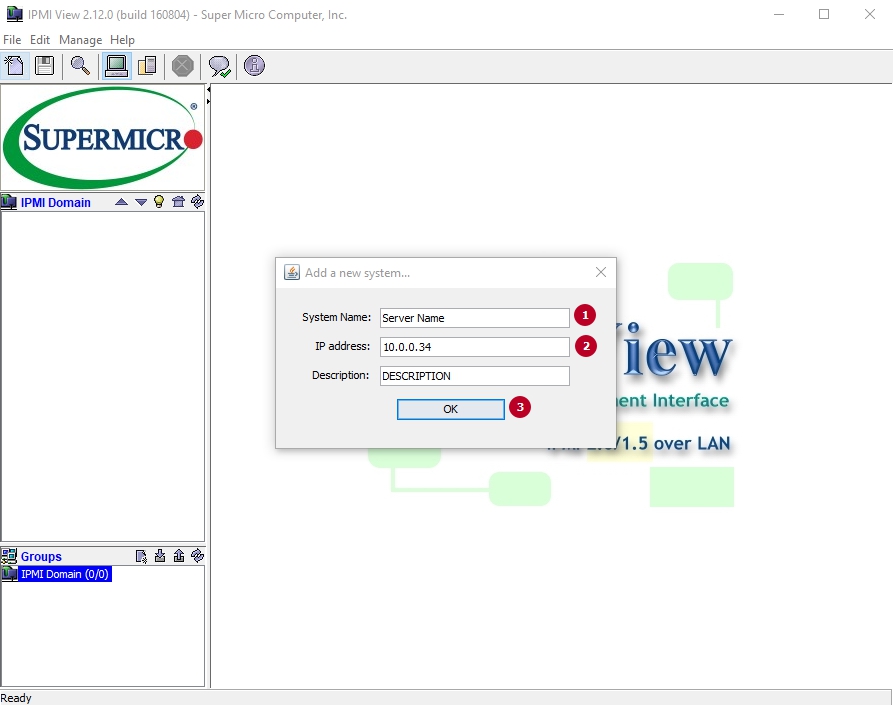
Add you server on system list. Click <File>”New>System” to add a new system to the IPMI connection. An “Add a new system...” In the “Add a new system” dialog box, enter the System Name for the system to be managed by the BMC, its IP address, and its description. Then click <OK>.
P.S. Private IPv4 network ranges:
-
10.0.0.0/8
-
172.16.0.0/12
-
192.168.0.0/16
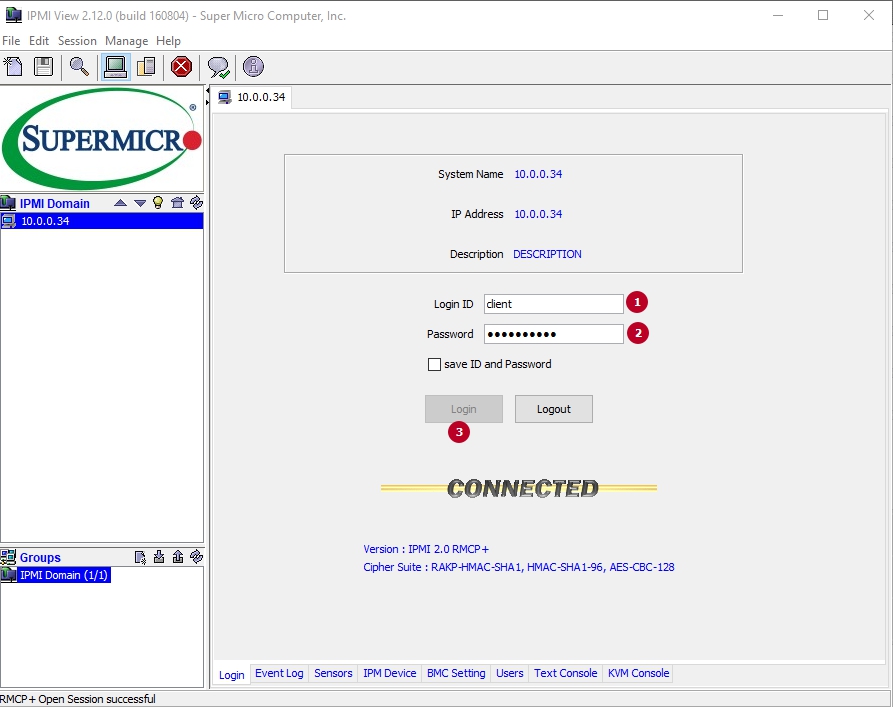
In IPMI Domain list must created your system name. Double click to the system name. Insert Login ID and Password which sent you on e-mail (if letter doesn't have, write to us on ticket system, we send you data access) and click to the button “Login”.
Chapter 5
Bottom ToolBar
-
Login
Click the <Login> tab on the bottom toolbar - show you system management information (IP-address, system name, user). Once the password is confirmed, IPMIView will show a CONNECTED symbol, and all available function pages will be shown. If the password is invalid, a message will be displayed in the Status Area that reads, “Unable to activate a session, please check ID and Password.”
-
Event Log
After you have logged into a system,Click the "EventLog" tab on the botton toolbar to active the Event Log screen.
All:Click this radio button to select all events.
From...to: Click this radio box to select a portion of events
Get: Click this tab to get the event logs.
Export: Click this tab to export event logs to a file.
Clear All Entries: Click this tab to clear all event log entries.
Current SEL Device Timestamp: This item displays the timestamp of the current SEL device.
Set Timestamp:Click this tab to set timestamp for the system selected.
Refresh: Click this tab to refresh this page.
-
Sensors
This feature displays the status of each sensor used to monitor system health.
Fans: This window displays fan status.
Voltages: This window displays voltage readings for various devices.
Temperatures: This window displays temperature readings for various devices.
Sensors: This window displays the devices being monitored.
Refresh Every X seconds:Enter the number of seconds for the system to refresh.
Refresh Now:Click this tab to refresh the Sensors page immediately.
Save Layout:Click this tab to save the current layout setting.
Hide inactive item:Check this box to hide inactive items.
Show History: Check this box to display the sensor records.
-
IPMI Devices
Click the IPM Device tab of the IPMIView management session in the Viewing Window to display the information and functionality of the BMC firmware installed in the system.
Device Inforamtion: This shows the revision levels of the BMC and IPMI firmware.
ACPI System Power State: This shows the power state of the managed system. If the managed system is in a power-off state, the green light will be off. It will be updated automatically every five seconds.
Graceful Power Control (Administrator and Operator only): Graceful power control will inform the OS running on the managed system to shutdown, reboot and reset the power-cycle within a specified time.
Chassis Power Control (Available for the Administrator and Operator only): manually control the power state of the chassis of a managed system.
Power Down: This feature will power off a managed system.
Power UP: This feature will turn on the power of a managed system.
Power Cycle: This feature will turn off the power of a managed system.
Reset: This feature resets a managed system.
BMC Cold Reset (for the Administrator only): Reset the BMC.
-
BMC Settings
BMC LAN Configuration: This feature displays the IP address, the LAN MAC, the Gateway IP, the Gateway MAC and the Subnet Mask of the BMC and allows you to modify these settings.
LAN Interface.
Dedicated:Click this radio box to use theIPMI-Dedicated LAN as the default LAN connection.
Onboard LAN1:Click this radio box to use the onboard LAN port 1 as the default LAN
connection.
Failover: Click this radio box to enable Failover support.
Update: Click this tab to update LAN connection status.
Refresh: Click this tab to refresh the page.
-
Users — Click the Users tab of the IPMIView management session in the Viewing Window to display detailed information on the Users management.
We strongly recommend that you change the password immediately for security reasons!
User Name
IPMIView allows you to add or delete a user, to change a user’s password, to set and update user privilege settings by clicking the appropriate tabs.
Privilege
This feature allows you to set and update privilege level for a user or delete a user from the list. There are six privilege levels, Callback, User, Operator, Administrator, OEM, and No Access.
A user is granted certain privileges for each channel, and the user can operate at a privilege level that is granted. Click the “Update Privilege” to change the privilege level setting for a user.
SOL (Serial-Over-LAN)
This feature allows the user to configure SOL settings. Click “Enable” to enable SOL support.
-
Text Console Redirection (SOL- Serial-Over-LAN)
Click the <Text Console> tab on the bottom tool box to enable Text Console Redirection support, which will allow you to control a remote system from a text mode console. Click the <Start> button to start the text console redirection. Click the <Stop> button to stop the text console
-
KVM Console

Click the <Launch KVM Console> tab to launch KVM console redirection.
IMPORTANT:Don't forget install Java software. Use this link:https://java.com/ru/download/
 Telegram Chat