


Kuidas lisada lisakasutaja
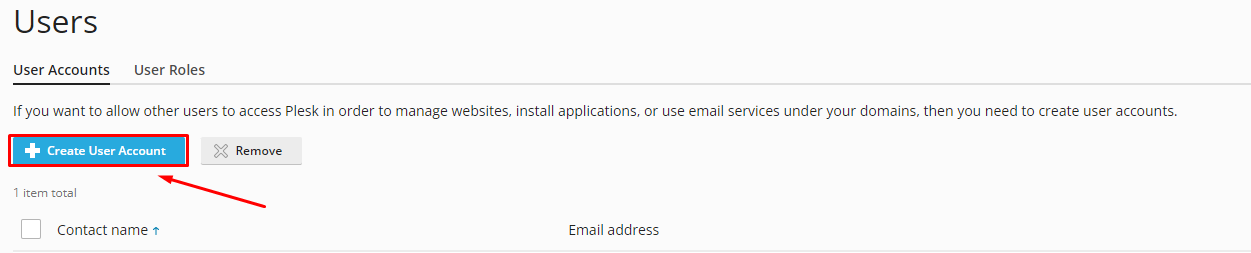
Täiendava kasutaja loomiseks logige sisse Pleski juhtpaneelile. Seejärel valige vasakpoolsest menüüst jaotis „Users“.

Seejärel klõpsake nupule „Create User Account“
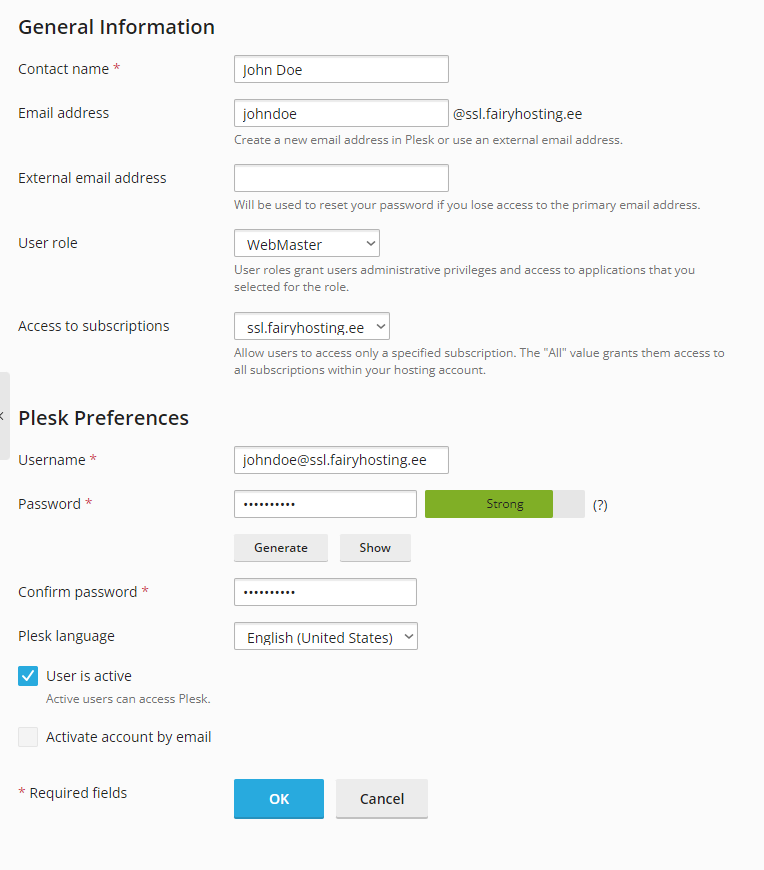
Avaneb konto loomise paneel. Valikuliselt saate luua kasutajale e-posti aadressi, anda juurdepääsu kõikidele või ainult ühele veebisaidile. Pärast vajalike väljade täitmist klõpsake nupule „OK“.
Kasutajaõiguste muutmine ja loomine
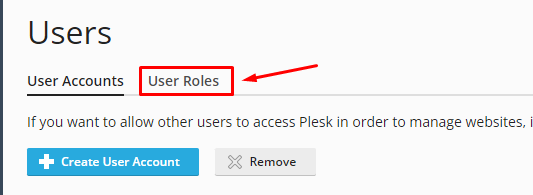
Kasutaja rollide muutmiseks valige jaotis „User Roles“
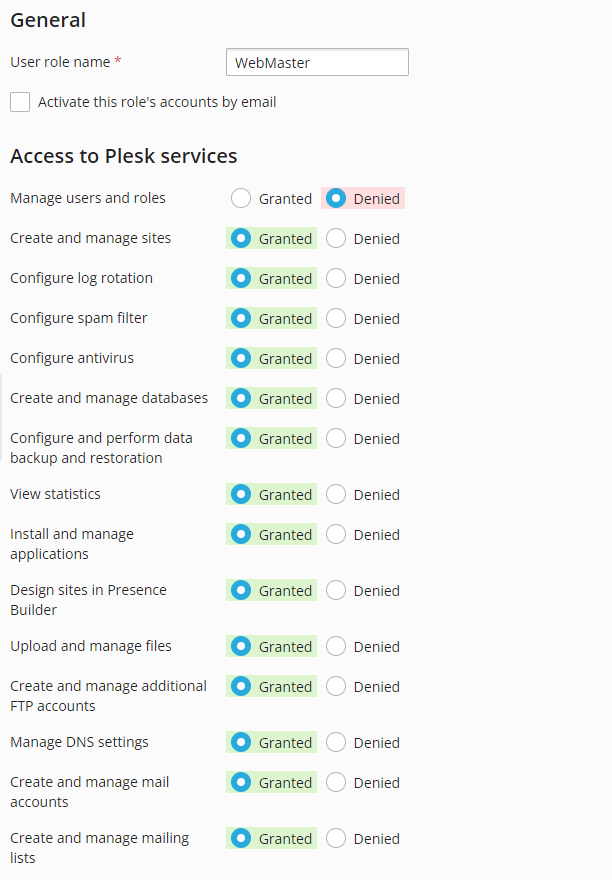
Selles jaotises saate luua või muuta kasutaja rolle. Redigeerime rolli „WebMaster“. Valige see roll.

Sellel lehel saate muuta rolli nime ja muuta juurdepääsu funktsioonidele.
Pärast redigeerimist klõpsake nuppu „OK“.
 Meie Telegramis