In this article, we will discuss two methods of installing a Let's Encrypt certificate for email. The first method involves issuing a new Let's Encrypt certificate.
The second method involves updating an existing Let's Encrypt certificate.
Issuing a new Let's Encrypt certificate
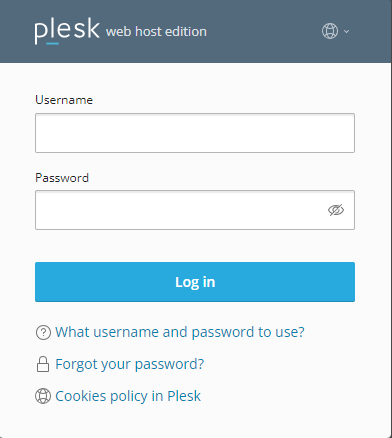
Please log in to your Plesk control panel. Enter your credentials to access the administrative panel.
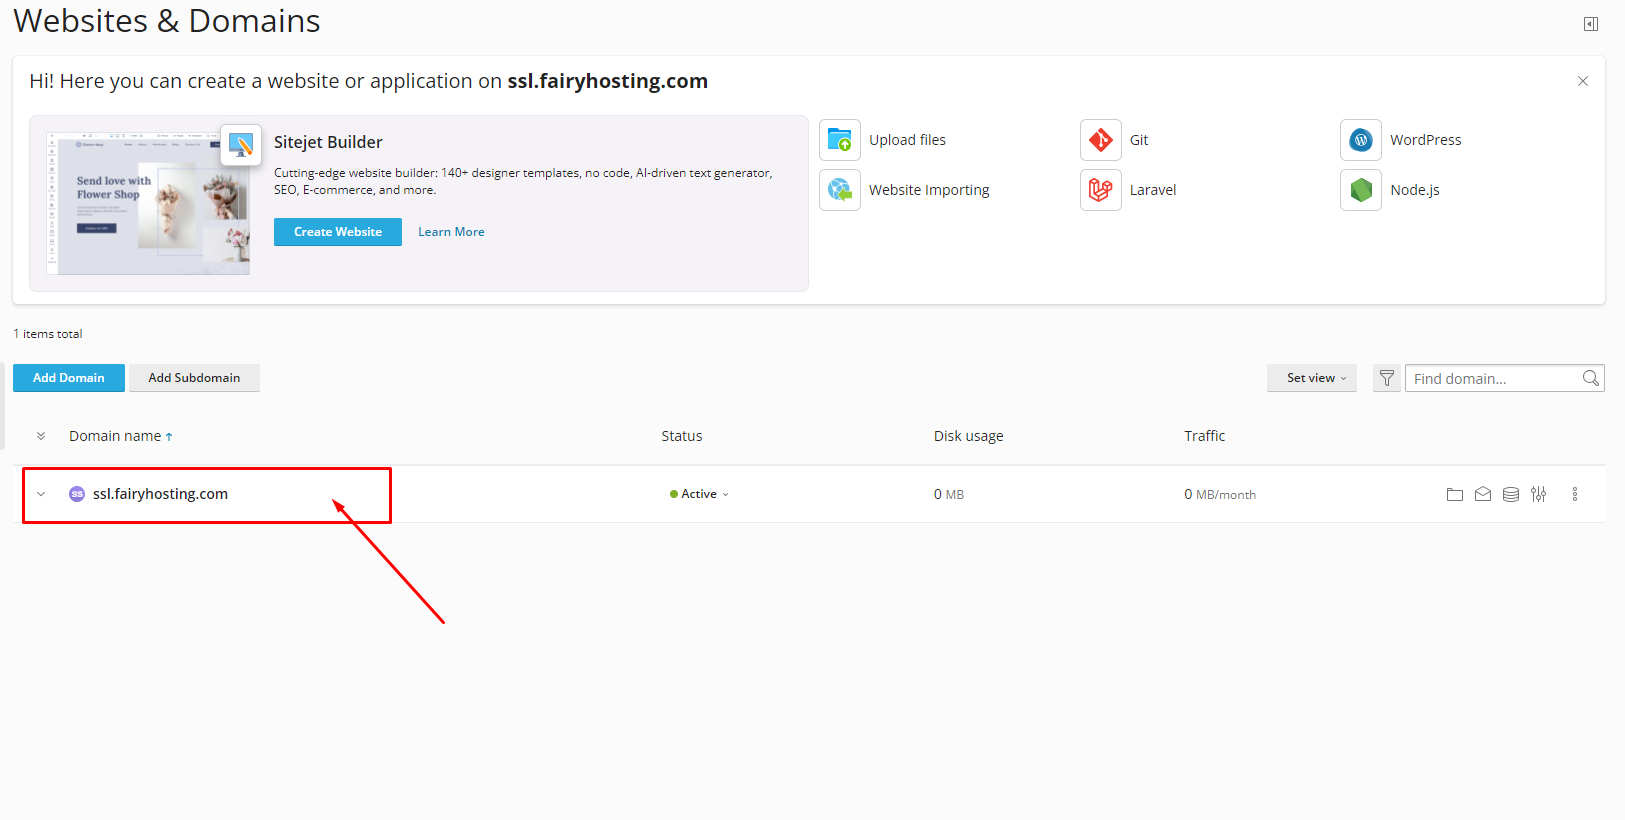
Select the domain for which you want to install the Let's Encrypt certificate.
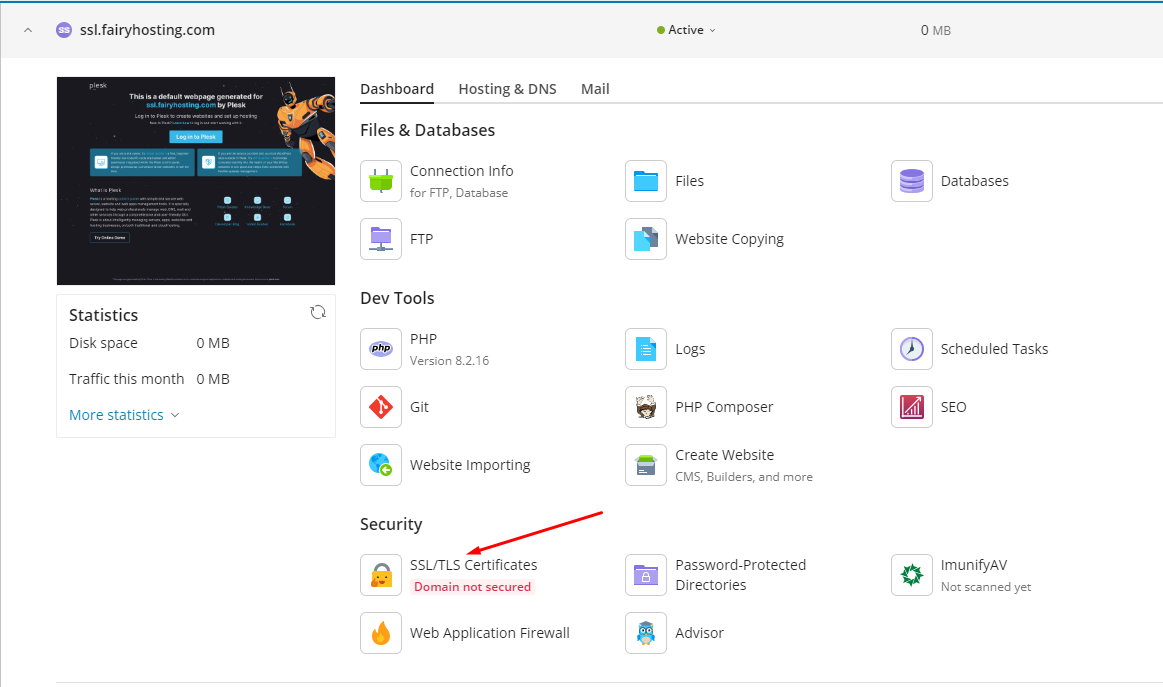
On the domain management page, select the "SSL/TLS Certificates" section.
Then choose the option to install a free Let's Encrypt certificate.

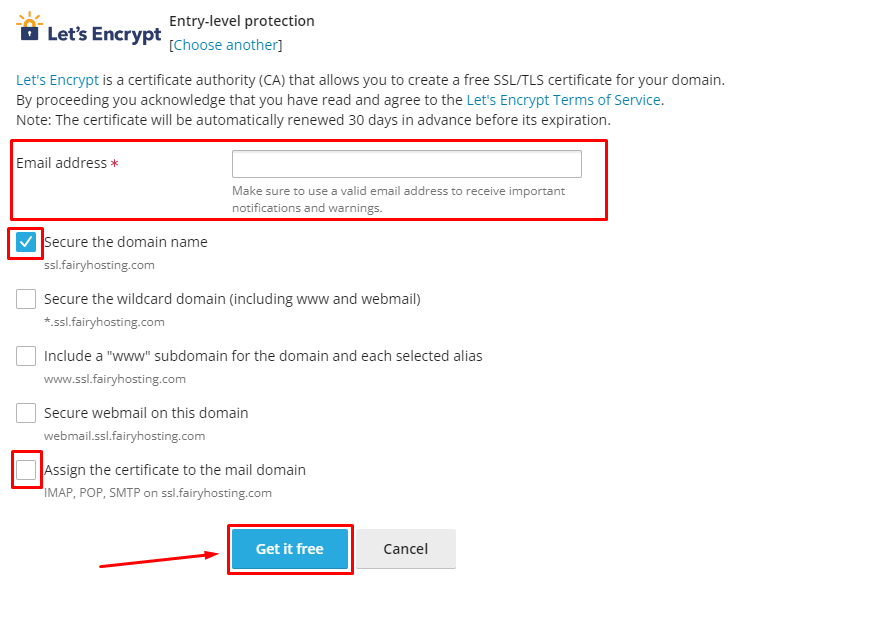
Fill in the required fields, such as the email for notifications. Check the boxes next to "Secure the domain name" and "Assign the certificate to the mail domain", then click on the "Get it free" button.
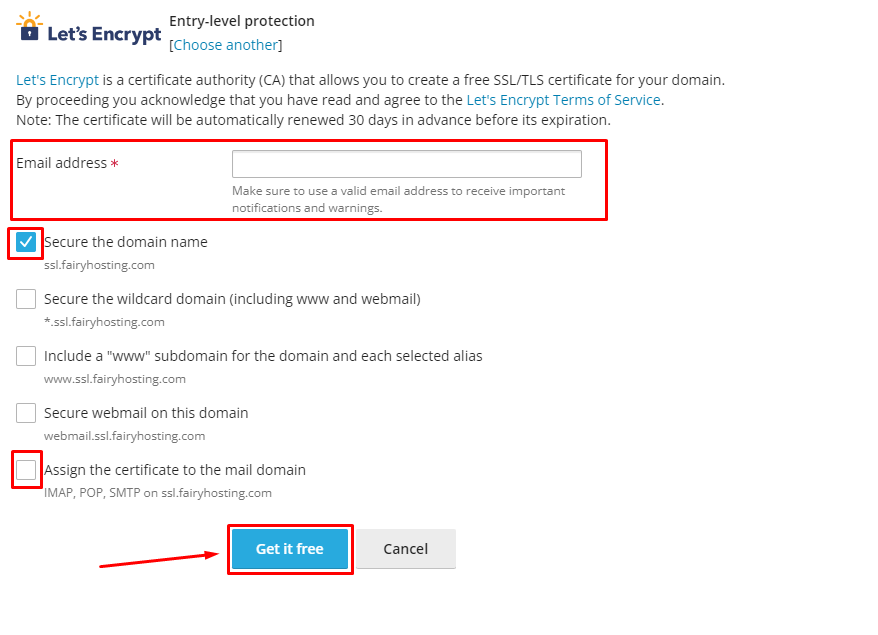
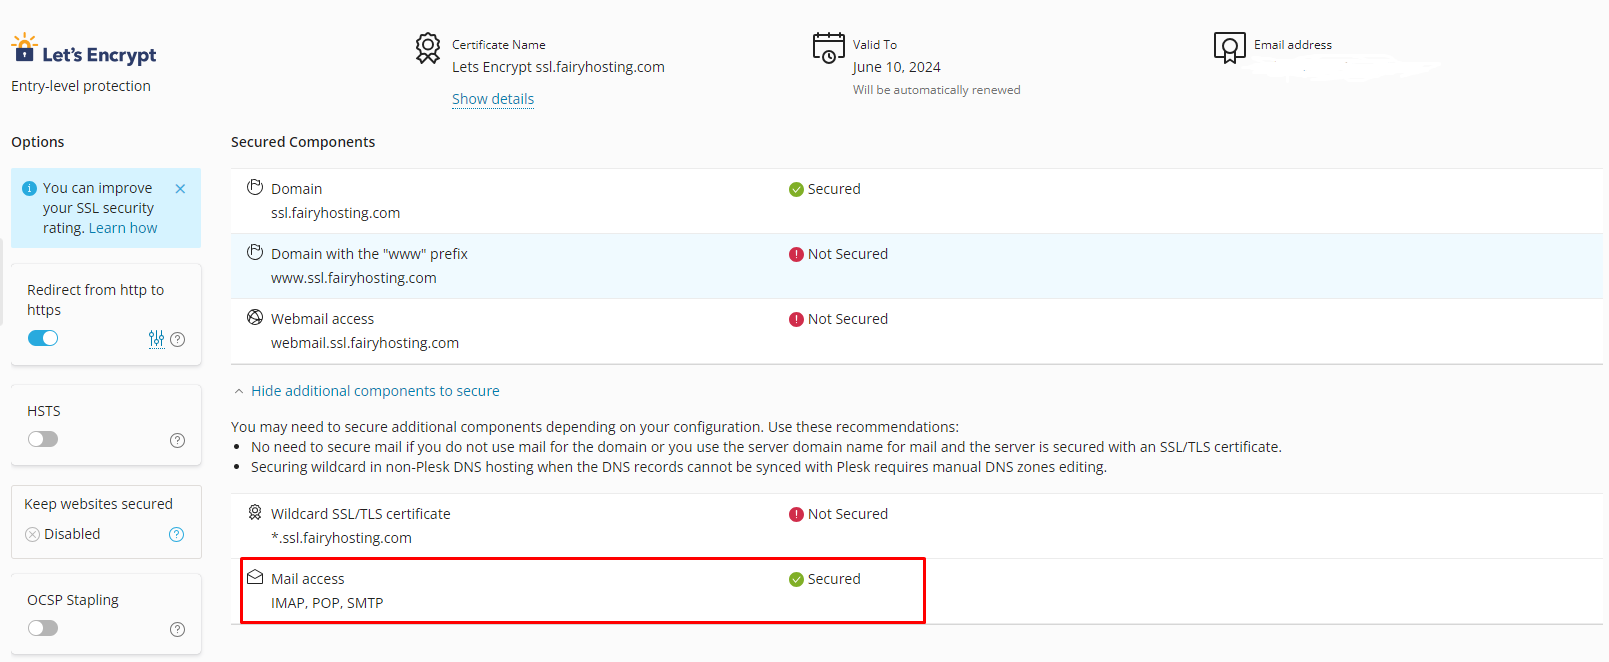
Plesk will automatically contact Let's Encrypt to obtain the certificate and install it for the selected domain. After this process is completed, a page with the certificate will be opened, where you can see that the Let's Encrypt certificate for email has been installed.
Updating an existing Let's Encrypt certificate
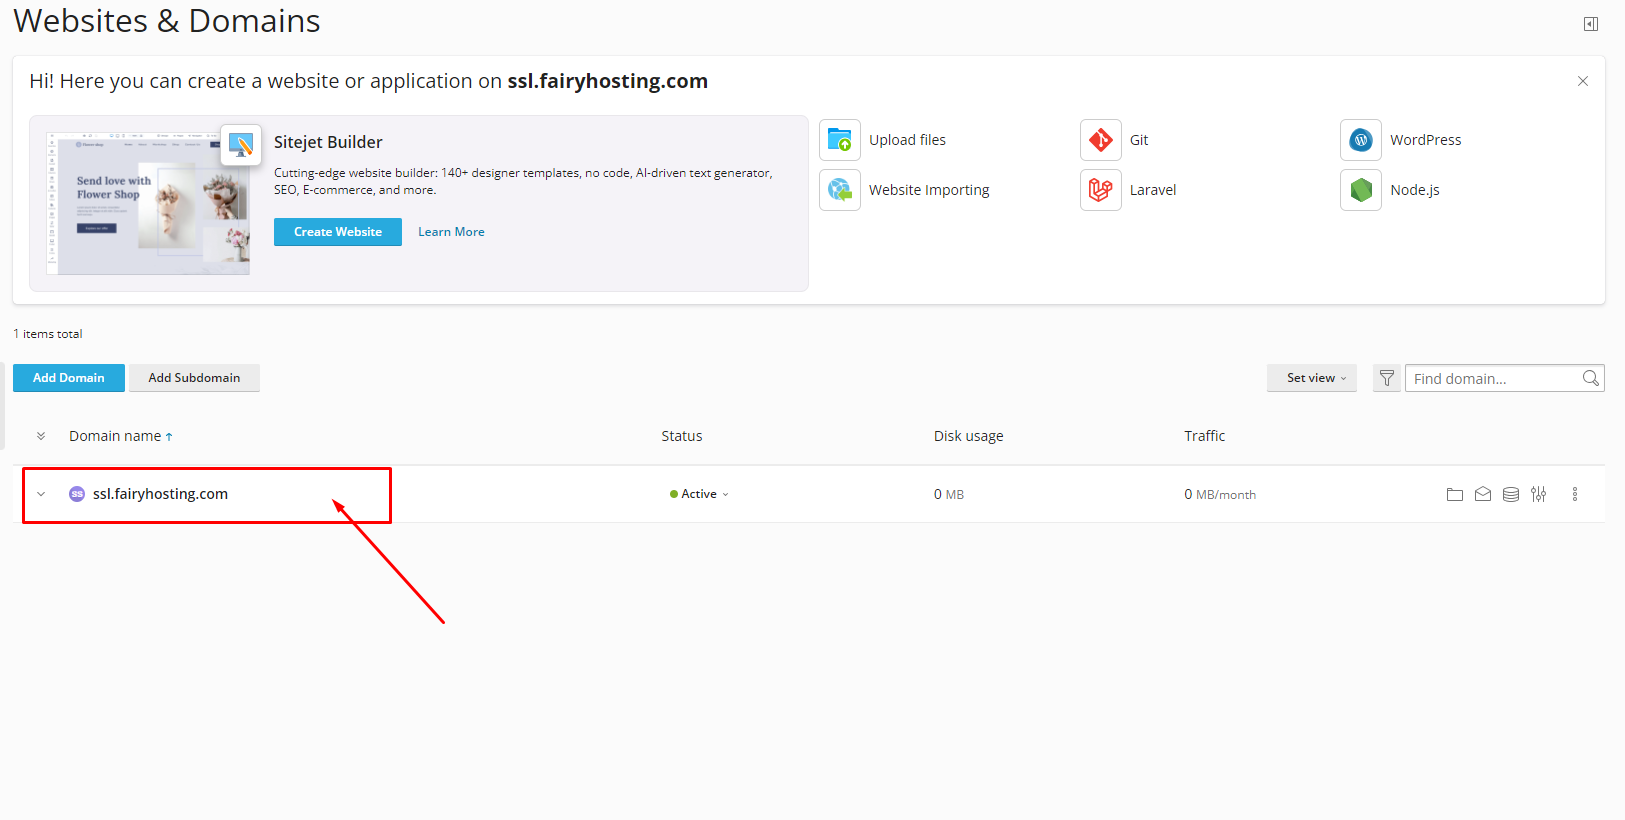
To update an existing Let's Encrypt certificate, select your domain.
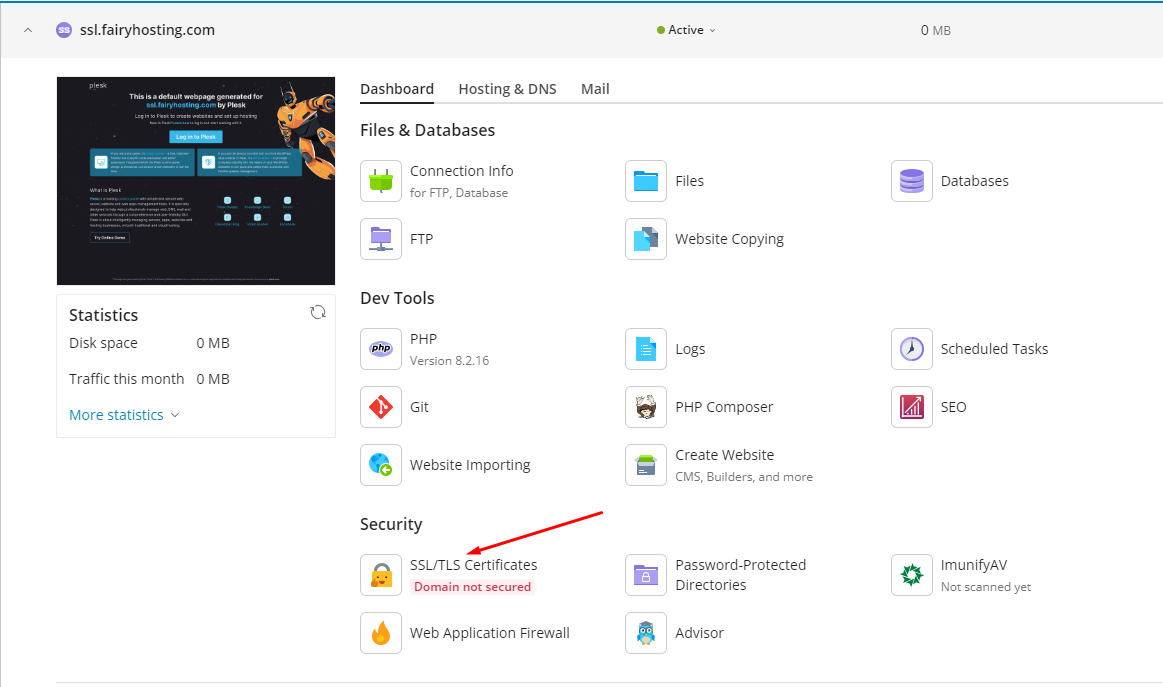
On the domain management page, select the "SSL/TLS Certificates" section.
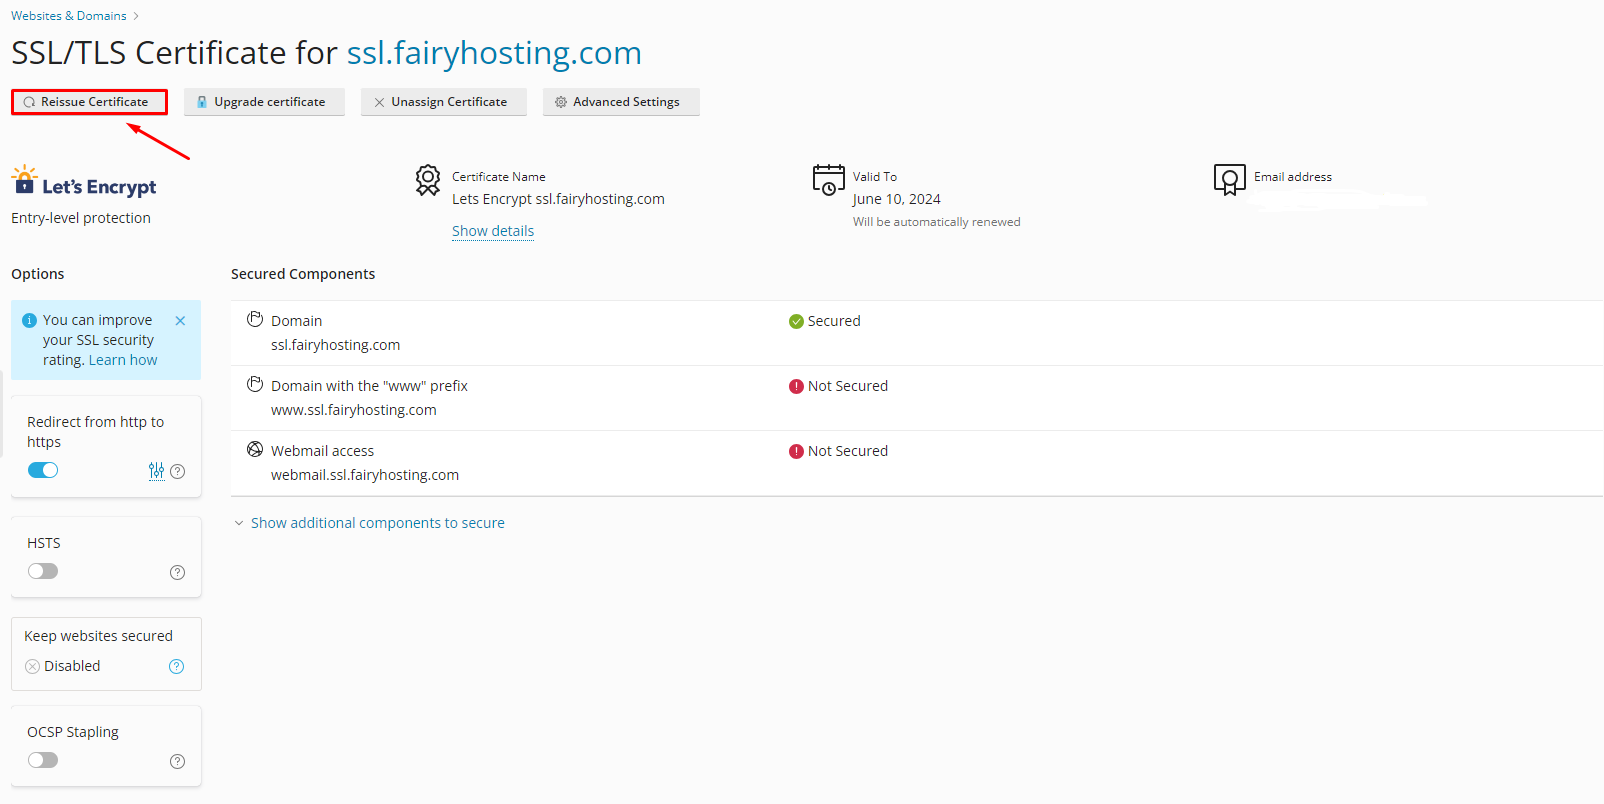
You will be presented with a window displaying the installed Let's Encrypt certificate. You need to click on the "Reissue Certificate" button.
Scroll down and select the option to install a free Let's Encrypt certificate.

Fill in the required fields, such as the email for notifications. Check the boxes next to "Secure the domain name" and "Assign the certificate to the mail domain", then click on the "Get it free" button.
Now a Let's Encrypt certificate for email has been installed on your domain.


