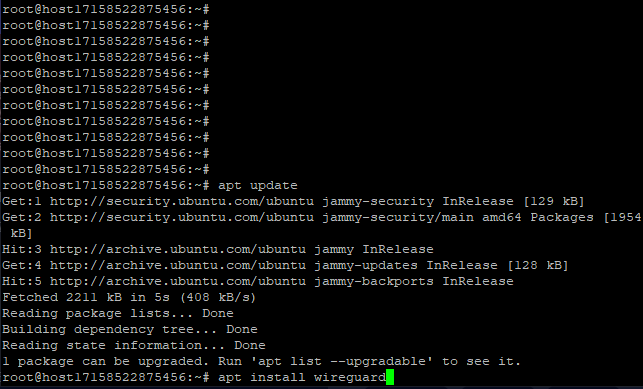
Connect to the server and install updatesapt update
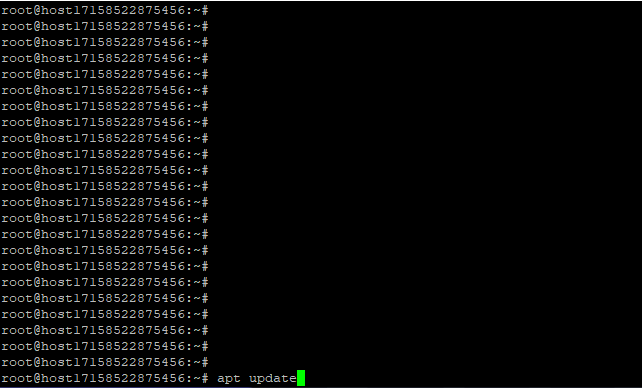
Install WireGuard.
apt install wireguard
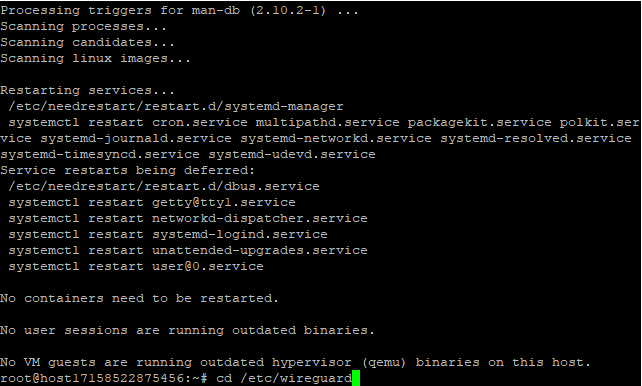
Navigate to the WireGuard directory
cd /etc/wireguard
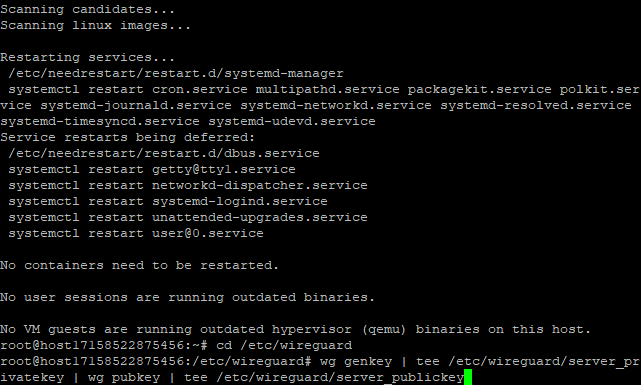
Generate server public and private keys
wg genkey | tee /etc/wireguard/server_privatekey | wg pubkey | tee /etc/wireguard/server_publickey
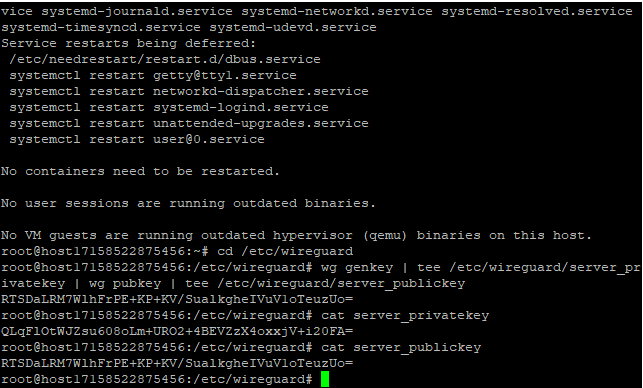
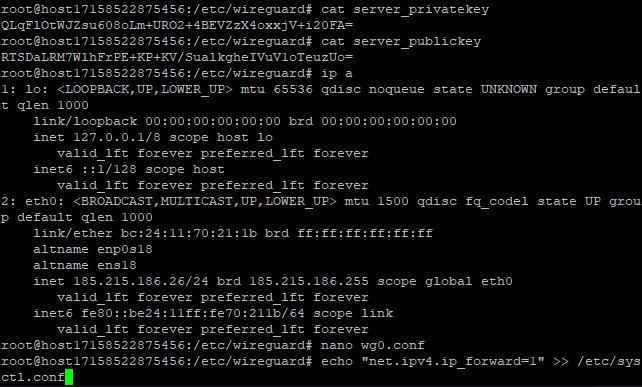
The generated keys are saved in the files server_privatekey and server_publickey. To view them, use the commands:
cat server_privatekey
cat server_publickey
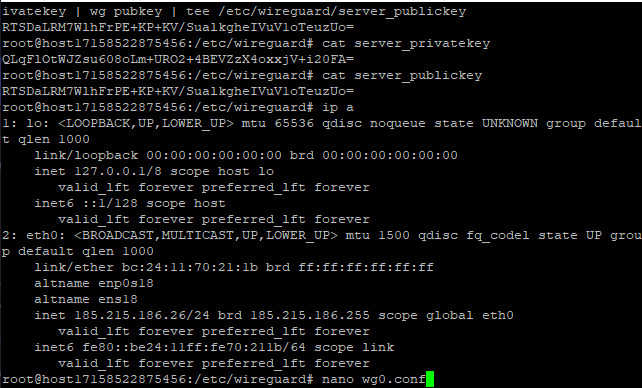
Identify the server's network interface for internet access.
On virtual servers, this is typically eth0. You can check the list of network interfaces with:
ip a
Remember the name of the interface.
Create the server's WireGuard configuration filenano wg0.conf
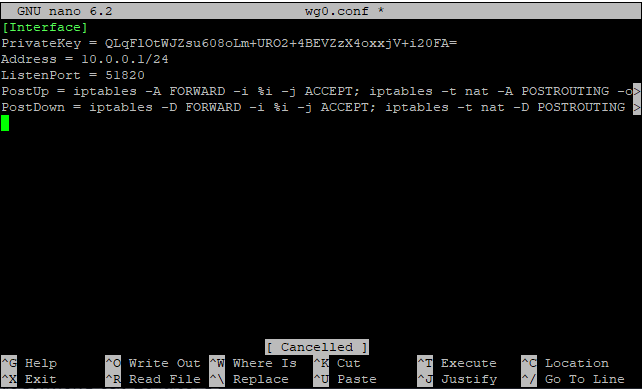
Insert the following content, modifying the placeholders as needed:
[Interface]
PrivateKey = <private_key>
Address = <IP-server_address>
ListenPort = <Port>
PostUp = iptables -A FORWARD -i %i -j ACCEPT; iptables -t nat -A POSTROUTING -o <Interface> -j MASQUERADE
PostDown = iptables -D FORWARD -i %i -j ACCEPT; iptables -t nat -D POSTROUTING -o <Interface> -j MASQUERADE
Explanation:
- PrivateKey: The private key of the server, generated earlier.
- Address: The internal IP address of the WireGuard interface. It must be unique within the subnet. For example, using
10.0.0.1/24, ensure the client does not have10.0.0.1to avoid conflicts. - ListenPort: WireGuard's listening port (e.g., between 51820 and 51830).
- PostUp: Adds an
iptablesrule for traffic routing through the WireGuard interface. - PostDown: Removes the
iptablesrule when the interface is stopped.
Save the file.
Enable IP forwarding.
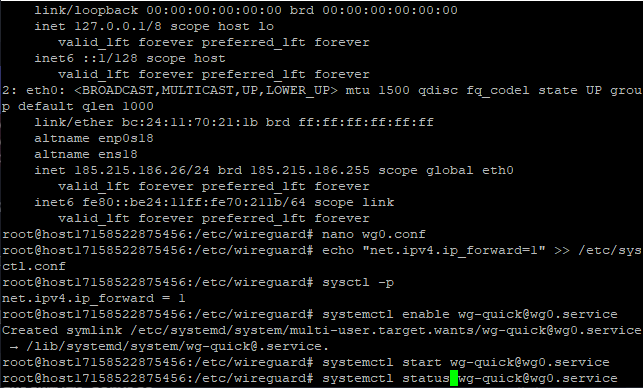
echo "net.ipv4.ip_forward=1" >> /etc/sysctl.conf
Enable and start the WireGuard server
systemctl enable wg-quick@wg0.service
systemctl start wg-quick@wg0.service
Configuring WireGuard on the client side
Generate the client's private and public keys
Run these commands on the server:
wg genkey | tee /etc/wireguard/user_privatekey | wg pubkey | tee /etc/wireguard/user_publickey

Update the server configuration file.
Edit the wg0.conf file
nano wg0.conf
Add the following block for the client:
[Peer]
PublicKey = <Client_publickey>
AllowedIPs = <Разрешенный_IP_адрес_для_клиента>
Explanation:
- PublicKey: The public key of the client, saved in the
user_publickeyfile. - AllowedIPs: The IP address within the same subnet as the server's interface.

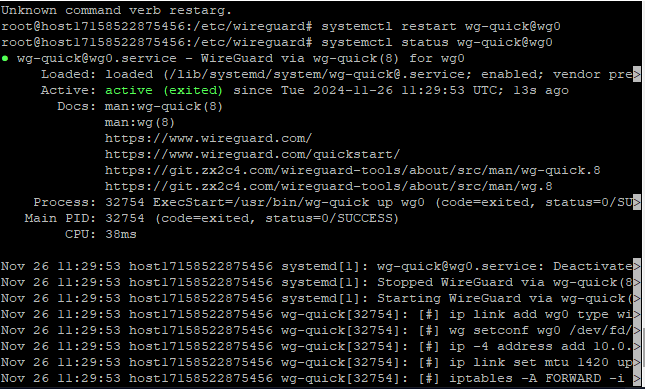
Save the file and restart the WireGuard server:
systemctl restart wg-quick@wg0
Install the WireGuard client on your computer: Wireguard Installation
Create a new configuration file. Press CTRL+N in the WireGuard client to create an empty configuration file.
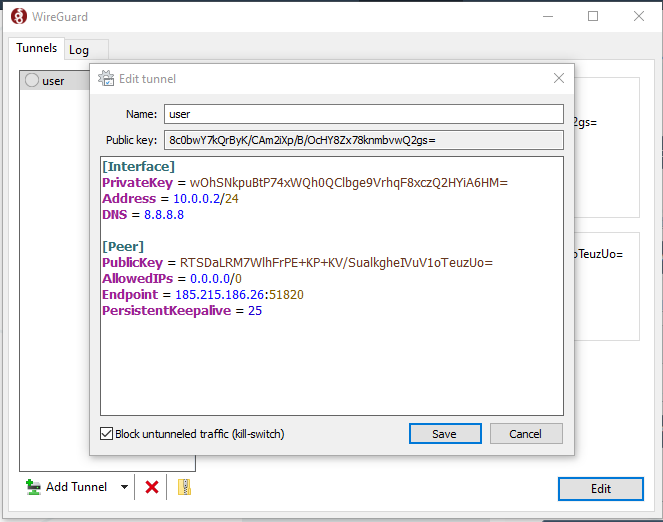
Add the following configuration:
[Interface]
PrivateKey = <Client_private_key>
Address = <Client_IP_address>
DNS = 8.8.8.8
[Peer]
PublicKey = <Server_public_key>
Endpoint = <Server_IP>:<Port>
AllowedIPs = 0.0.0.0/0
PersistentKeepalive = 20
Explanation:
- PrivateKey: The client's private key from the
user_privatekeyfile. - Address: The client's IP address, matching the configuration on the server (e.g.,
10.0.0.2/24). - DNS: Specifies the DNS server address (e.g.,
8.8.8.8). - PublicKey: The server's public key from the
server_publickeyfile. - Endpoint: The server's IP and port.
- AllowedIPs:
0.0.0.0/0means all traffic will route through WireGuard. - PersistentKeepalive: Keeps the connection alive by sending requests every 20 seconds.
Save the file and activate the connection.
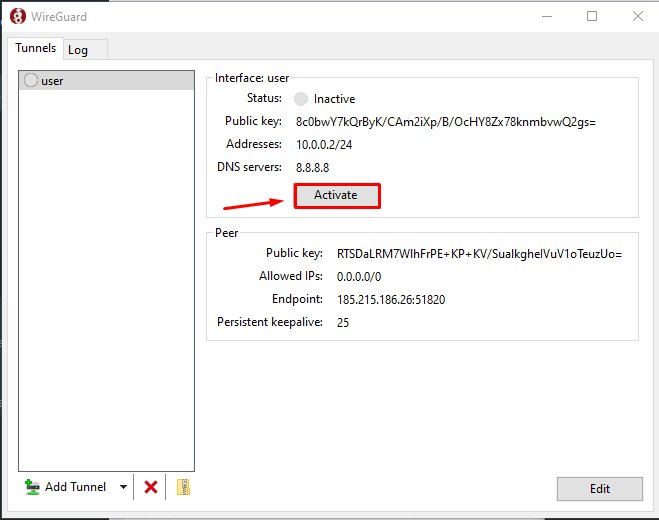
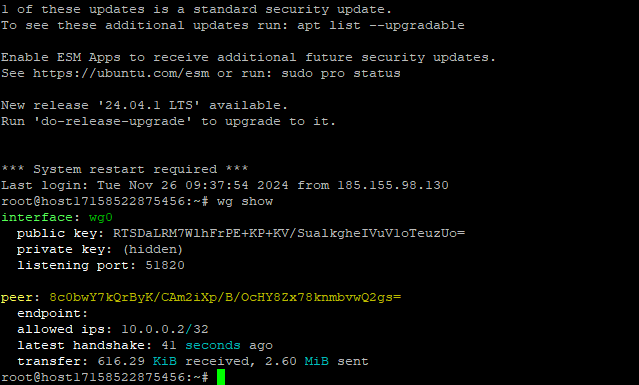
Verify the connection
On the server, check active connections with:
wg show