• العربية
  • Azerbaijani
  • Català
  • 中文
  • Hrvatski
  • Čeština
  • Dansk
  • Nederlands
  • English
  • Estonian
  • Persian
  • Français
  • Deutsch
  • עברית
  • Magyar
  • Italiano
  • Macedonian
  • Norwegian
  • Português
  • Português
  • Română
  • Русский
  • Español
  • Svenska
  • Türkçe
  • Українська
  • Account
    • Login
    • Register
    • Forgot Password?
  • FairyHosting.com
    • Services
      • My Services
      • Order New Services
      • Domains
      • DNS MANAGER
    • Payment
      • Invoices
      • Add funds
      • Mass Payment
    • Support
    • Knowledgebase
    • Affiliates

      Categories

    Hestia CP
    2
    ISPmanager
    9
    Linux Server
    25
    Plesk
    14
    Windows Server
    14
    Fairy Disk Services
    4
    Mikrotik (RouterOS)
    8
    Server management
    19
    For a new client
    13

      Categories

      Tag Cloud

    Debian Восстановление root пароля CentOS7 Linux сброс root пароля CentOS7 сервер Password recovery Root password Ubuntu

      Support

    My Support Tickets
    Knowledgebase
    Open Ticket

    How to setup Wireguard server and client Print

    • 0

    WireGuard is a modern VPN protocol and software that allows you to create secure and fast virtual private networks. It stands out for its simple configuration, high performance, and low code complexity. WireGuard uses modern cryptographic algorithms such as ChaCha20, Poly1305, Curve25519, and offers better performance compared to traditional VPNs like OpenVPN and IPSec.


    We will use Ubuntu 22.04 as an example.


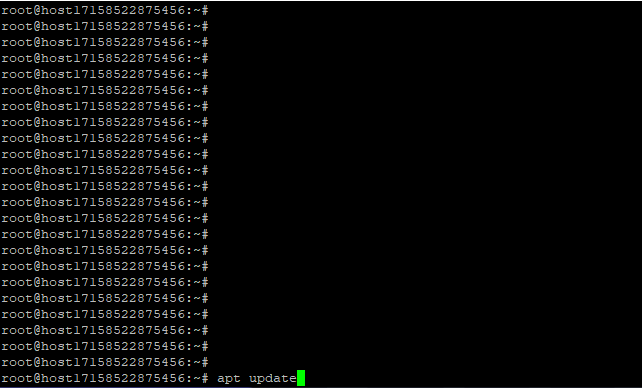
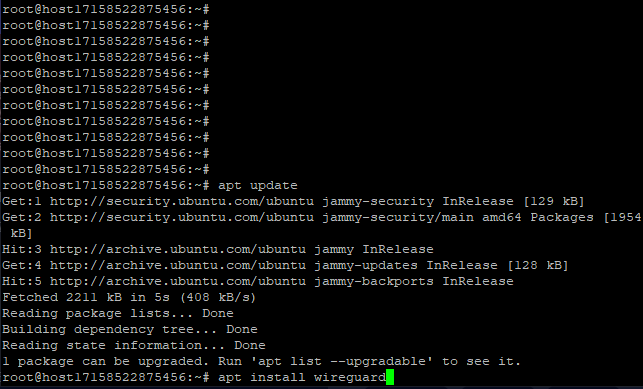
    Connect to the server and install updates
    apt update

    Install WireGuard.

    apt install wireguard
    Navigate to the WireGuard directory

    cd /etc/wireguard
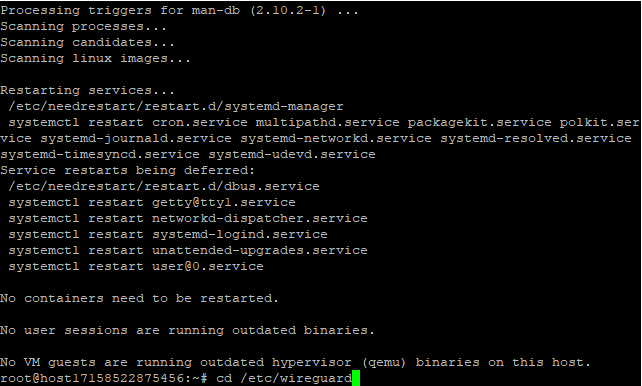
    Generate server public and private keys

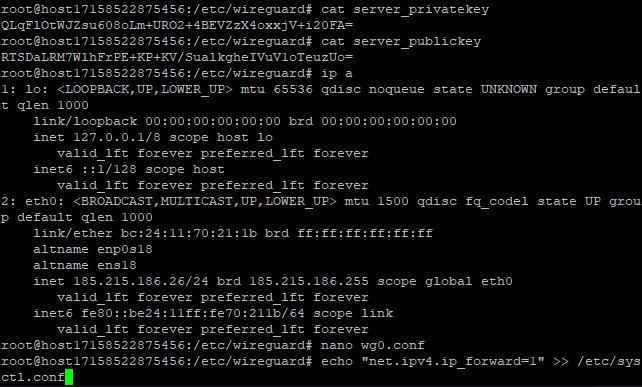
    wg genkey | tee /etc/wireguard/server_privatekey | wg pubkey | tee /etc/wireguard/server_publickey
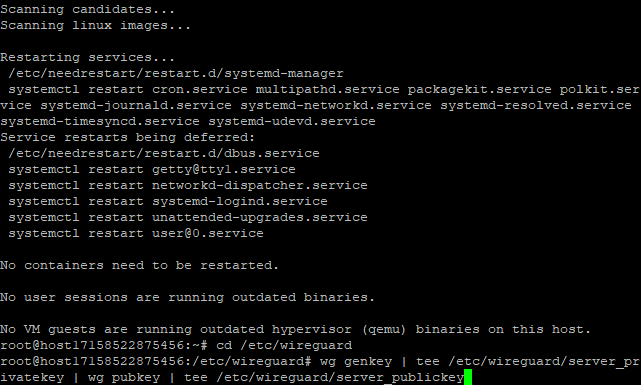
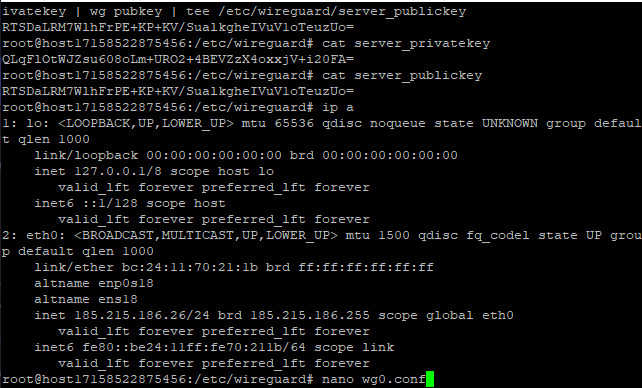
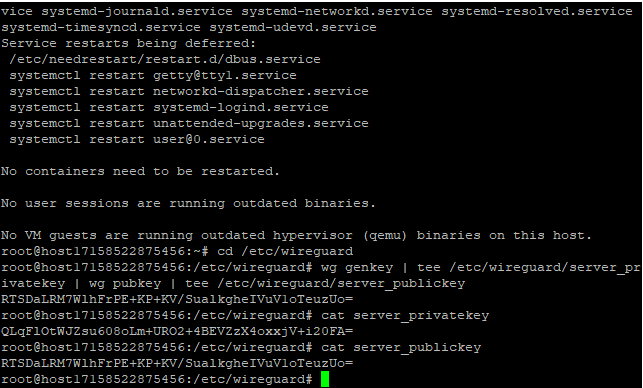
    The generated keys are saved in the files server_privatekey and server_publickey. To view them, use the commands:

    cat server_privatekey

    cat server_publickey
    Identify the server's network interface for internet access.
    On virtual servers, this is typically eth0. You can check the list of network interfaces with:

    ip a
    Remember the name of the interface.

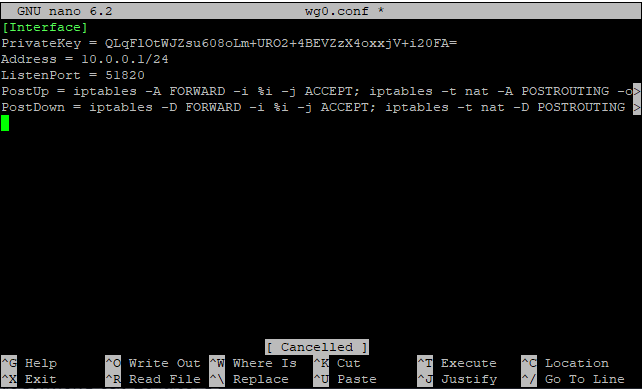
    Create the server's WireGuard configuration file
    nano wg0.conf

    Insert the following content, modifying the placeholders as needed:

    [Interface]

    PrivateKey = <private_key>

    Address = <IP-server_address>

    ListenPort = <Port>

    PostUp = iptables -A FORWARD -i %i -j ACCEPT; iptables -t nat -A POSTROUTING -o <Interface> -j MASQUERADE

    PostDown = iptables -D FORWARD -i %i -j ACCEPT; iptables -t nat -D POSTROUTING -o <Interface> -j MASQUERADE

    Explanation:

    • PrivateKey: The private key of the server, generated earlier.
    • Address: The internal IP address of the WireGuard interface. It must be unique within the subnet. For example, using 10.0.0.1/24, ensure the client does not have 10.0.0.1 to avoid conflicts.
    • ListenPort: WireGuard's listening port (e.g., between 51820 and 51830).
    • PostUp: Adds an iptables rule for traffic routing through the WireGuard interface.
    • PostDown: Removes the iptables rule when the interface is stopped.

    Save the file.
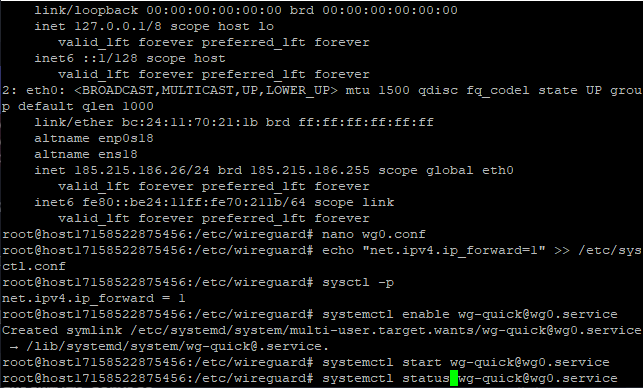
    Enable IP forwarding.

    echo "net.ipv4.ip_forward=1" >> /etc/sysctl.conf
    Enable and start the WireGuard server

    systemctl enable [email protected]

    systemctl start [email protected]

    Configuring WireGuard on the client side


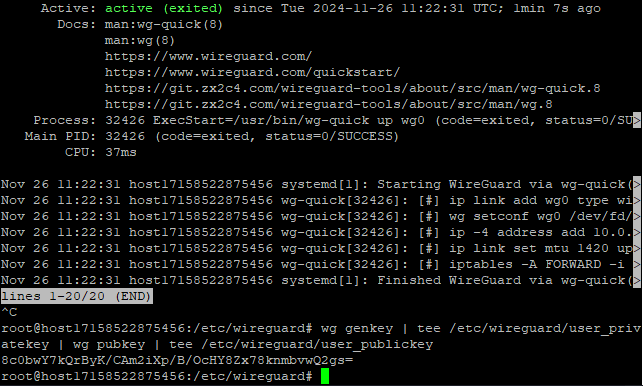
    Generate the client's private and public keys
    Run these commands on the server:

    wg genkey | tee /etc/wireguard/user_privatekey | wg pubkey | tee /etc/wireguard/user_publickey
    Update the server configuration file.
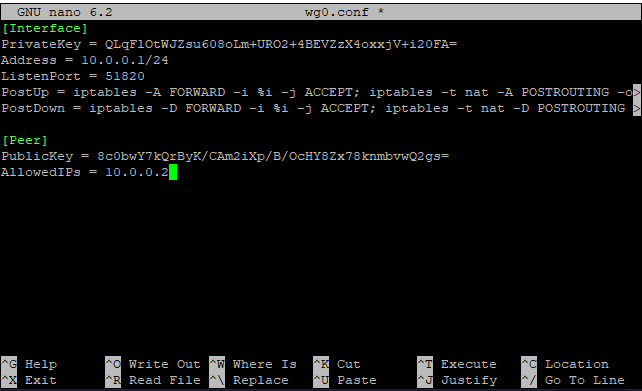
    Edit the wg0.conf file

    nano wg0.conf

    Add the following block for the client:

    [Peer]

    PublicKey = <Client_publickey>

    AllowedIPs = <Разрешенный_IP_адрес_для_клиента>


    Explanation:

    • PublicKey: The public key of the client, saved in the user_publickey file.
    • AllowedIPs: The IP address within the same subnet as the server's interface.
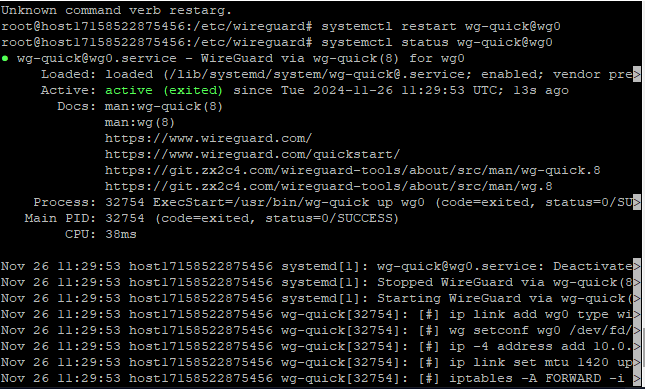
    Save the file and restart the WireGuard server:

    systemctl restart wg-quick@wg0
    Install the WireGuard client on your computer: Wireguard Installation 

    Create a new configuration file. Press CTRL+N in the WireGuard client to create an empty configuration file.
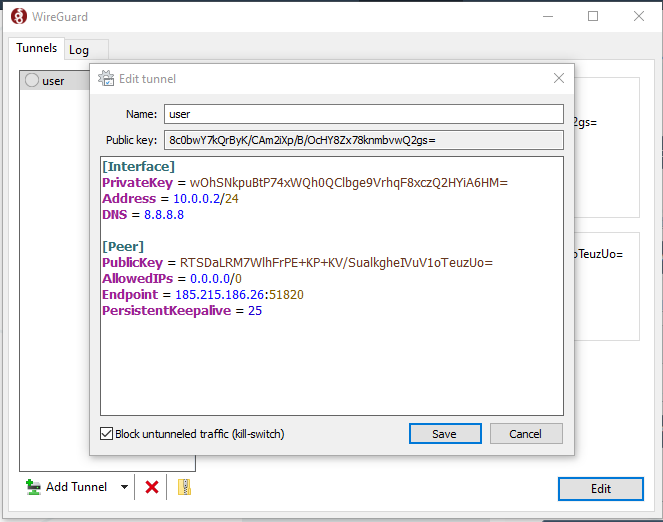
    Add the following configuration:


    [Interface]

    PrivateKey = <Client_private_key>

    Address = <Client_IP_address>

    DNS = 8.8.8.8


    [Peer]

    PublicKey = <Server_public_key>

    Endpoint = <Server_IP>:<Port>

    AllowedIPs = 0.0.0.0/0

    PersistentKeepalive = 20


    Explanation:

    • PrivateKey: The client's private key from the user_privatekey file.
    • Address: The client's IP address, matching the configuration on the server (e.g., 10.0.0.2/24).
    • DNS: Specifies the DNS server address (e.g., 8.8.8.8).
    • PublicKey: The server's public key from the server_publickey file.
    • Endpoint: The server's IP and port.
    • AllowedIPs: 0.0.0.0/0 means all traffic will route through WireGuard.
    • PersistentKeepalive: Keeps the connection alive by sending requests every 20 seconds.

    Save the file and activate the connection.
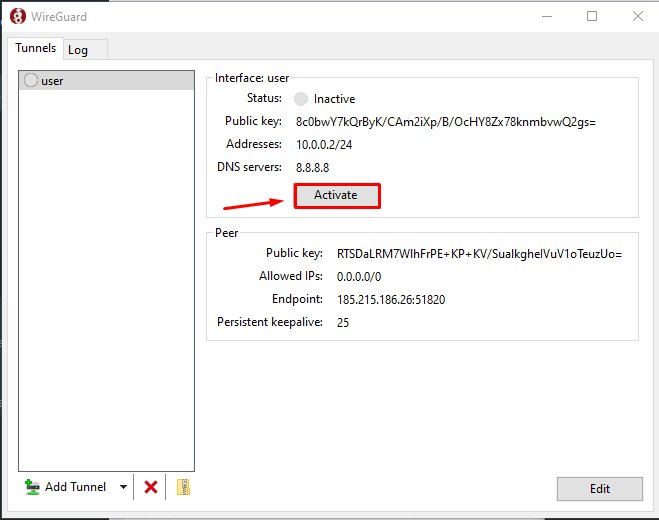
    Verify the connection
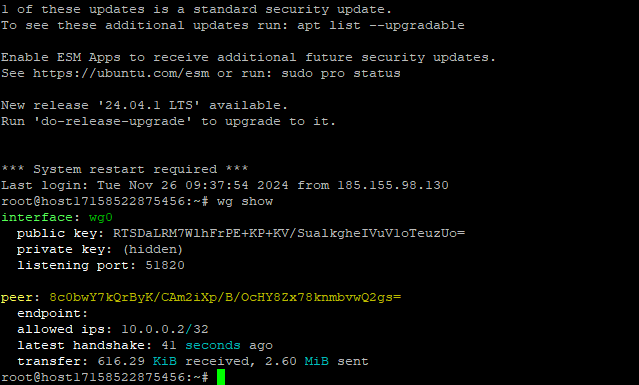
    On the server, check active connections with:

    wg show

    Was this answer helpful?

    Related Articles

    How to reset IPMI password Problem: Can't access to IPMI in web interfaces, but server still working any problem without.... Server data access via IPMIView20 program   You have a dedicated server with IPMI and data access, but what now? This article is about how... Disks storage are not visible after OS installation By using RAID massive and changing him configuration in some cases they may be invisible at... DNS-servers There are several ways to attach your domain to the VPS. Use our DNS-servers (recommended)... Password reset in MySQL For root password reseting of MySQL data bases connect to server via SSH (we recommend use SSH...
    « Back

      Tag Cloud

    Debian Восстановление root пароля CentOS7 Linux сброс root пароля CentOS7 сервер Password recovery Root password Ubuntu

      Support

    My Support Tickets
    Knowledgebase
    Open Ticket
    • Billing
      • Services
      • Invoices
      • Support
      • Knowledgebase
    • Services
      • Virtual servers
      • Dedicated servers
      • Colocation
      • Business hosting
      • Fairy Disk
      • Routers for rent
      • SSL-Certificates
    • News
    • Company
      • About Us
      • Contacts
      • User agreement
      • Privacy policy
    • Technologies

      RJ Network OÜ
      Reg.nr 14694302
      VAT ID: EE102147829

      Narva: P. Kerese tn 5, 20309
      Tallinn: Paul Pinna 8, 13615

    Telegram Chat

    +372 6647001

    [email protected]

    Copyright © 2025 FairyHosting.com. All Rights Reserved.


    Loading...
    Loading...
    Choose language
    العربية
    Azerbaijani
    Català
    中文
    Hrvatski
    Čeština
    Dansk
    Nederlands
    English
    Estonian
    Persian
    Français
    Deutsch
    עברית
    Magyar
    Italiano
    Macedonian
    Norwegian
    Português
    Português
    Română
    Русский
    Español
    Svenska
    Türkçe
    Українська

    Generate Password

    Please enter a number between 8 and 64 for the password length