The security of your website is an integral part of a successful online presence. Security certificates help protect user information and build trust. One of the most popular and accessible options is to use Let's Encrypt certificates. In this article, we will discuss the process of installing a Let's Encrypt certificate for your website through the Plesk control panel.
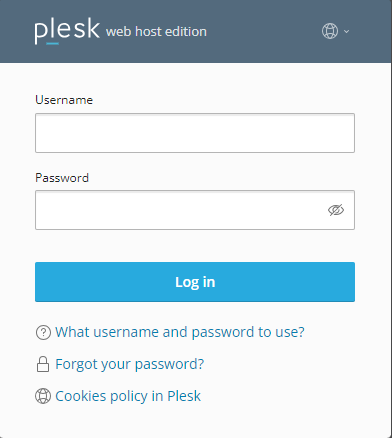
Please log in to your Plesk control panel. Enter your credentials to access the administrative panel.
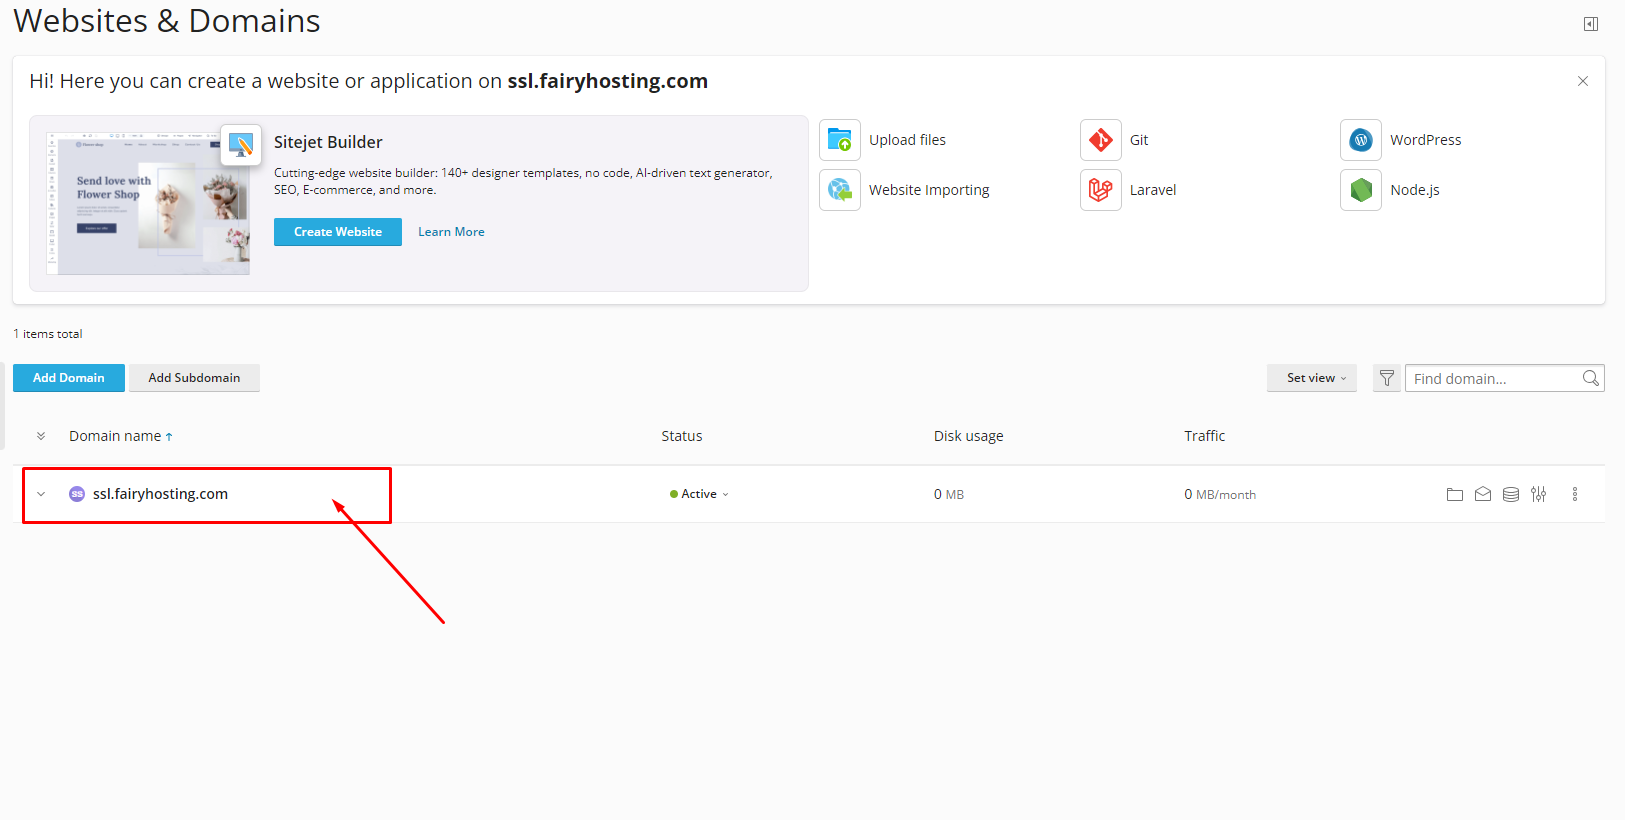
Select the domain for which you want to install the Let's Encrypt certificate.
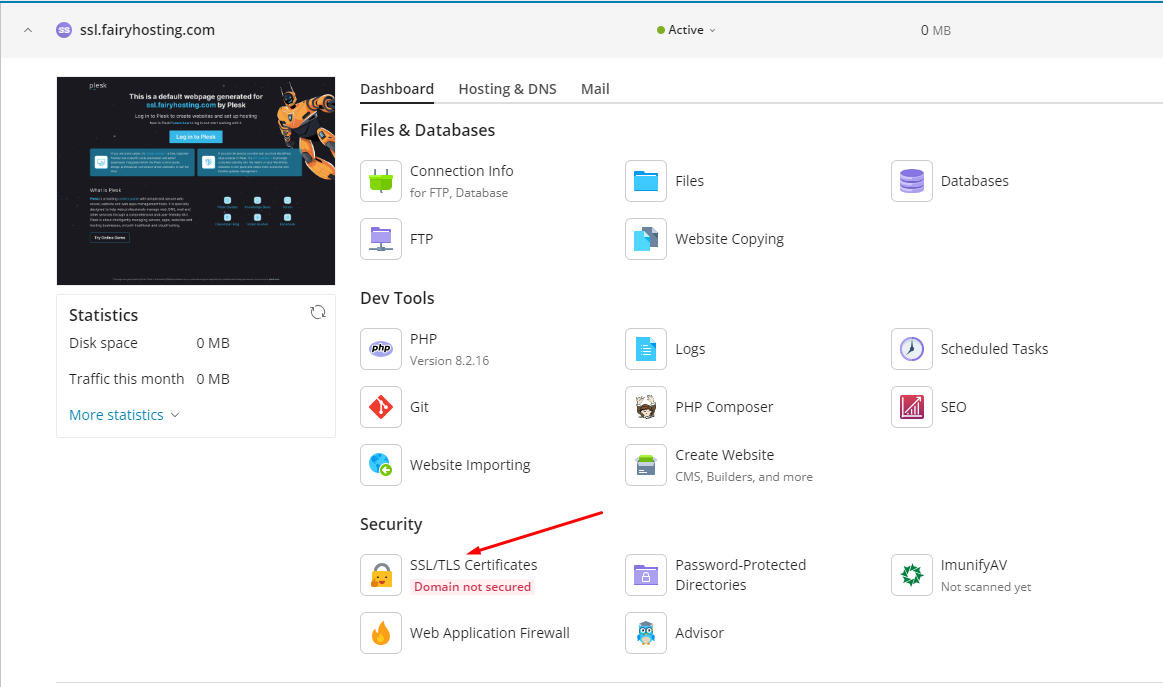
On the domain management page, select the "SSL/TLS Certificates" section.
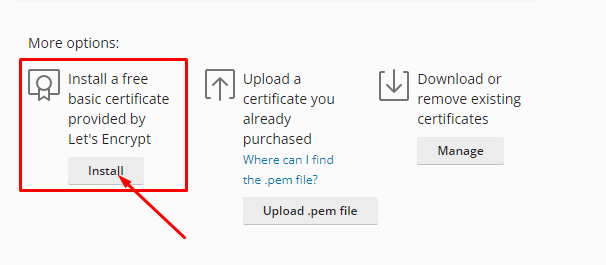
Then choose the option to install a free Let's Encrypt certificate.
Fill in the required fields, such as the email for notifications, check the box next to "Secure the domain name," and then click on the "Get it free" button.

Plesk will automatically contact Let's Encrypt to obtain the certificate and install it for the selected domain. After this process is completed, a page with the certificate will be opened, where you can view important information.
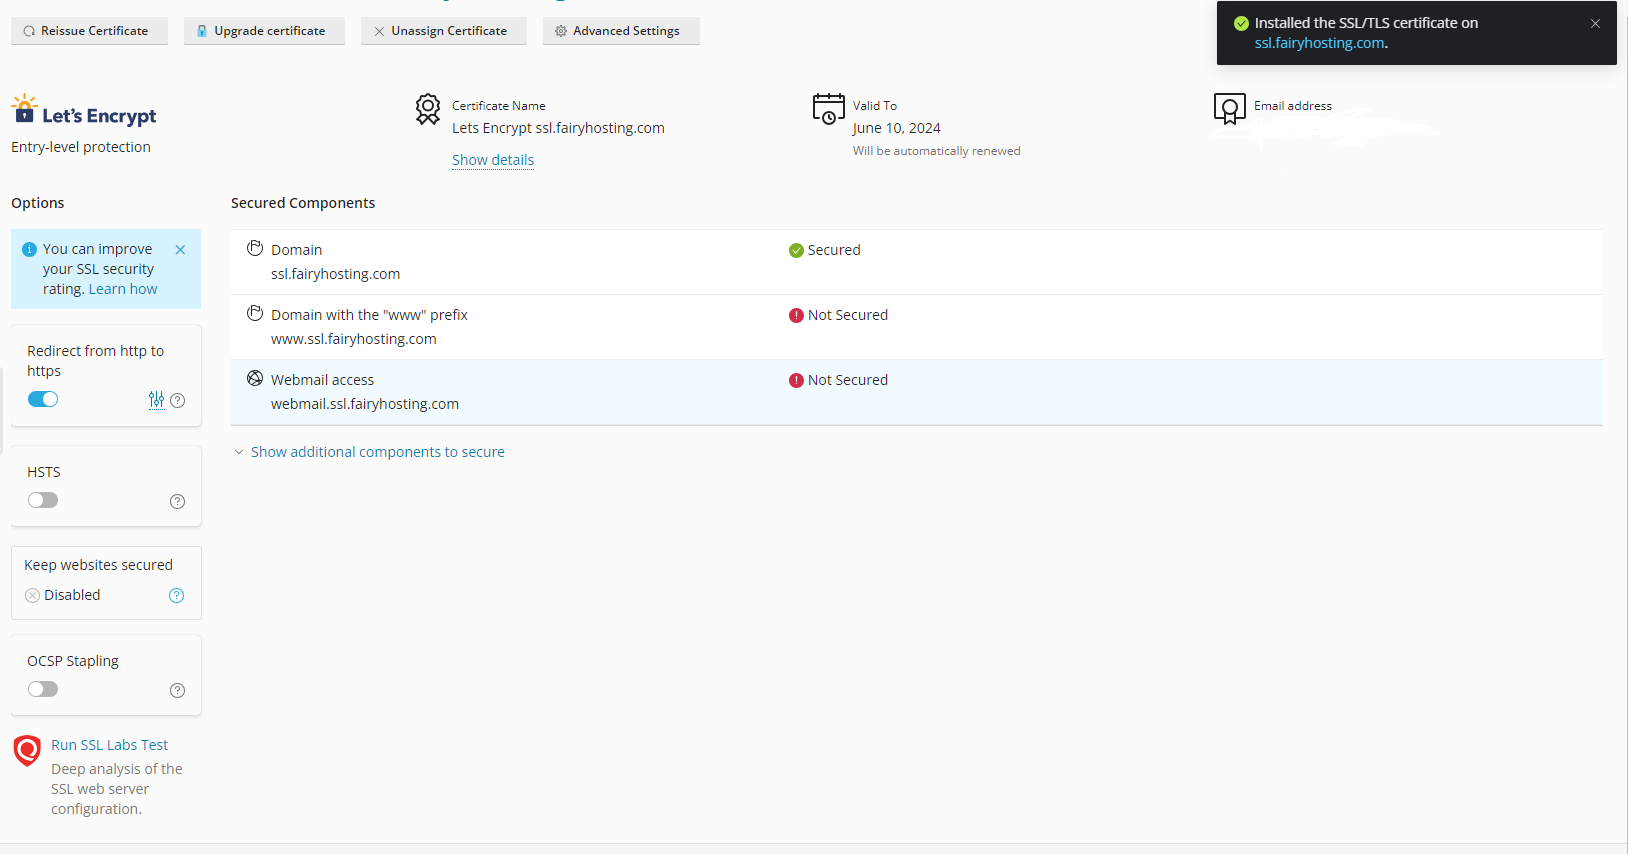
After successful installation, please check the functionality of your website. In the browser's address bar, ensure that the protocol "https://" is displayed, and also verify that the certificate is valid.

Now your website should be secured with a Let's Encrypt certificate, providing a secure connection between your server and users. Regularly update and check your certificates to maintain the security of your web space.


