


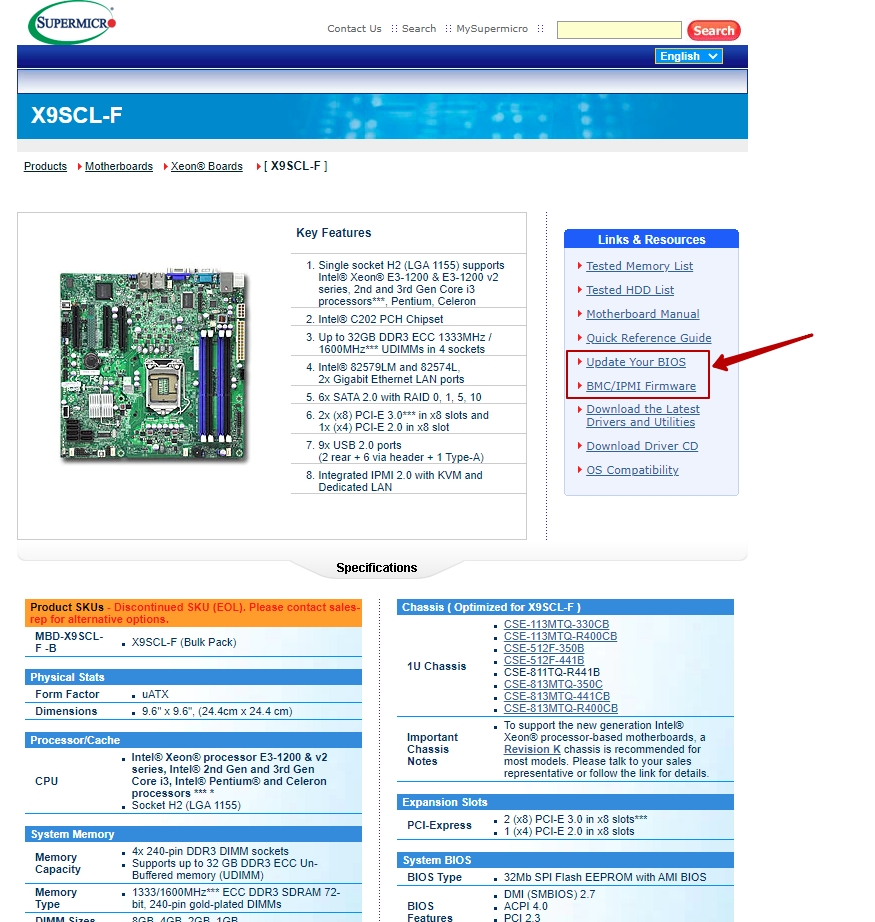
In this article, we will consider how to update the BIOS and IPMI firmware on the Supermicro X9SCL-F server platform as an example - https://www.supermicro.com/products/motherboard/xeon/c202_c204/x9scl-f.cfm
Updating the BIOS and IPMI (Intelligent Platform Management Interface) can be done using different methods:
-
Updating through the IPMI module (BIOS update is possible only with a license)
-
Updating via a created bootable flash drive with MS-Dos
First, you need to download two files from the motherboard manufacturer's website, selecting the necessary model - "Update Your Bios" and "BMC/IPMI Firmware".
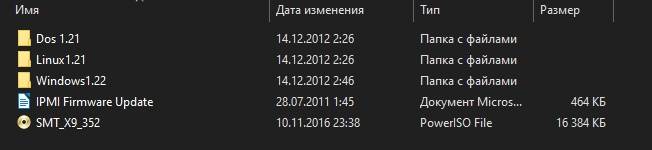
After unpacking the archives, you will see the following files:
For IPMI/BMC:
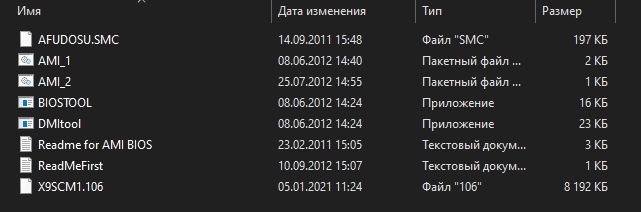
For BIOS:
To update the IPMI, you will need the file SMT_X9_352.
To update the BIOS, you will need the files AMI_1 and X9SCM1.106.
IPMI Update
If you have set up the network on IPMI, then you connect to it through a web browser using its configured IP address.
If not, then you connect via a network patch cord to the dedicated IPMI port on the motherboard, start the server. Then, you configure the required static address in the BIOS settings (BIOS -> IPMI -> BMC Network Configuration) and on the connected device (laptop, PC) assign the adjacent free address.
After configuring and connecting to the IPMI, you will be able to access the web GUI of the IPMI module using any browser.
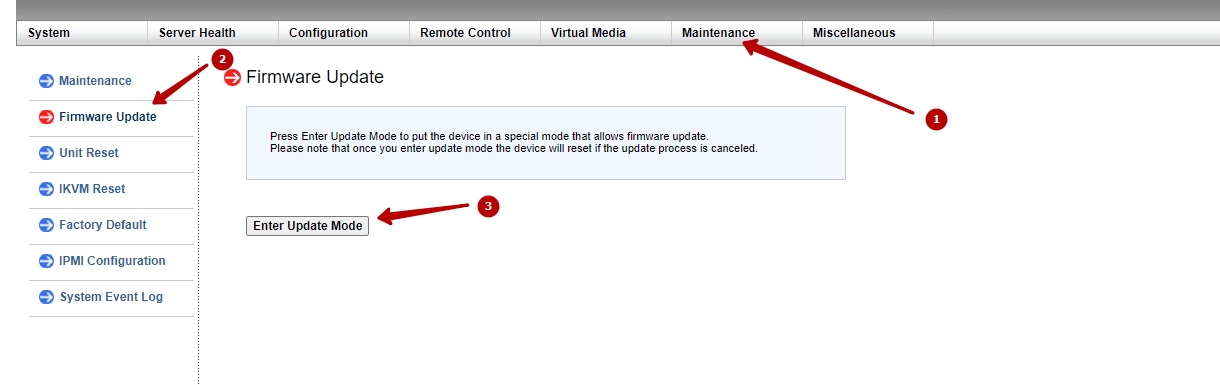
You click on the Maintenance section -> Firmware update/BIOS Update.
First of all, let's update the IPMI module. To do this, select Firmware Update -> Enter Update Mode.
Attention! It is important not to disconnect the server from power during the firmware update of the IPMI or BIOS!!!
Next, we select our file and click "Upload Firmware". After the file is uploaded, the following options will be displayed.
Click on Start Upgrade. The approximate update of the module may take from 2 to 5 minutes.
Upon completion of the firmware update, the WEB-GUI of the module will become accessible.
After that, the firmware update process will be completed.
BIOS Update
Update via IPMI module (BIOS update is only possible with a valid license)
If you have a valid license, you can go to the Maintenance section -> BIOS Update
Select the downloaded file X9SCM1.106, then click on Upload Firmware. Once the file is uploaded, press Start Upgrade. Upon completion, it is recommended to disconnect the server from the power source for 1-2 minutes.
Updating via a bootable flash drive using the MS-DOS system.
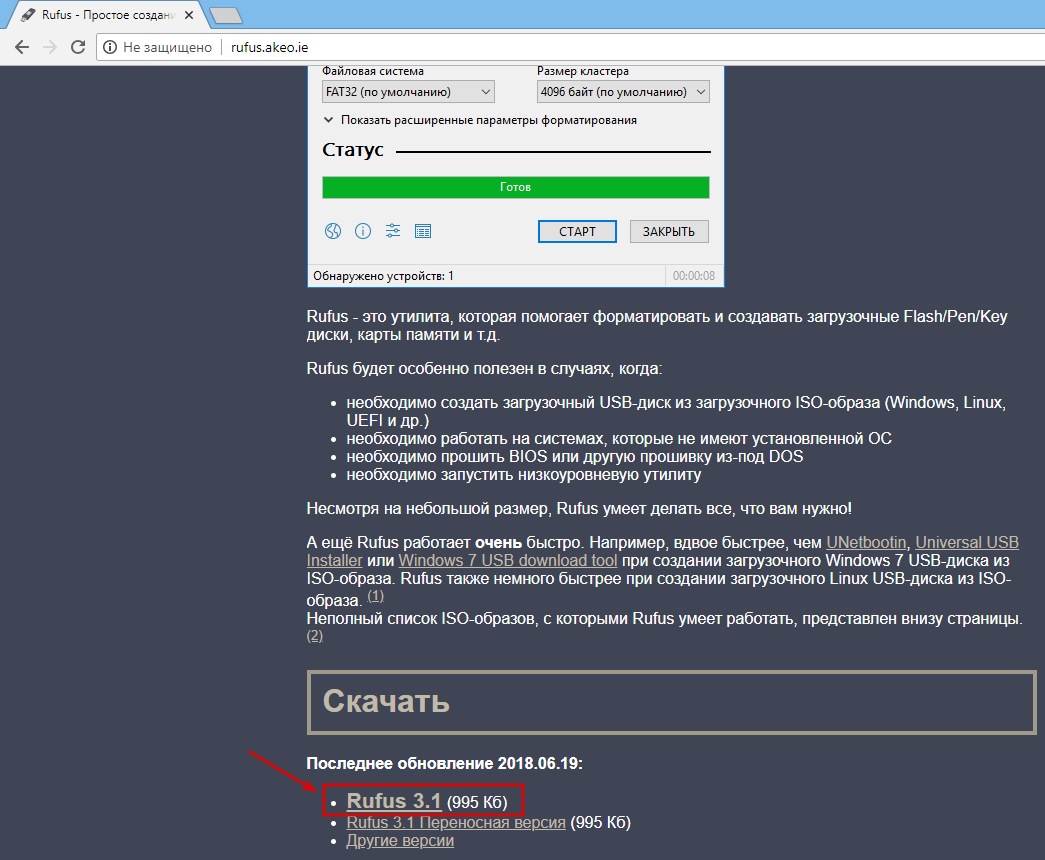
First, let's prepare the flash drive. Firstly, you need to create a bootable DOS flash drive using the Rufus program. Download the free program from the official website - http://rufus.akeo.ie/
The program does not require installation and ready for use.
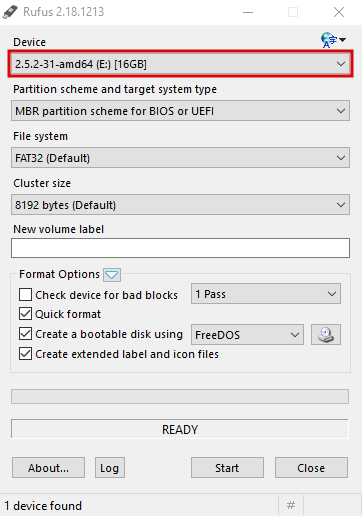
In the DEVICE field, select the USB drive that needs to be made bootable.
Attention! All files on the flash drive will be deleted!
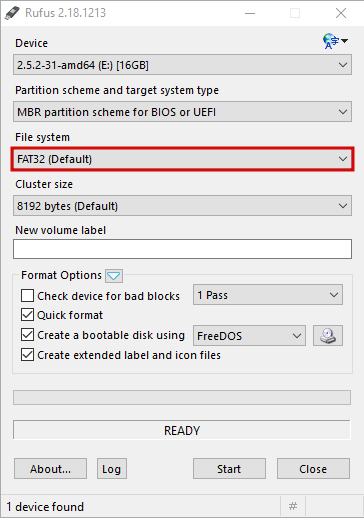
Select FAT32 in the FILE SYSTEM field.
Opposite the "Create a bootable disk using" checkbox, select FreeDOS.
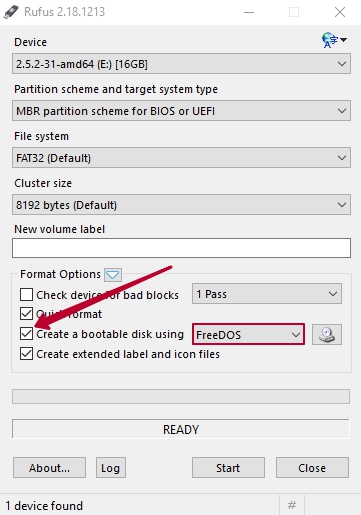
Do not change the other fields. Click "START". The process of creating a bootable USB will take only a few seconds.
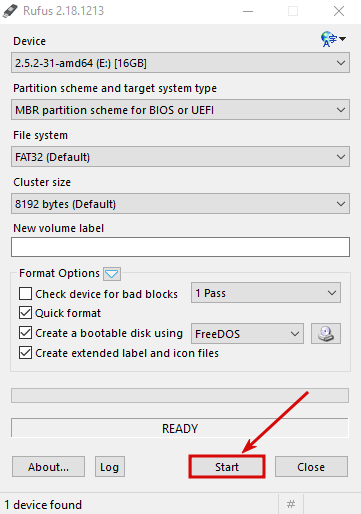
After that, the message 'READY' will appear. Then open the USB on your computer and place the previously downloaded BIOS firmware files there. Now you can boot from this flash drive. Go to the boot menu and select booting from the USB device.
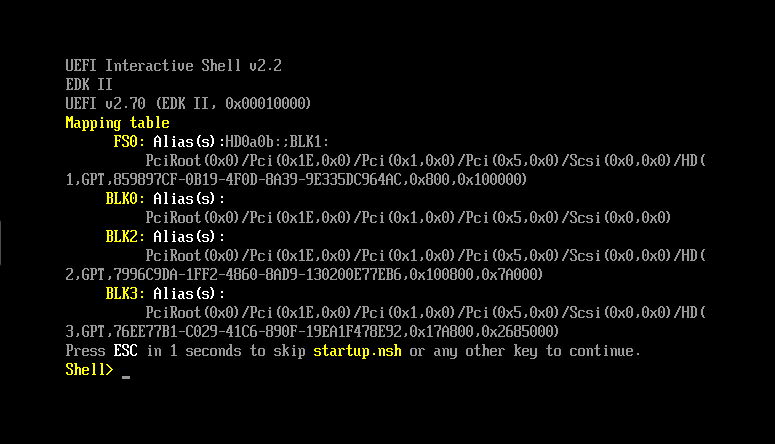
Next, you boot into MS-DOS and use the 'map' command to see the connected drives. The connected USB device by default will be 'fs0:'
View the contents using the command:
# dir
If this is not your USB device, then check another device from the list of map commands.
(The screenshot below shows entry into a regular UEFI shell. You can also update the firmware using this command line. Commands in UEFI shell and MS-DOS are similar.)
Next, enter the following command while being in the directory where the necessary files are located:
# AMI_1.BAT X9SCM1.106
Attention! The server must not be powered off during the firmware update.
Ensure that the update has completed, as in many cases, the server may reboot and continue installing the firmware. After completion, the server needs to be powered off for 1-2 minutes. The firmware update process at this stage is finished.

