


In this article, we will consider creating a backup of the server and how to restore it.
The Windows Server OS has its own backup tool, which helps to save on purchasing third-party programs. We will go through all the necessary steps in detail.
Content
- Network Folder
- Installing backup tool
- Configuring WBADMIN utility
- Adding the necessary user
- Possible errors
- Recovery
To avoid various problems, let's start by connecting a remote network folder to your server.
You can find detailed instructions on how to do this in our knowledge base.
Link to the article - https://my.fairyhosting.com/knowledgebase.php?action=displayarticle&id=407
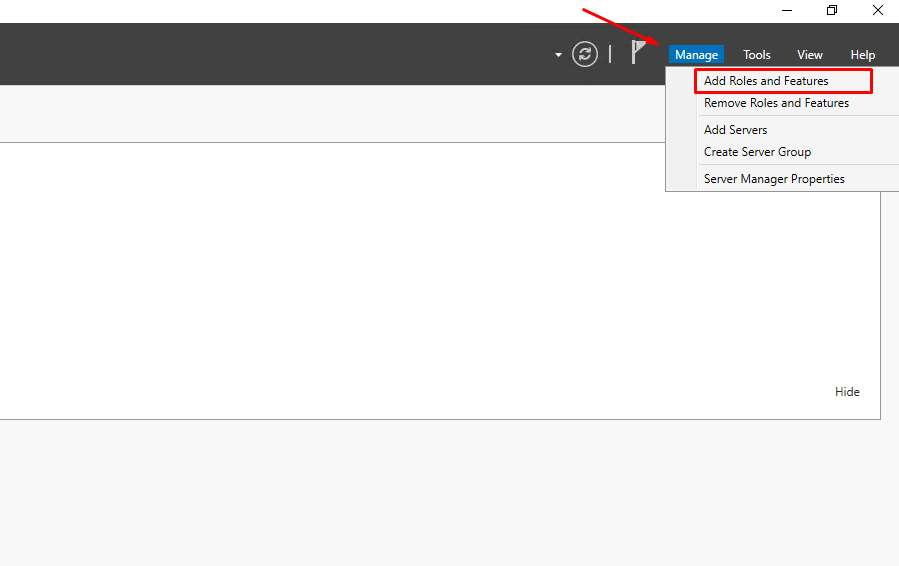
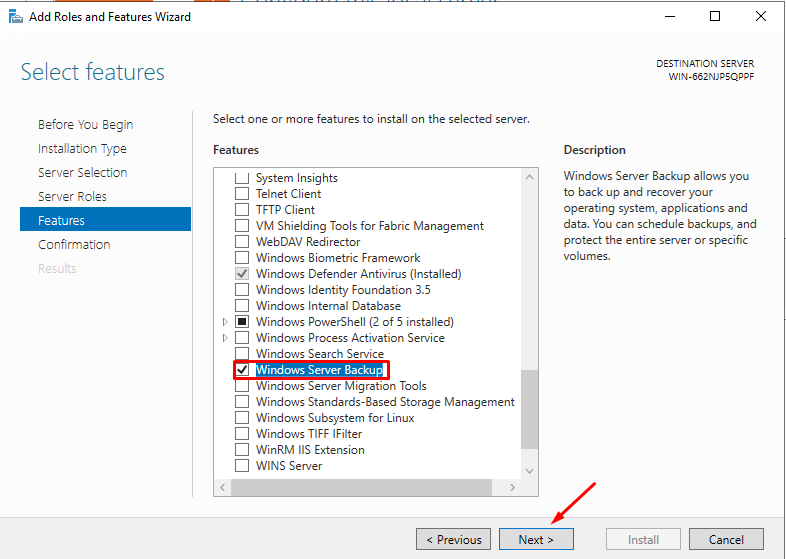
Open "Server Manager". In the "Manage" menu, click on "Add Roles and Features".
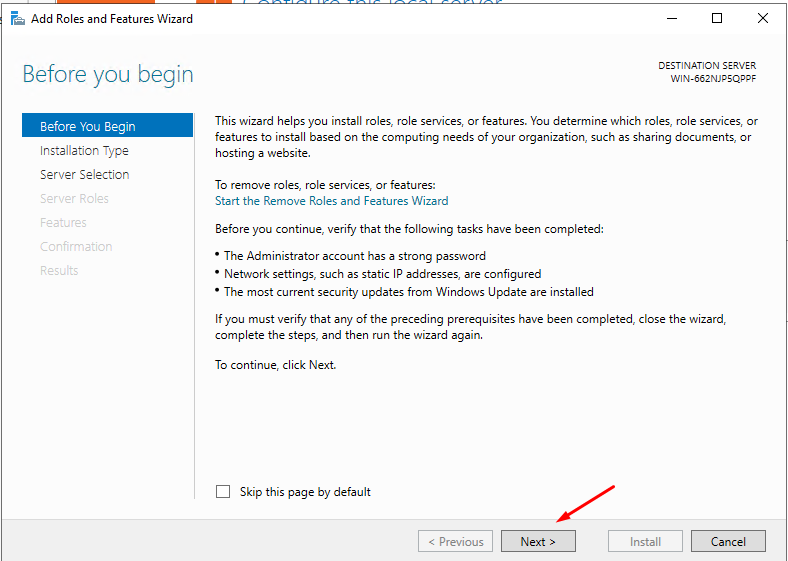
An installation window will open, where before starting the work, click the "Next" button.
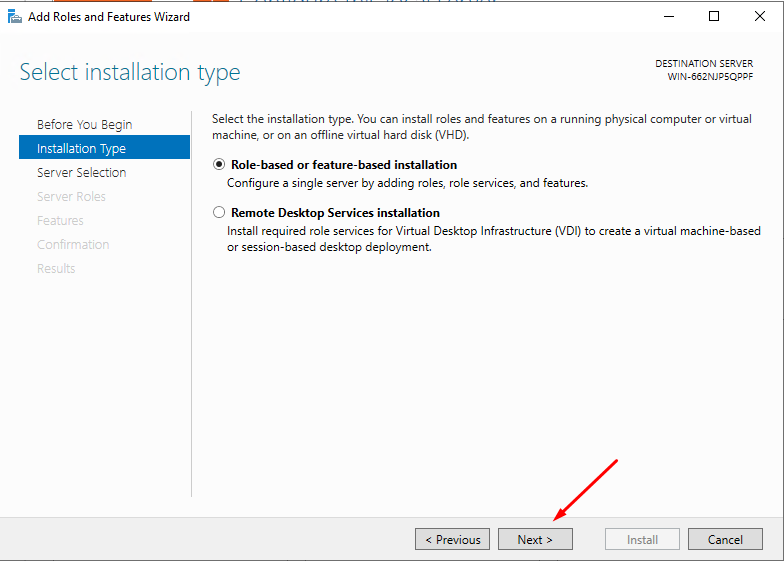
Select "Role-based or feature-based installation" and click "Next".
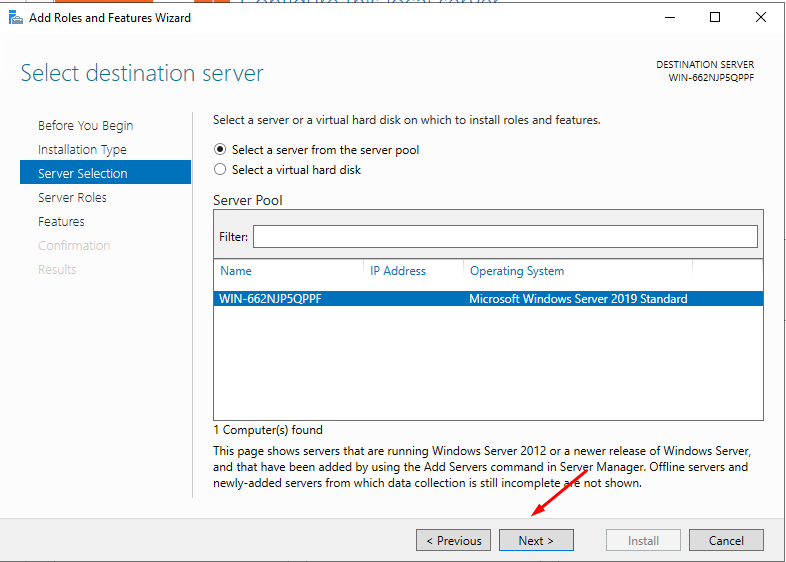
Select your server from the server pool and click "Next".
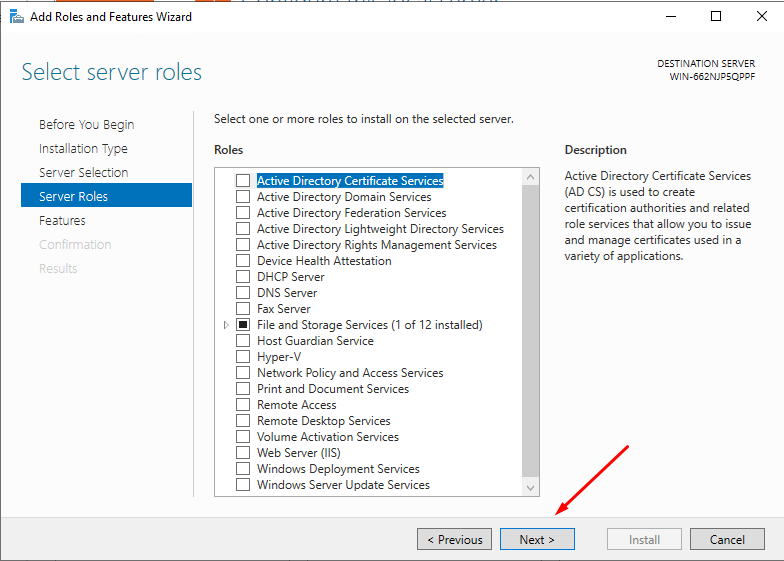
On the "Server Roles" tab, click "Next".
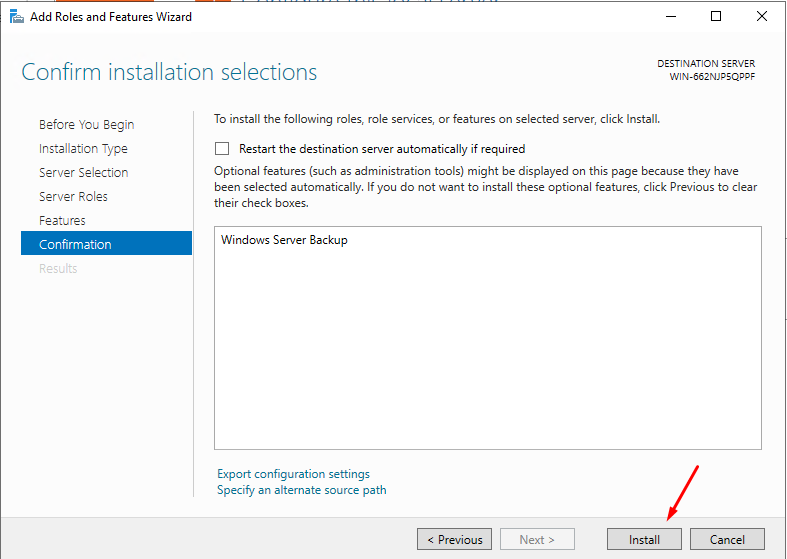
Then confirm by clicking the "Install" button.
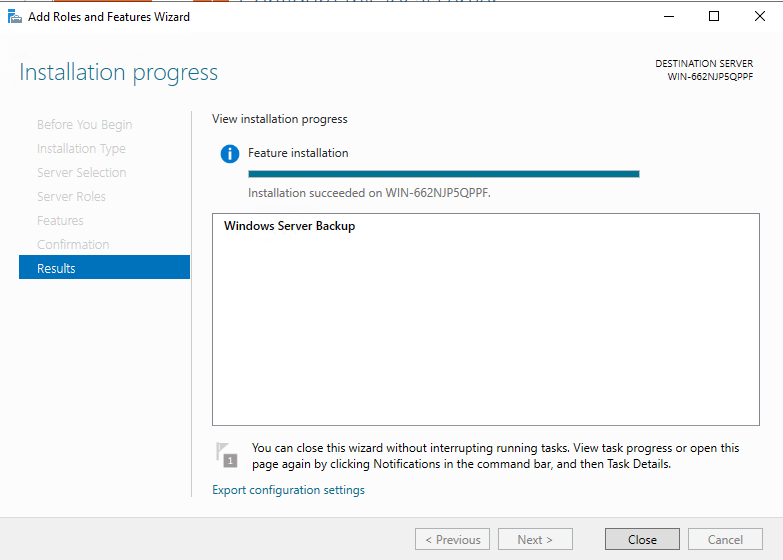
The component installation process will begin, and upon completion, close the program.
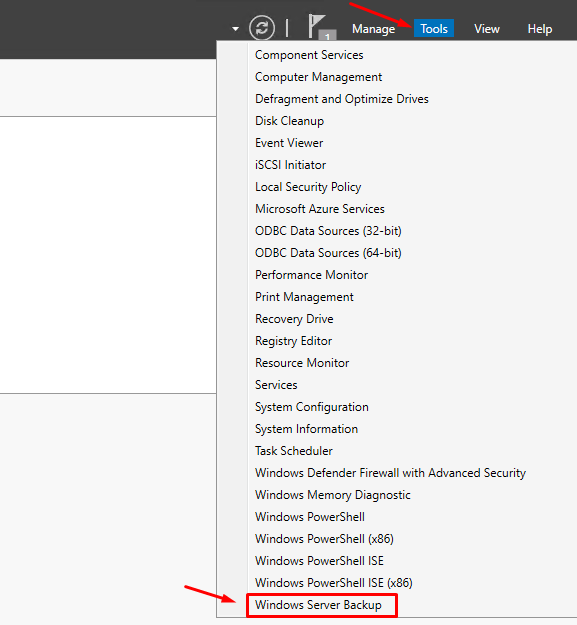
To open the Windows Server backup utility, go to Server Manager and select "Tools" in the upper right corner. From the list, choose "Windows Server Backup".
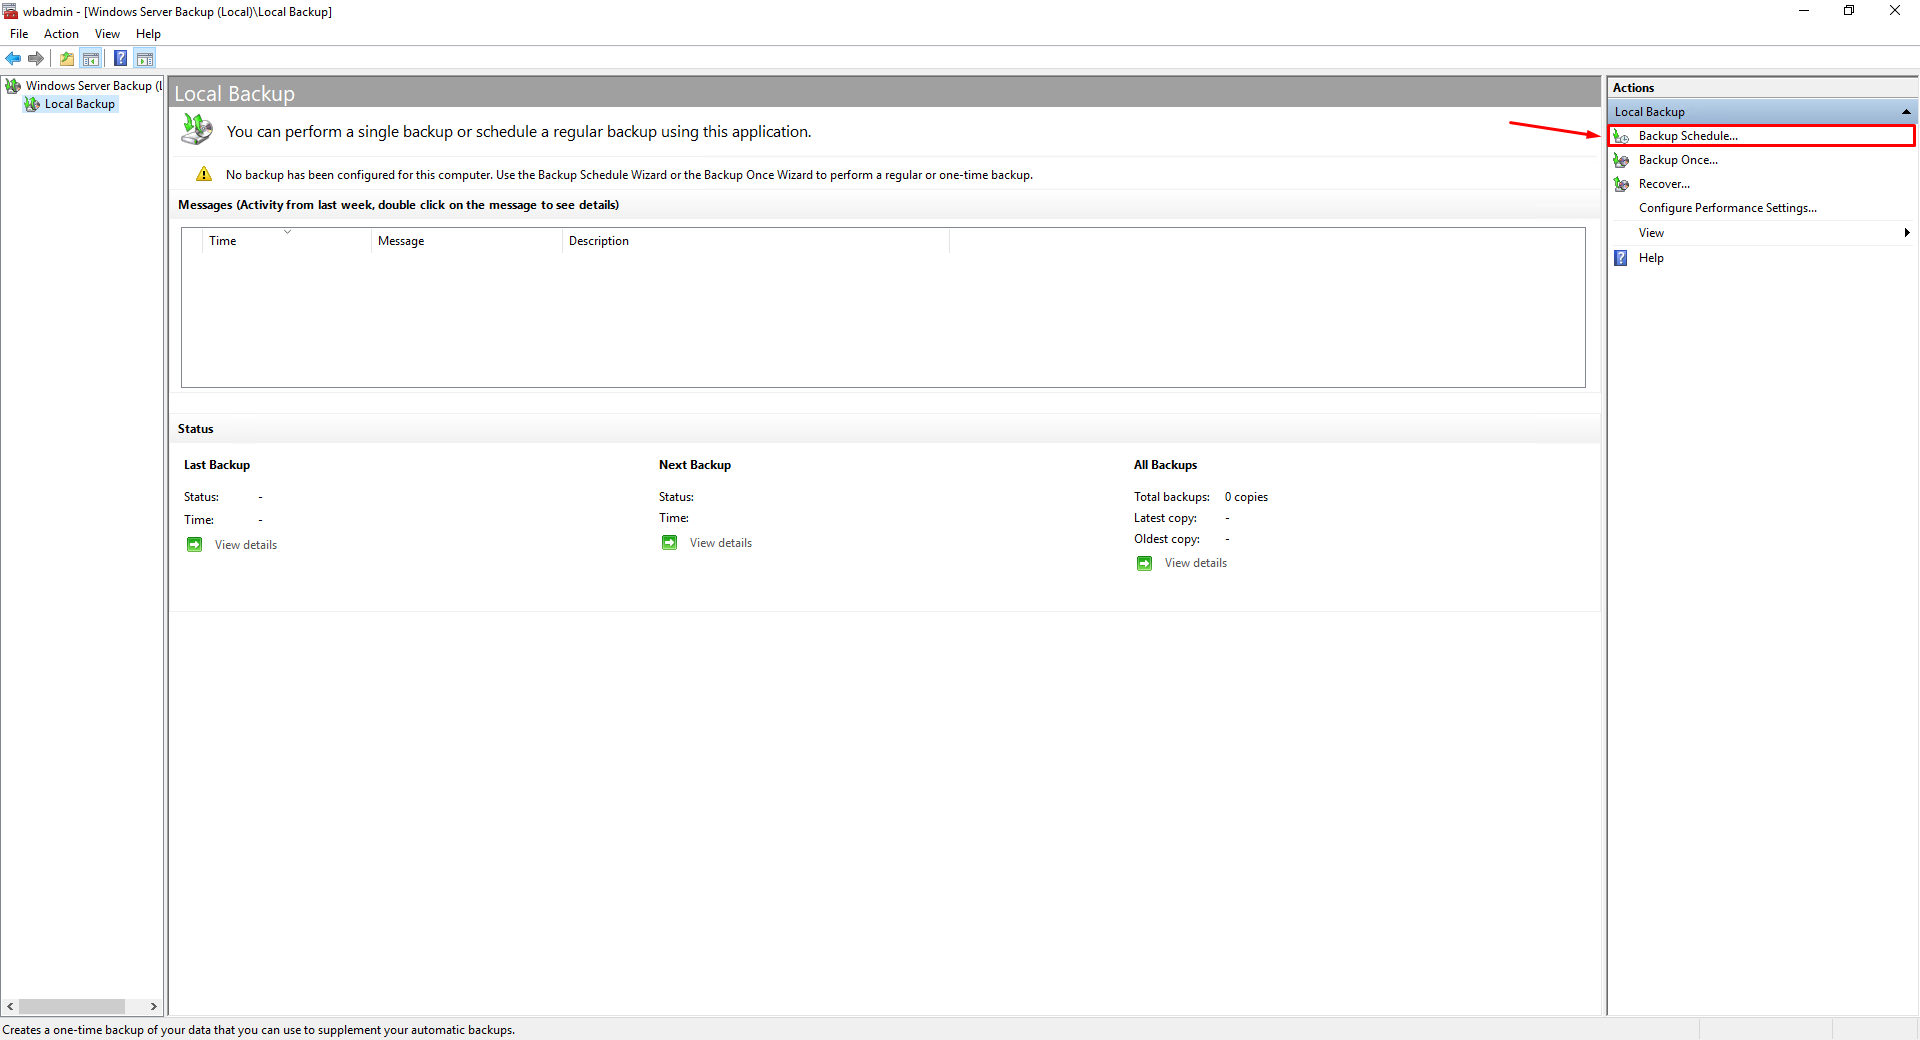
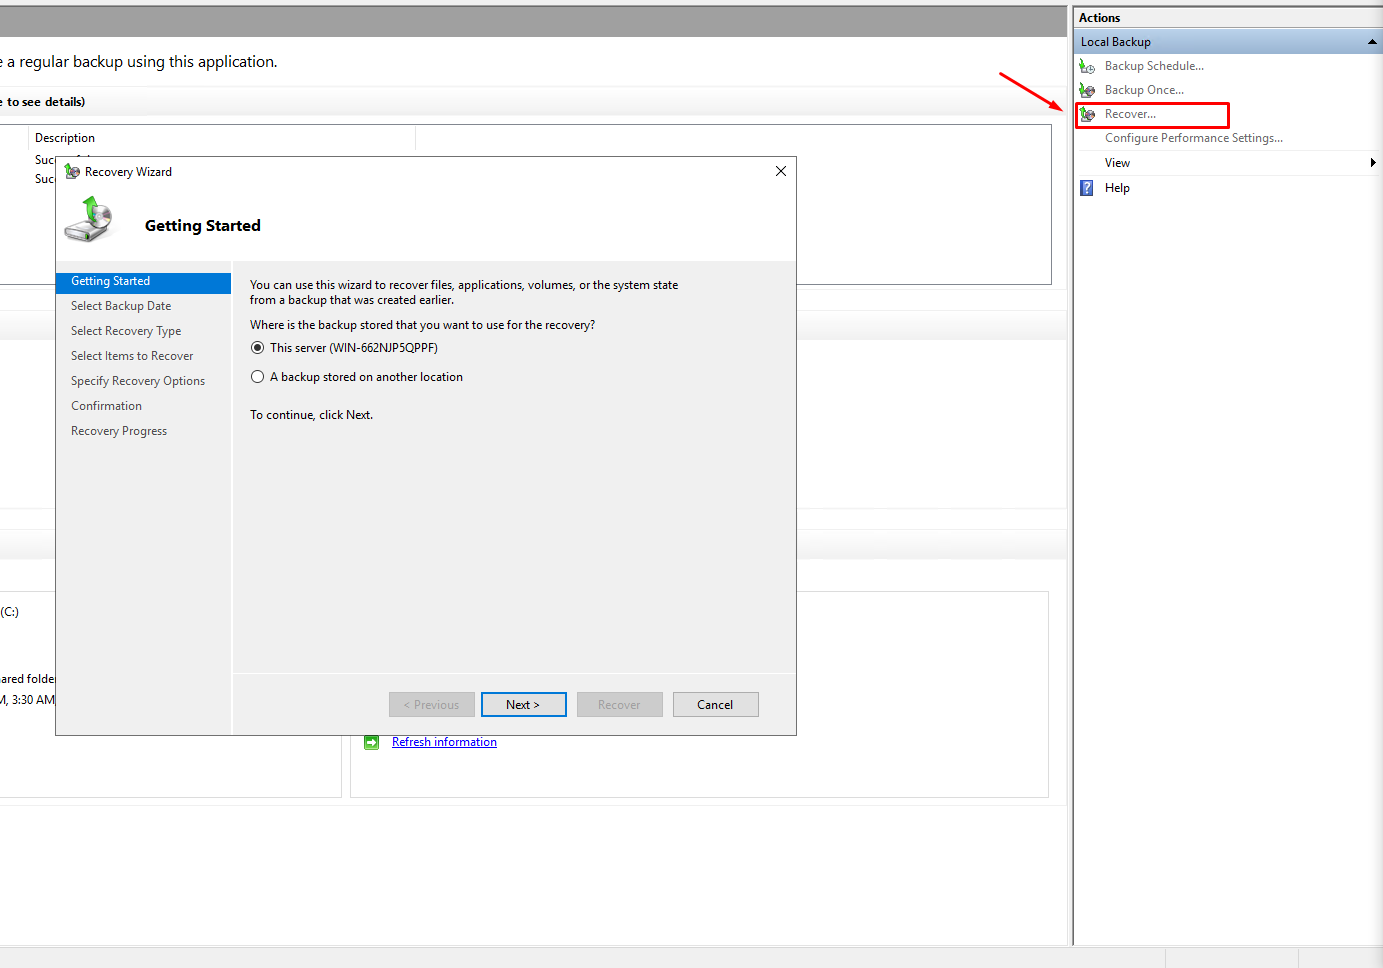
In the opened window, click on "Local Backup" in the left-hand menu. In the vertical menu on the right, you can configure: backup schedule, one-time backup, or recovery.
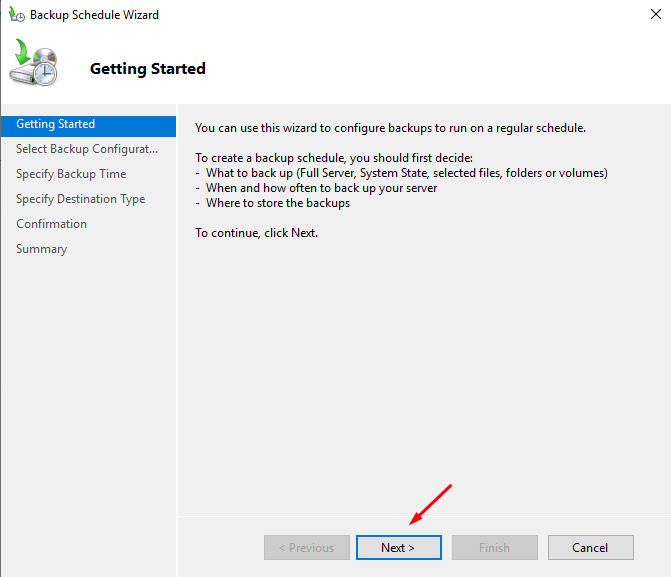
To configure the schedule, select this item in the menu. Then the parameter menu will open. Click on the "Next" button.
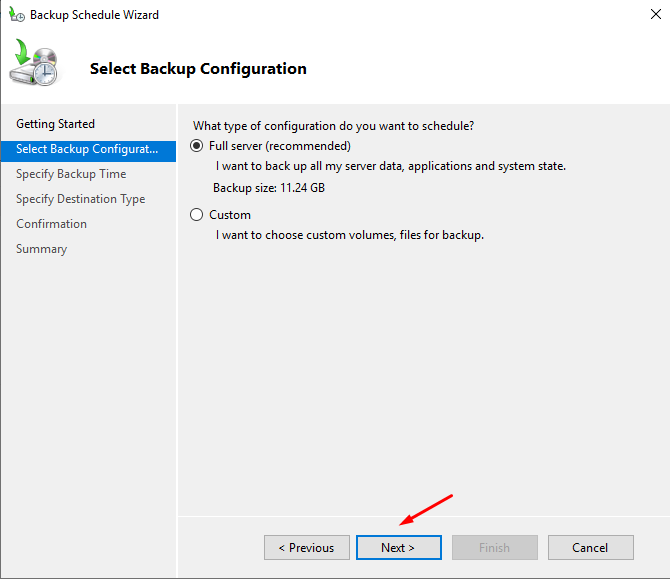
You can configure a backup of the entire operating system or choose individual volumes and archives that need to be backed up. We recommend selecting the entire server.
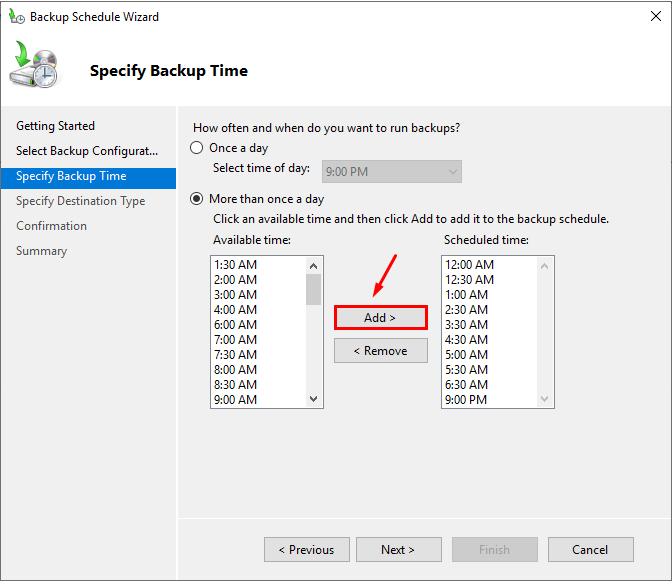
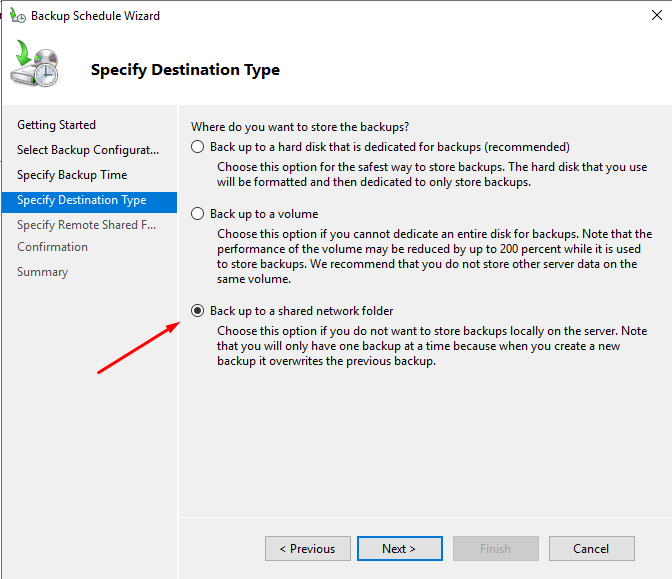
On the next step, you will need to set the frequency of creating the backup and its time. You can choose a specific time or multiple times per day. However, remember that when creating backups to a remote network folder, only the last backup copy is stored.
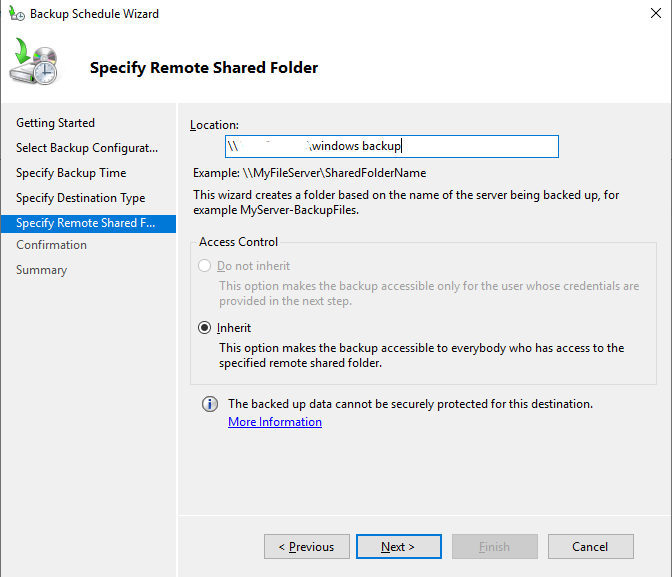
When selecting a remote folder, specify complete location - \\Server-IP\folder-name
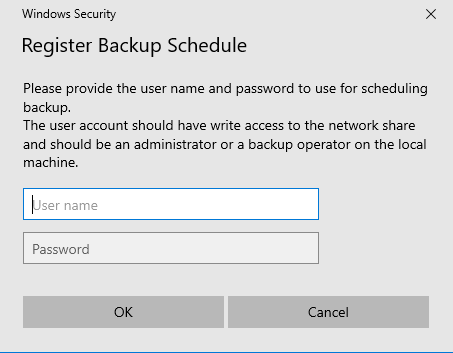
After that, you will be asked to enter "Username and Password." All the necessary information can be found in your personal account.
Article "Where to Find Access Data to the Fairy Disk Service" -
https://my.fairyhosting.com/knowledgebase.php?action=displayarticle&id=379
Upon completion, you will need to review all the configured parameters from the top and press "Done."
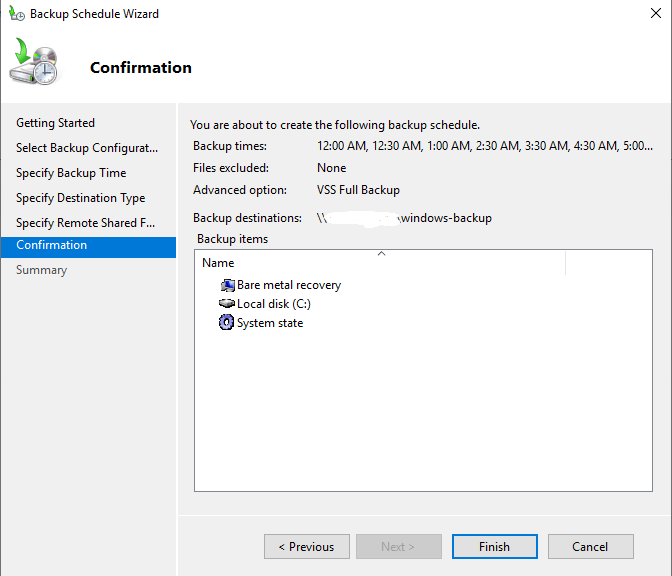
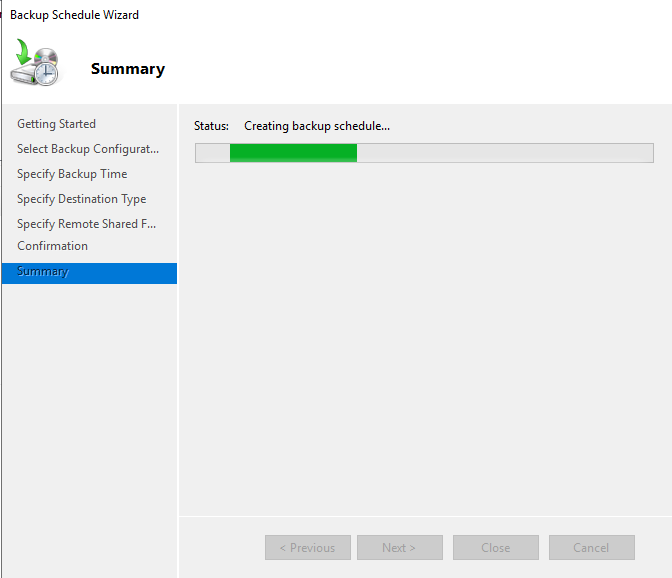
The archiving schedule will begin to be created.
Upon completion, press the "Close" button.
This procedure is needed for the correct operation of the Windows backup system. When connecting to a remote network folder, the system will request access data (username and password). To synchronize the program with the location of the backup directory, Windows requires creating a user with the same credentials as the user with the remote network folder.
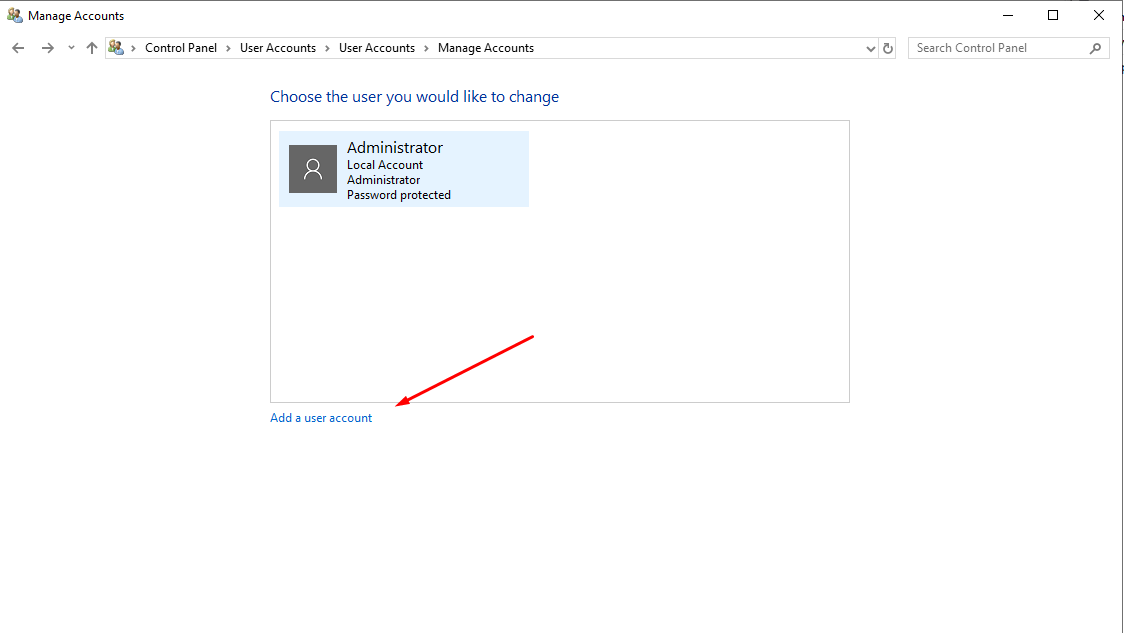
First, you need to go to "Start" - "Control Panel".
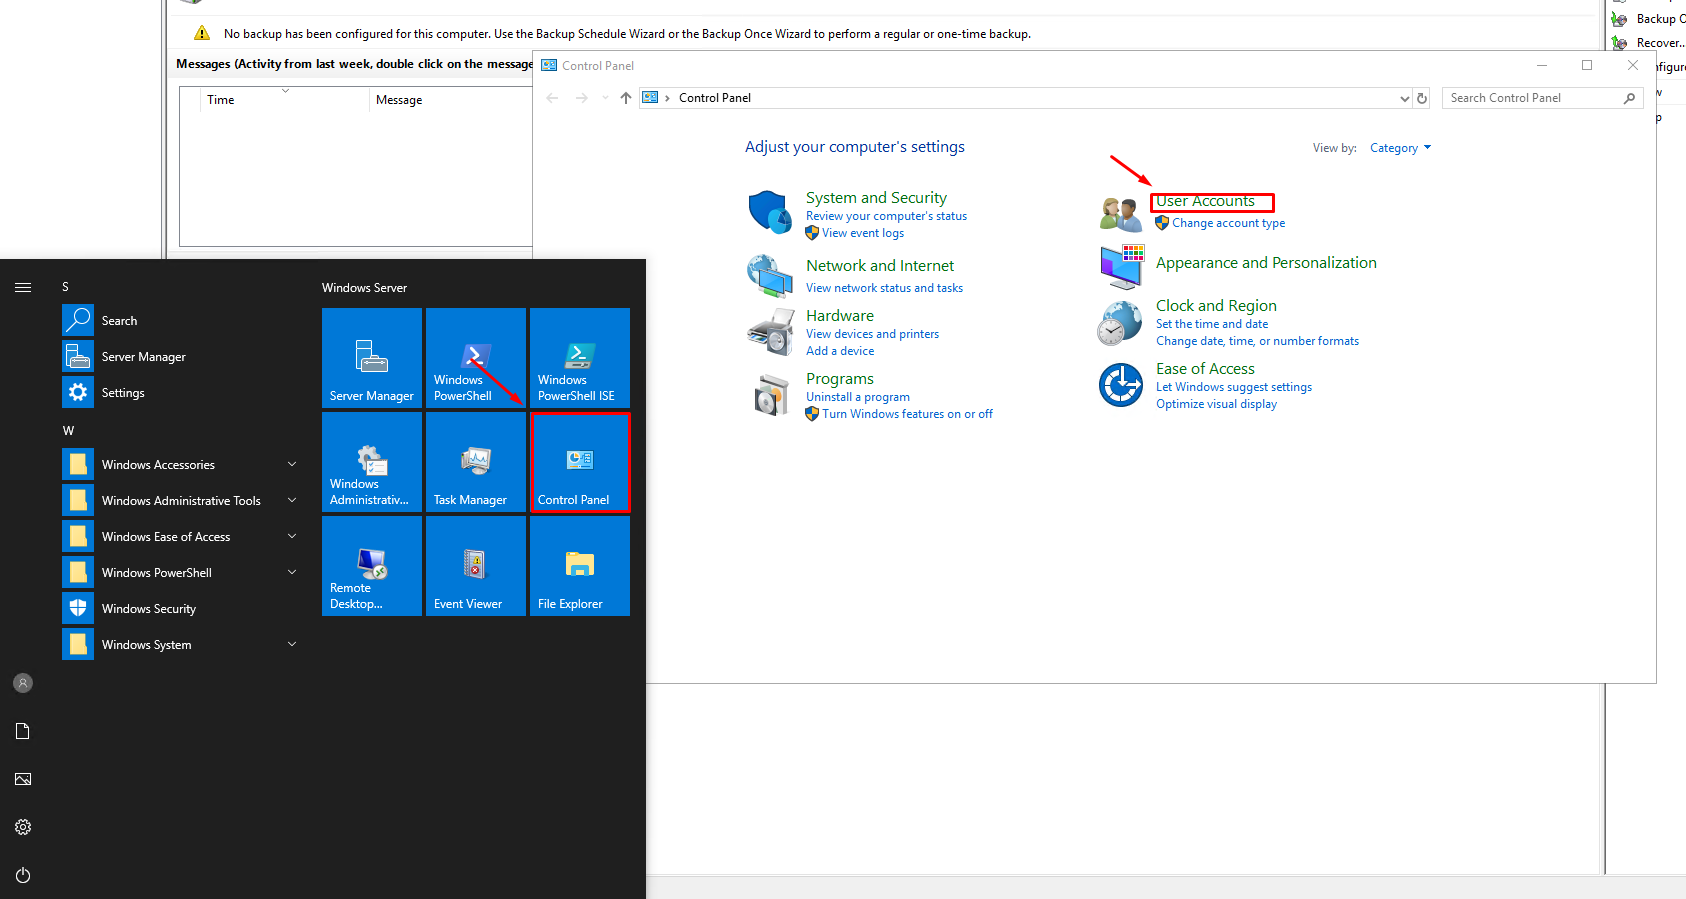
Next, select "User Accounts".
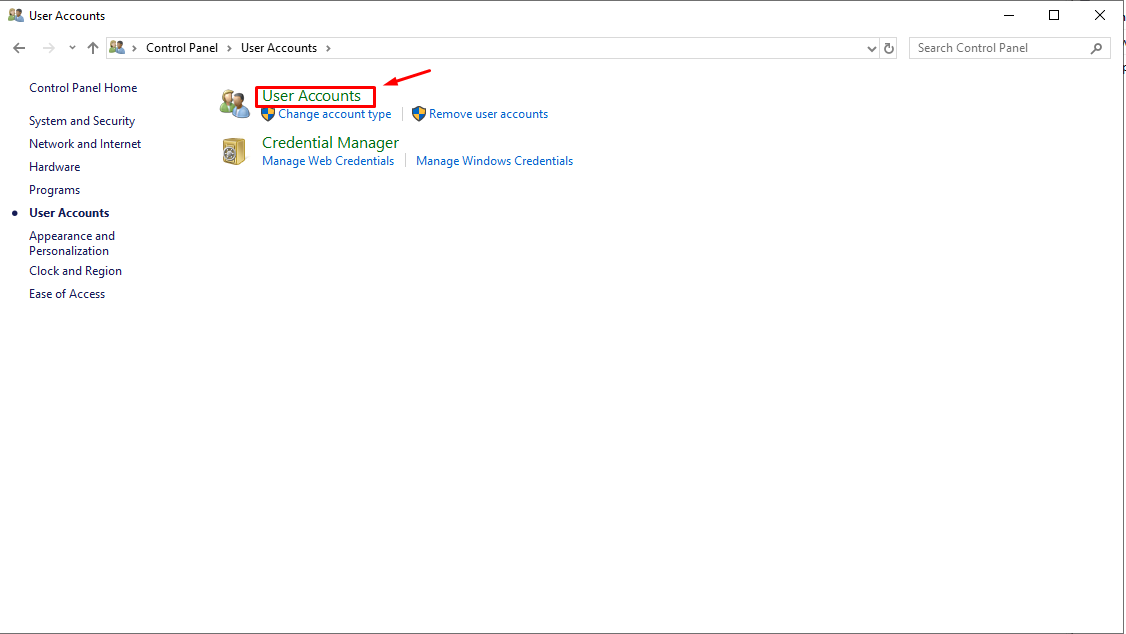
After, select "Manage another account".

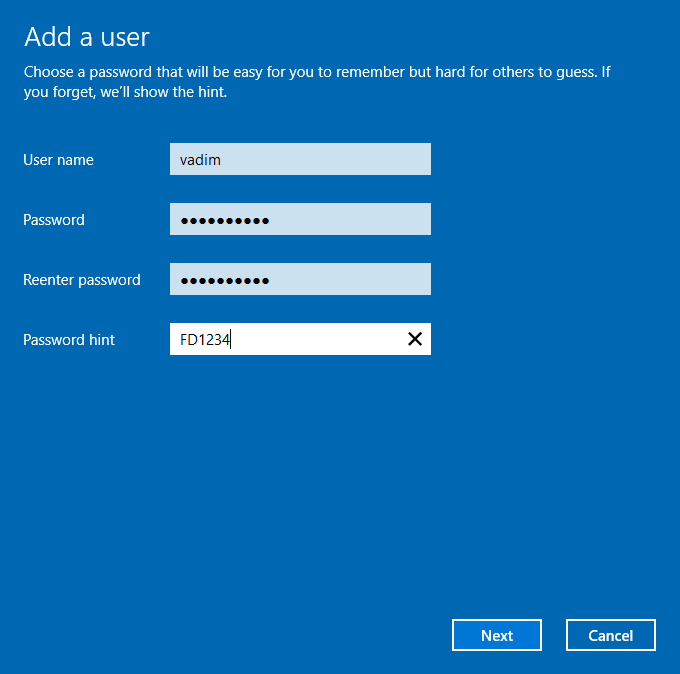
Add a new user account.
Attention! Enter username and password from Fairy Disk product.
Article “Where can I search data access of my services?“ -
https://my.fairyhosting.com/knowledgebase.php?action=displayarticle&id=379
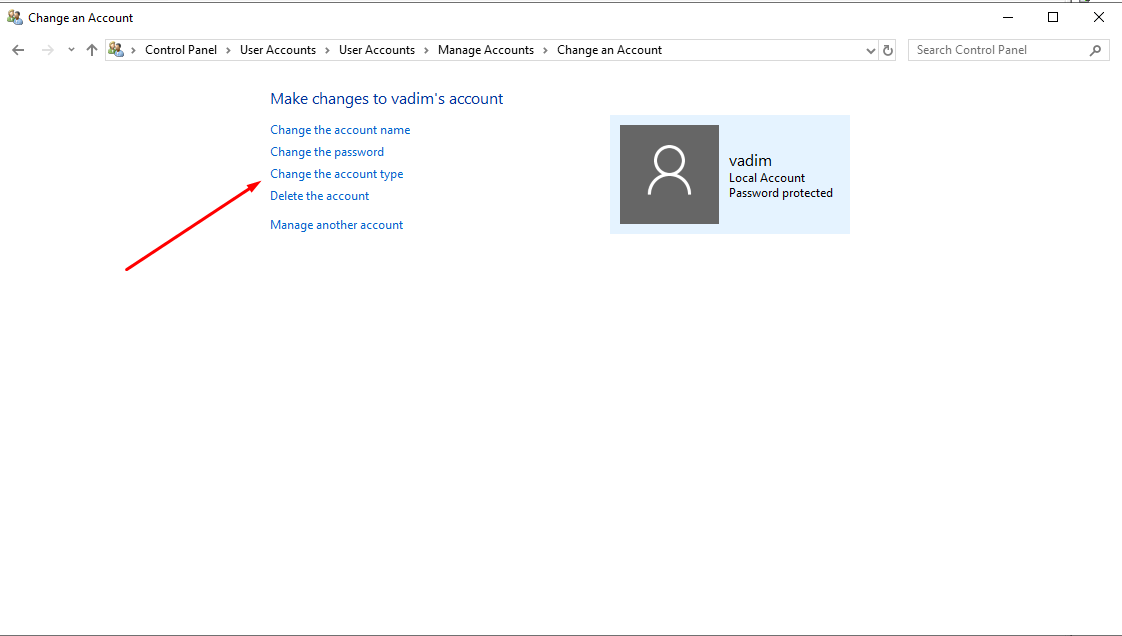
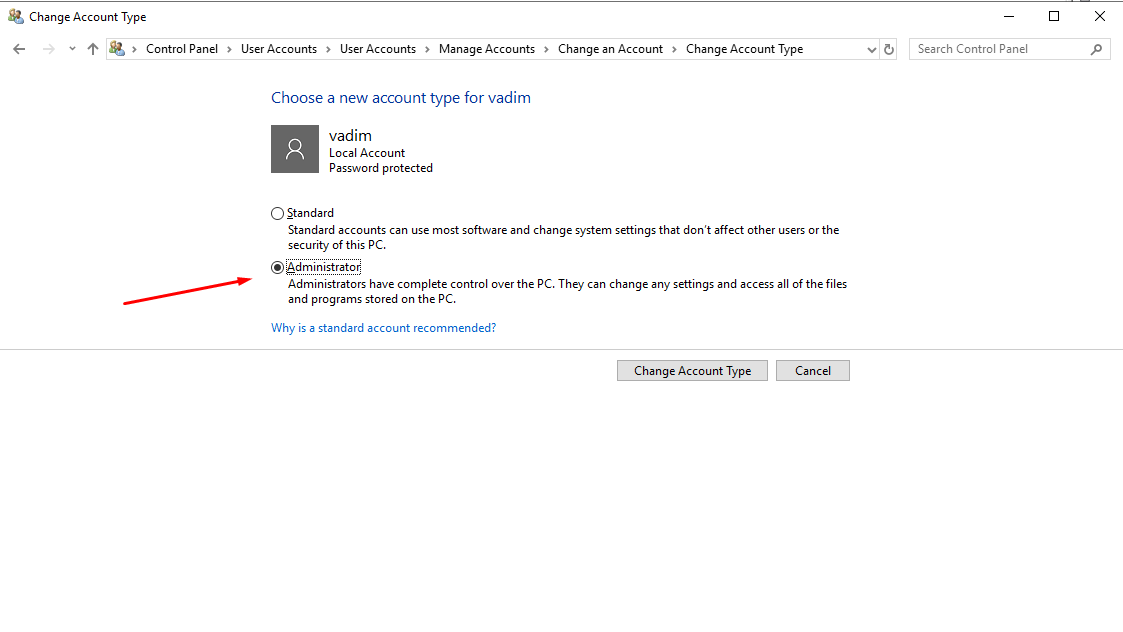
After creating the account, be sure to change the account type to "Administrator".
If you have an error message "Windows Backup cannot schedule a backup because the user credentials provided are not a member of the local Administrators or Backup Operators group."
Solution: The user was created incorrectly. Please refer to the section "Adding the necessary user" above.

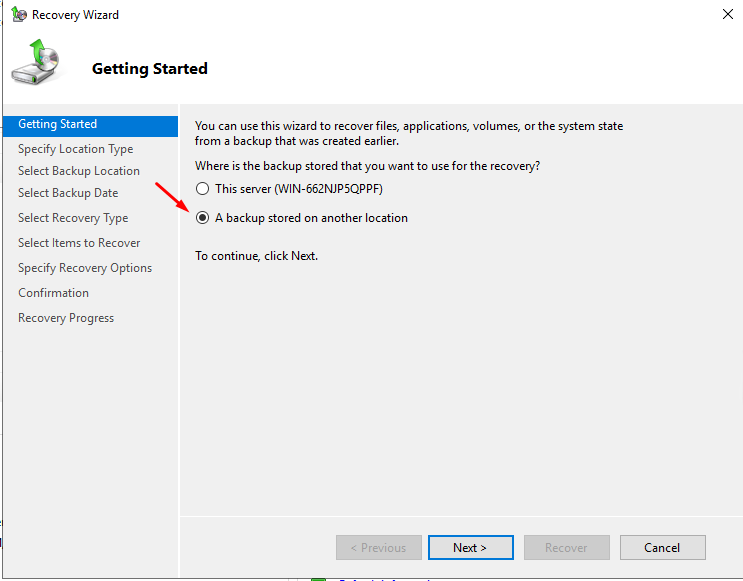
Select "Recovery" in the tool to open the System Recovery Wizard.
Select the backup source "A backup stored on another location"
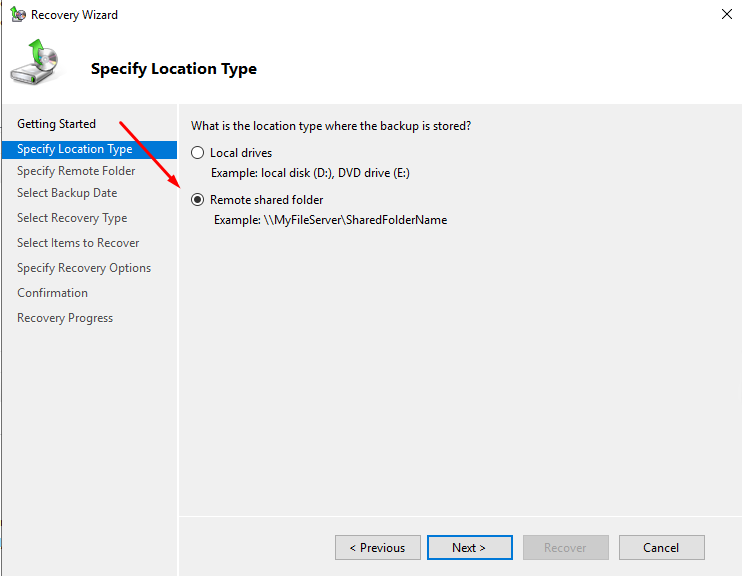
The placement type will be "Remote shared folder."
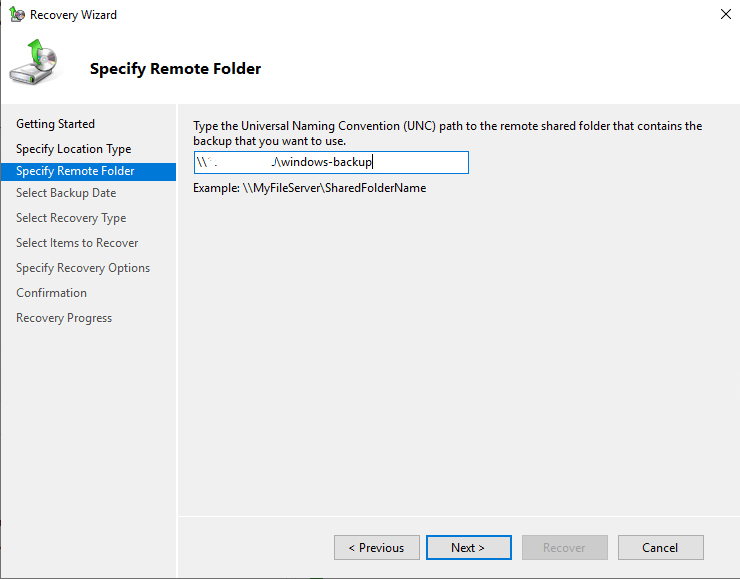
Enter the path to the network folder.
On the next step, select the desired restore point - date and time. Remember that only the latest backup copy is stored in the remote network folder.
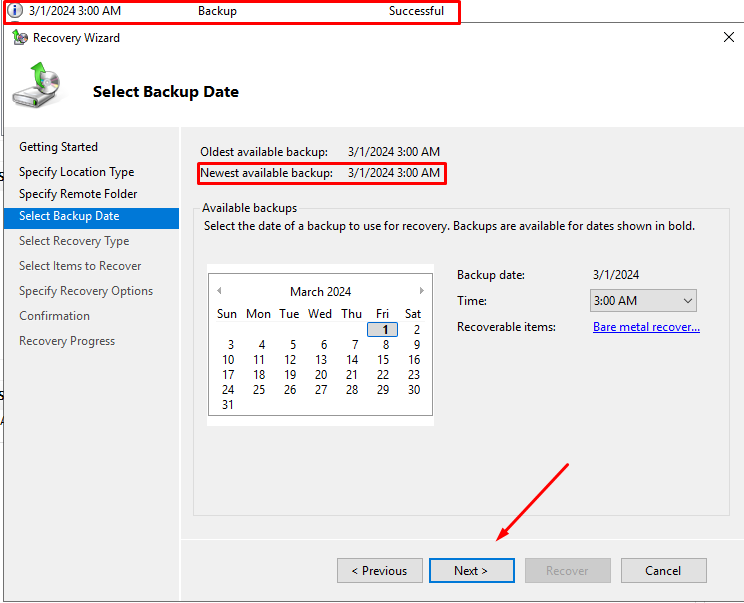
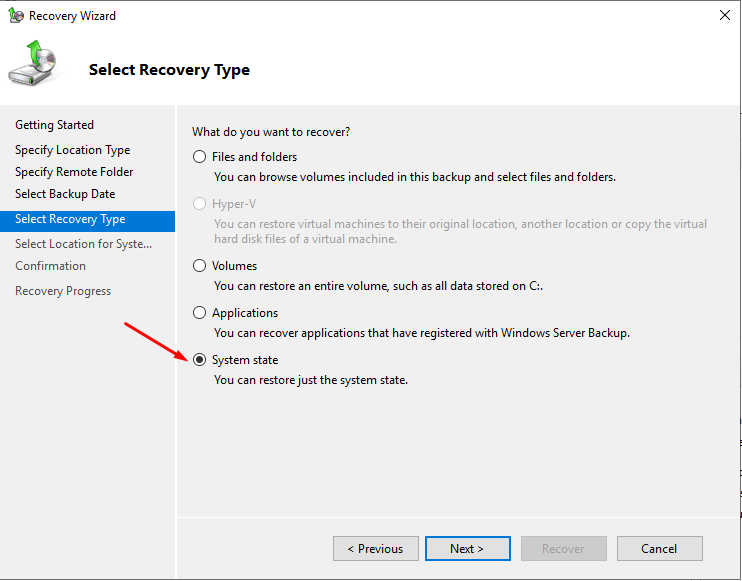
Next, specify what exactly needs to be restored. You have the option to choose from: files and directories, file system volumes, applications, or system state. In this case, we will restore the entire system by selecting "System State"
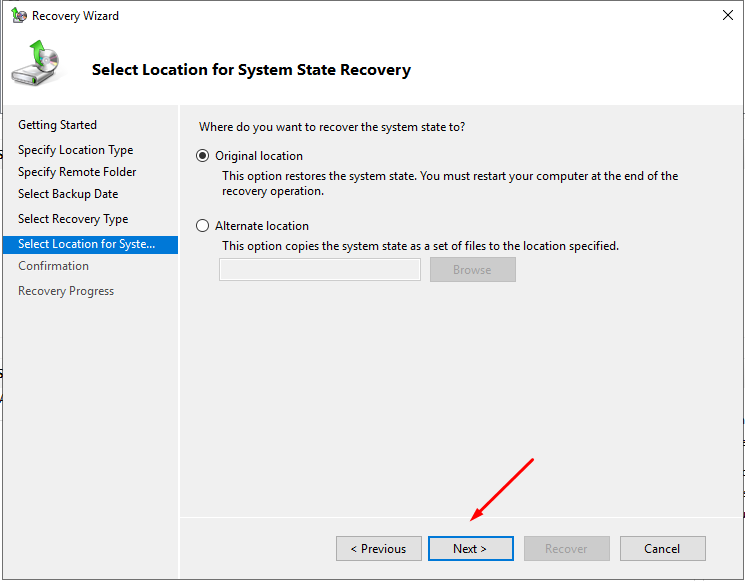
Select "Original Location"
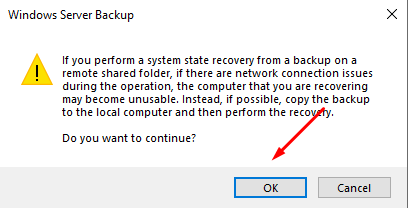
Next, you will be notified that the recovery system may not be restored correctly if there are network issues. Click "OK"
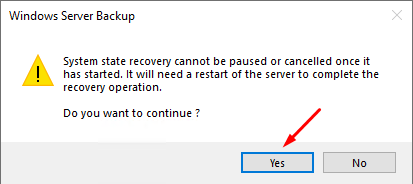
Confirm that you want to restore the system state completely. Click "Restore"
Please note that the recovery process cannot be paused once it has started!

After, the system restoration process will begin.
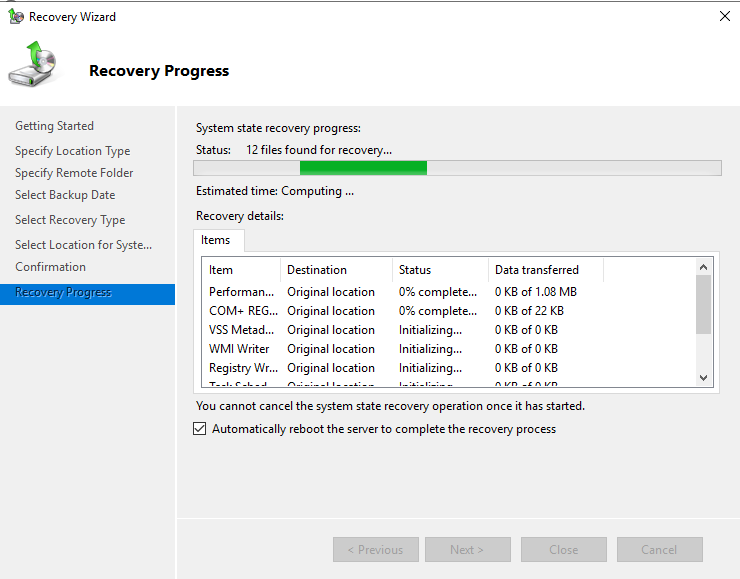
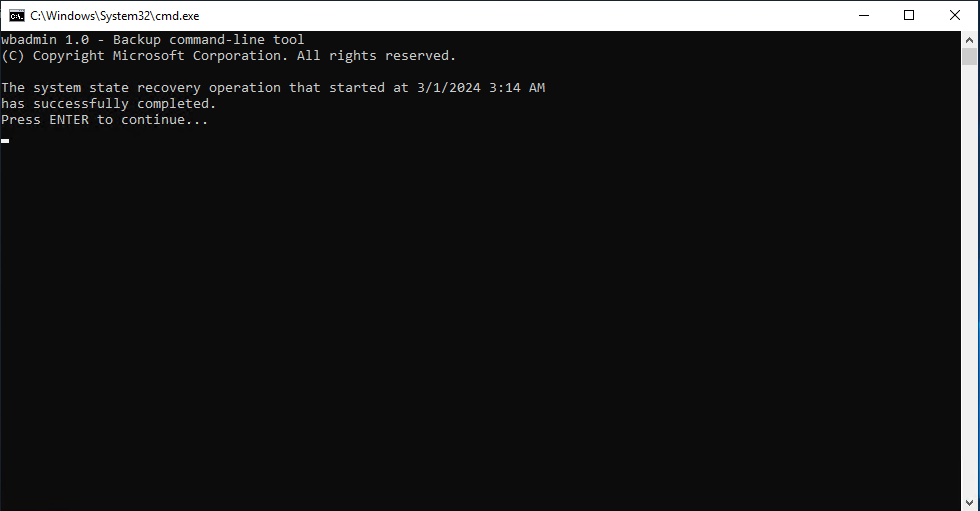
After completion, the server will need to be rebooted, and upon completion, a terminal window will open confirming the successful system recovery.
 Telegram Chat