


In this article show you, how to: create hard disk partitions in Windows operation system yourself, add or delete new drive letter, split disk to partitionsand so on. Pay attention, that term partition and volume is using interchangeably.The most easiest way – is split hard disk by used Disk Management tool. This example is based on Windows Server 2012 standart operation system.
Why need to split a hard disk?
Probably have a few reasons, why need to split a hard disk: safely, comfortable and so on. Thus operations system re-installation your hard disk going to format and all you information will be lost . You can simply not have time to transfer all the necessary data to an external drive. This save you time and nerves. In order to safety shouldn't keep important data in one place.
Another one reason, why need to split a hard disk is if you need to install second operation system.
This article we are tried to overwrite just step-by-step manual.
Table of Contents
-
How to add a drive letter
-
How to create a new partition(s)
-
How to change a drive letter
-
How to delete a partition(s)
How to add a drive letter
To create a more place for information storage or allocate some part of free place, add in computer a new drive letter by using next ways:
-
The new storage device installation — If you needed disk space more, install one more hard disk or connect USB storage device. The new hard disk might be internal or external.
-
Hard disk splitting by partitions — If you don't needed additional disk space and disk image in Windows, just create one more volume in hard disk. Thus this special free space will be considered by system how another disk and have own drive letter.
In this article we'll talk about second example. This solution is a free and safe. If you manual partition C going to break, that additional partition (call him “D”) continue storage information. That will helps you safe important files and documents (data). Let's beginning.
How to create a new partition(s)
So we are know now, that for free space creation you need to hard disk, where is manual partition C. It's not a necessary, it might be any disk. Shrink hard disk for new volume creation and than create and format new partition.
Let's start:
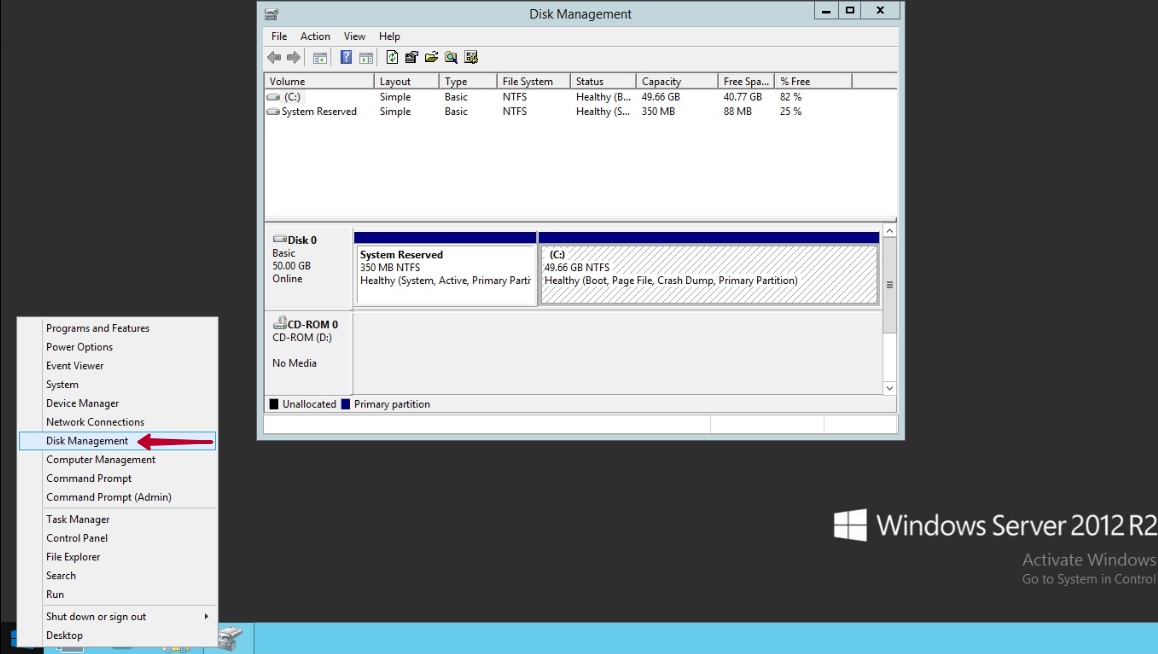
To open “Disk Management” tool click to “Start” mouse right-click. After that in list find this tool, how is included below. If you do have "free" space on your hard drives, you can use it to create new partitions. The actual logic behind using Primary, Extended and Logical partitions is outside the scope of this tutorial.
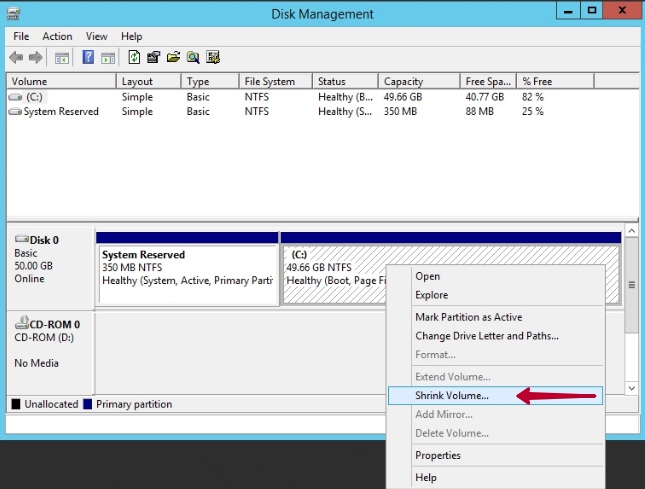
For free space creation on hard disk use mouse right-click.
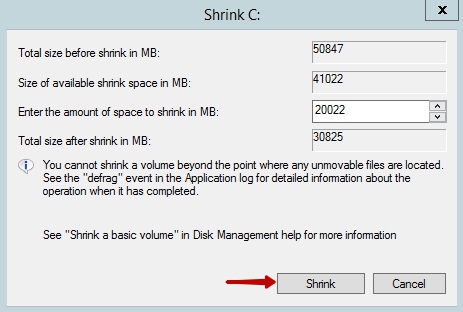
Enter amount of space to shrink in MB: put here amount of new partition. After that new volume you will see in Disk Management tool screen how free space.
To create a partition here, right-click or tap and hold the free space and select "New Simple Volume".
<imgstyle="width: 80%;" src="https://my.fairyhosting.com/images/knowledgebase/Fairy/HD%20partitioning/EN/4.jpg" alt="" />
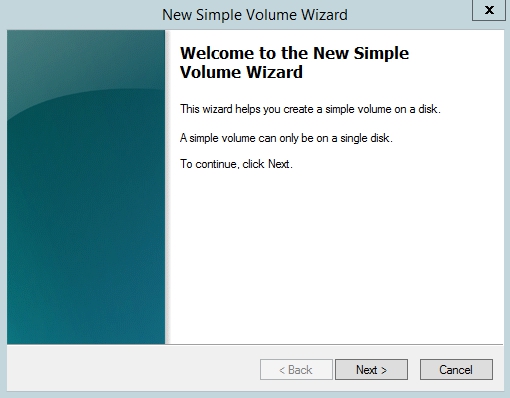
The previous action will bring up the "New Simple Volume Wizard" . Click Next button.
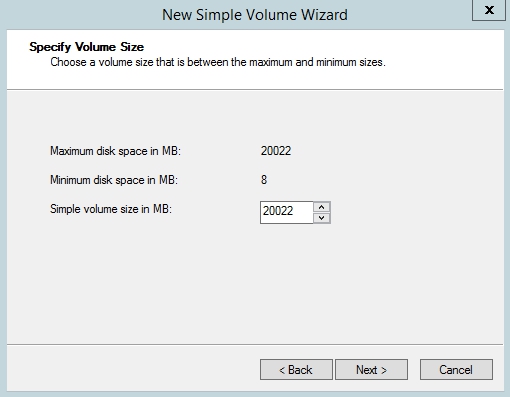
The wizard will ask you for the size of the partition, which you can specify as you wish, using all or just part of the total available free space. You don't need to change anything, just click Next button.
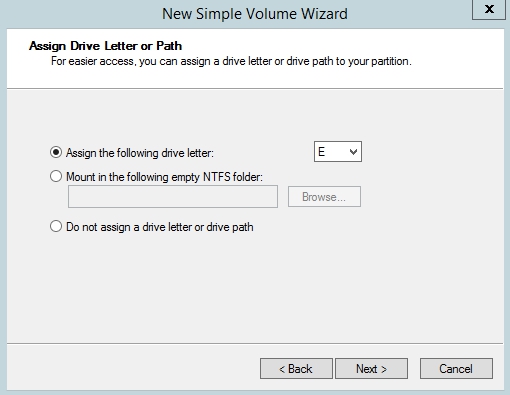
On your screen will show the following drive letter. Choose that and click Next button.
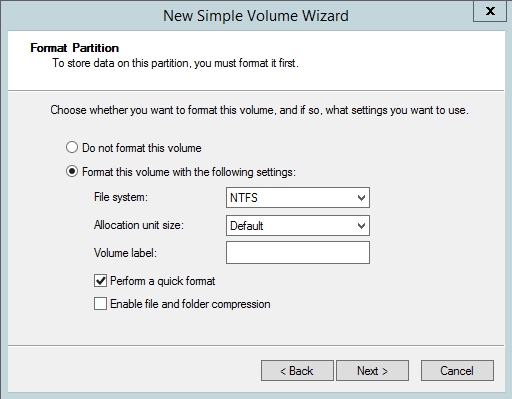
In this step you can also don't change anything, «Volume label» can be empty.
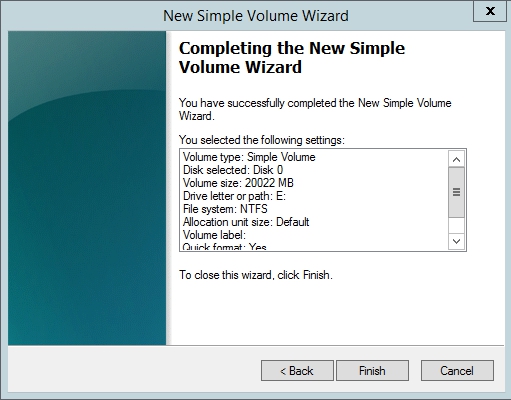
Congratulation. Now you have a new partition. Click Finish button.
How to change a drive letter
For each disk on your computer will be letters from C by Z. In this example, there is a partition "E:" . Instead of that, we want to change the drive letter to "G:" .
Note!
If you change the drive letter of a disk where Windows or apps are installed, apps might have trouble running or finding that disk. For this reason we suggest that you don't change the drive letter of a disk on which Windows or apps are installed.
Use this steps to change drive letter:
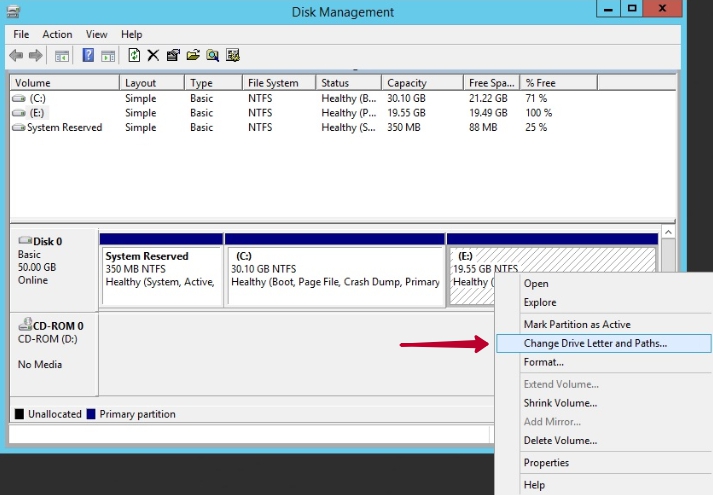
To change the drive letter associated with the partition, right-click or tap and hold on the partition and click or tap "Change Drive Letter and Paths".
A new window will pop up, listing the drive letter of the partition.
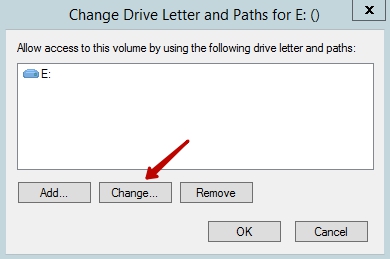
Click or tap Change. In the next window, select the new drive letter you wish to represent the partition and click or tap OK.

You may be prompted to acknowledge the change you are about to make. If you wish to proceed, click or tap Yes.
<imgstyle="width: 80%;" src="https://my.fairyhosting.com/images/knowledgebase/Fairy/HD%20partitioning/EN/99.jpg" alt="" />
Now you can see, that drive letter has been changed from E to G.
How to delete a disk partition with Disk Management
A partition on a hard drive can be deleted as it is not currently in use. For example, if Windows is installed on the partition you want to delete, you will not be able to, as you are logged into Windows. To delete a partition on a hard drive, follow the steps below.
Warning!
Deleting a partition will permanently erase any data that is presently stored on it.
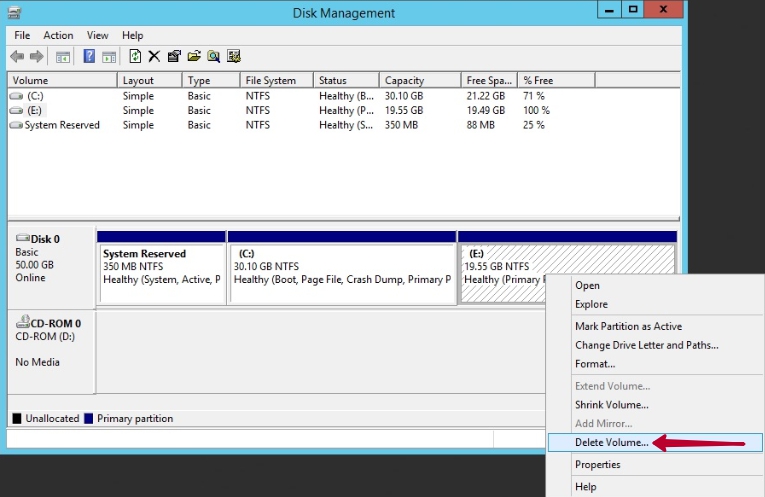
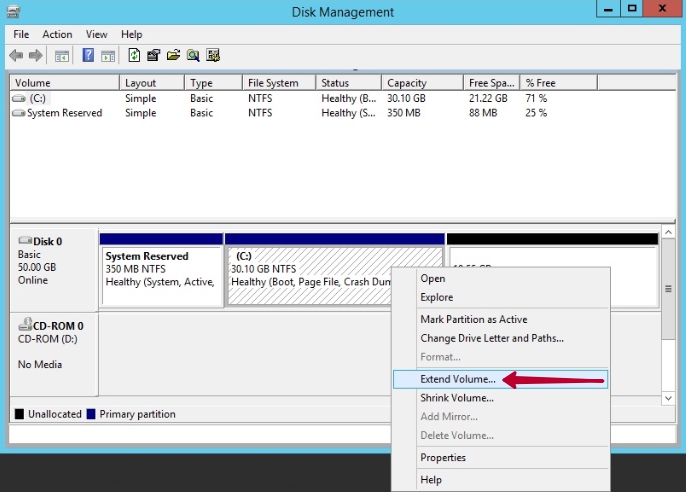
Open “Disk Management” tool. To remove a partition, right-click or tap and hold the partition you're trying to remove and then click or tap on "Delete Volume".
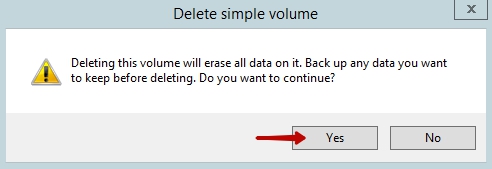
You'll be prompted to confirm your choice, to make you aware that if you remove the partition all data on it will be erased. Therefore, please make sure you've backed up any critical data on that partition prior to clicking or tapping Yes.
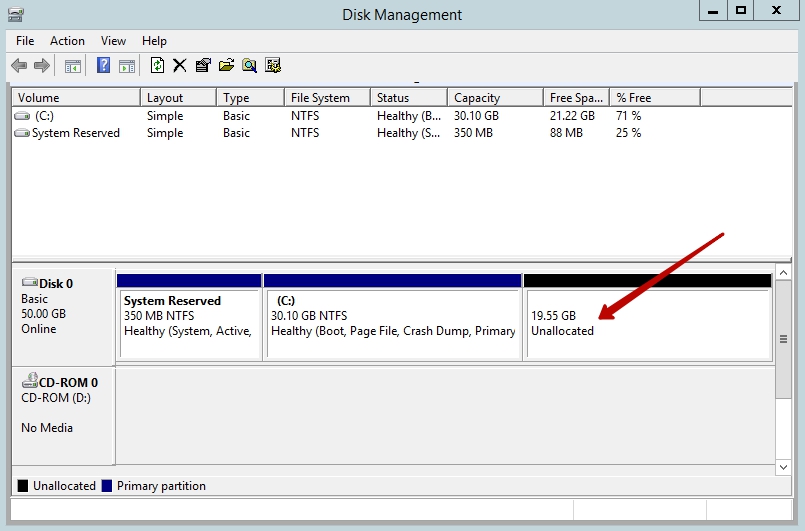
You'll now see the deleted partition showing as "Free space" or Unallocated in the Disk Management utility. Now you can extend main volume.
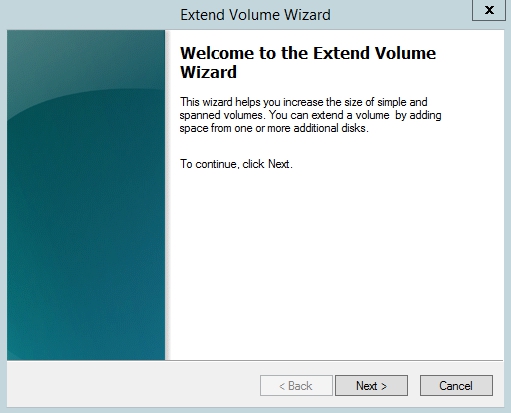
Open window extend volume wizard. Click Next button.
After need to select free disk space and click Next button.
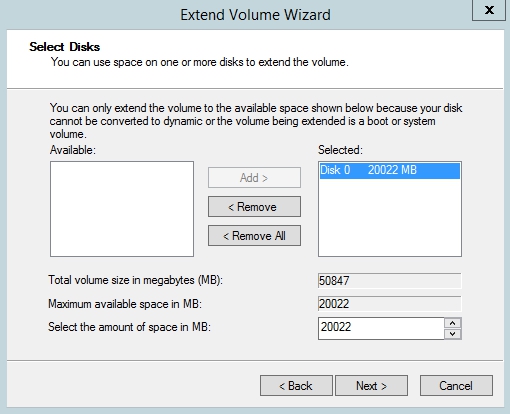
To close the wizard, click Finish.


